‘Tis the Season

Picture info: ISO 100, 35mm, f/1.8, 1/100 sec

Picture info: ISO 100, 35mm, f/1.8, 1/100 sec

Week 18 (12/2/2013 – 12/8/2013): Bryant Park, New York City
Picture taken on 12/7/2013 at 4:46 PM

Picture description:

It’s hard to top New York City during the Holiday season.  Everywhere you turn there are festive window displays, giant Christmas trees and glowing lights filling the night sky.  If you’ve been reading my blog from the beginning you might remember my week 2 post, “A Day of Reflection” where I visited Bryant Park.   As I said in week 2, Bryant Park is one of my favorite locations in New York City.  One of the best things about Bryant Park is how it transforms throughout the year with each season.  During the winter months the center grass area turns into an ice skating rink with a beautiful panoramic view of midtown New York.  Surrounding the rink is a network of stores in in the form of tiny huts.  As you can imagine this winter wonderland attracts visitors from all over.  In case you didn’t guess by now Bryant Park is obviously where I got this week’s photo, but before I talk about my time in the park let me tell you how I ended up there.

In the beginning of the week I wasn’t sure what to photograph so I threw out a status on Facebook to get some ideas.  One of the suggestions I got was to capture the “hustle and bustle” of holiday shoppers, thanks Laura!  After getting this suggestion Bryant Park and its “Winter Village” instantly came to mind.  Since I pass the park during my commute to work I stopped in on the way home to scout for a good picture.  After briefly walking around I found what I thought would be a great angle for a long exposure.  The picture I had in mind would feature the Christmas tree centered between the store huts and shoppers in the foreground.  The reason I had a long exposure in mind was so I could get all of the shoppers in the foreground to blur as they moved around.  With my picture planned there were only two more questions I needed answered, could I use a tripod in the park, and could I fit everything in the frame of my 35mm lens?  I got one of my questions answered the next day after emailing the company that manages Bryant Park.  The tripod was permitted; I just couldn’t use it on the ice, too bad right?  The last question wouldn’t be answered until I got on location with my camera.

This brings me to the day of the picture.  Let me give you some advice, if you’re ever in New York City during December; don’t walk up 42nd street unless you want the full tourist experience.  I usually avoid 42nd street but for some reason I decided to take it after getting out of port authority, bad move!  I literally felt like I was an extra in the Walking Dead.  The streets were so packed that you couldn’t move any faster than at a zombie pace.  I fought through the crowd thinking it’s okay I’ll have space once I get to the park, wrong.   When I finally got to the park I was greeted with an even larger crowd than was on 42nd street.  I knew this might be a problem for my picture but I remained optimistic until I got to my spot.  Once I fought my way to my planned location it was time to answer my last question, will everything fit in frame…and the answer was no.  As you can imagine this was very disappointing, but I couldn’t give up so I starting thinking how I could still get this picture but from another angle?   I started walking around, and then while I was standing in front of the tree it hit me.  Just like in my last visit to Bryant Park, why not use a reflection to capture my subject?  Look closely at the Christmas ball and you’ll see the reverse angle of my original picture.   Now it’s your turn, try to capture a creative reflection shot!  When you do use the hashtag #52from52_wk18 and post it on Instagram.

Photography Concepts:

There wasn’t really anything tricky about capturing this picture from a photography technique standpoint.  This week’s picture was made mostly via creativity which is less of a concept and more of an attribute that each individual photographer possesses.  This is why I threw out the challenge for people to take their own reflection shots, I’d like to see them and see how your creativity is displayed.  All that being said even though this week’s picture wasn’t too technical I can still briefly talk about the picture I was originally going to take and some of the lessons I learned.

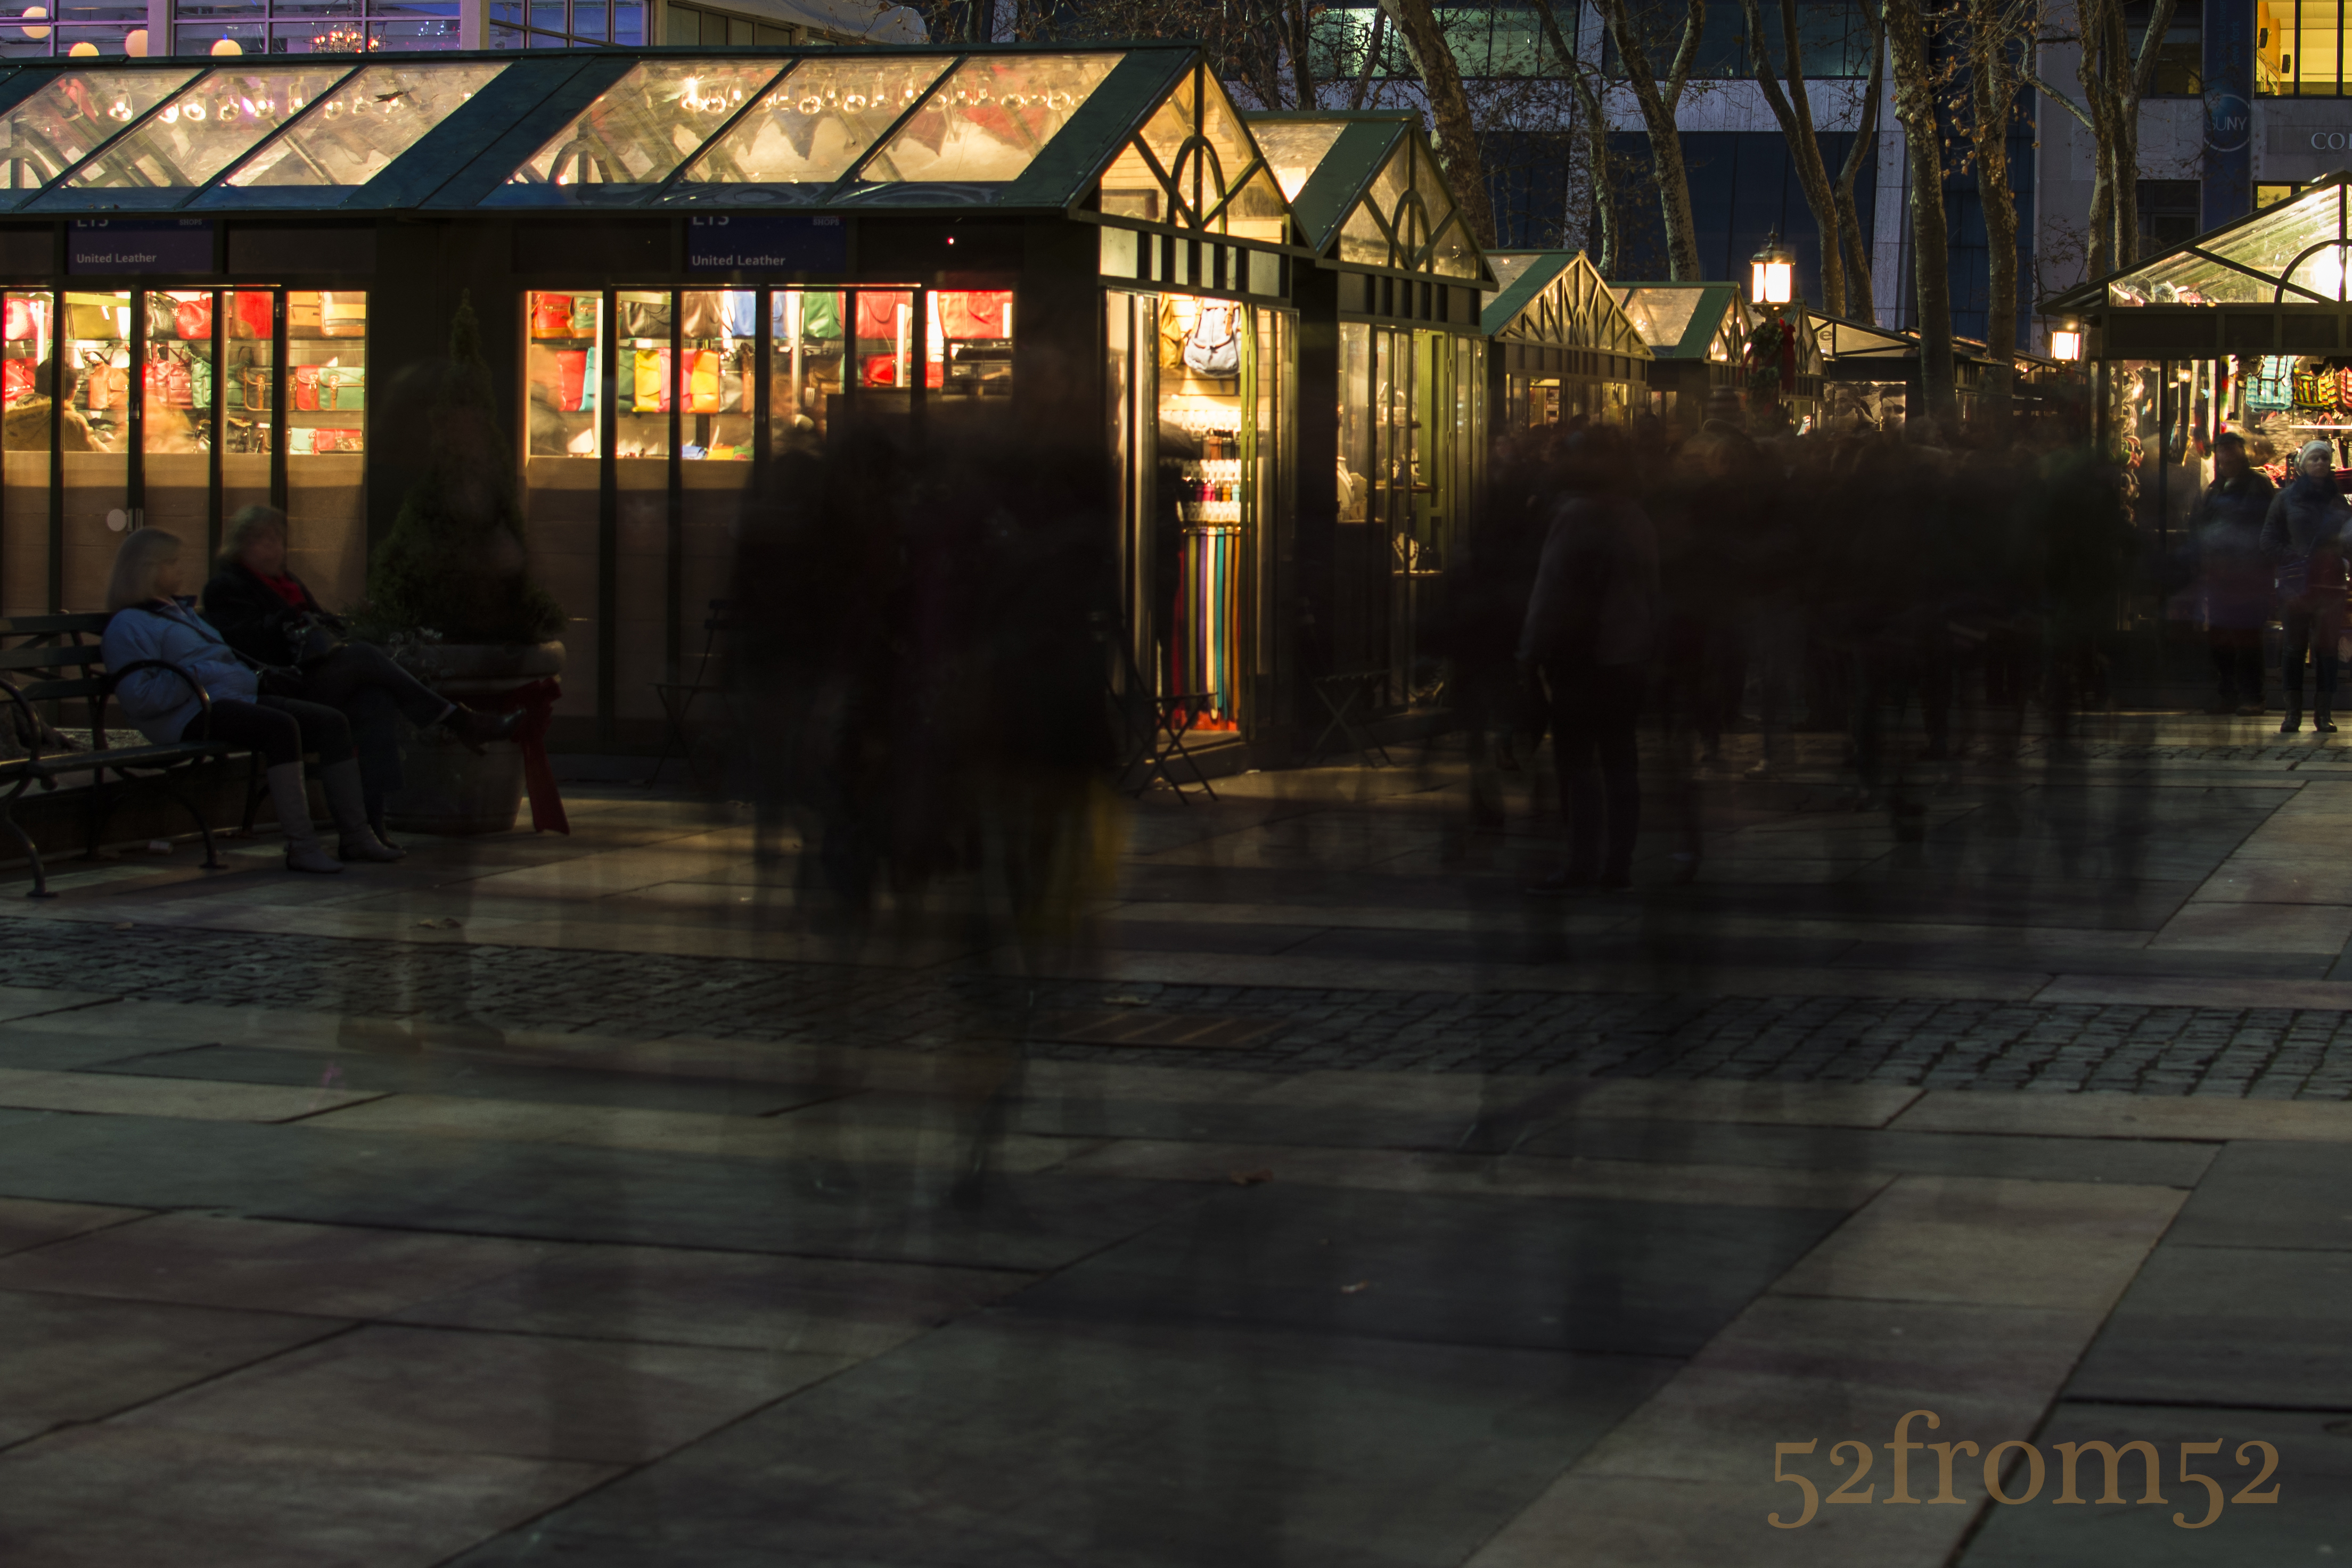
Original Picture Idea

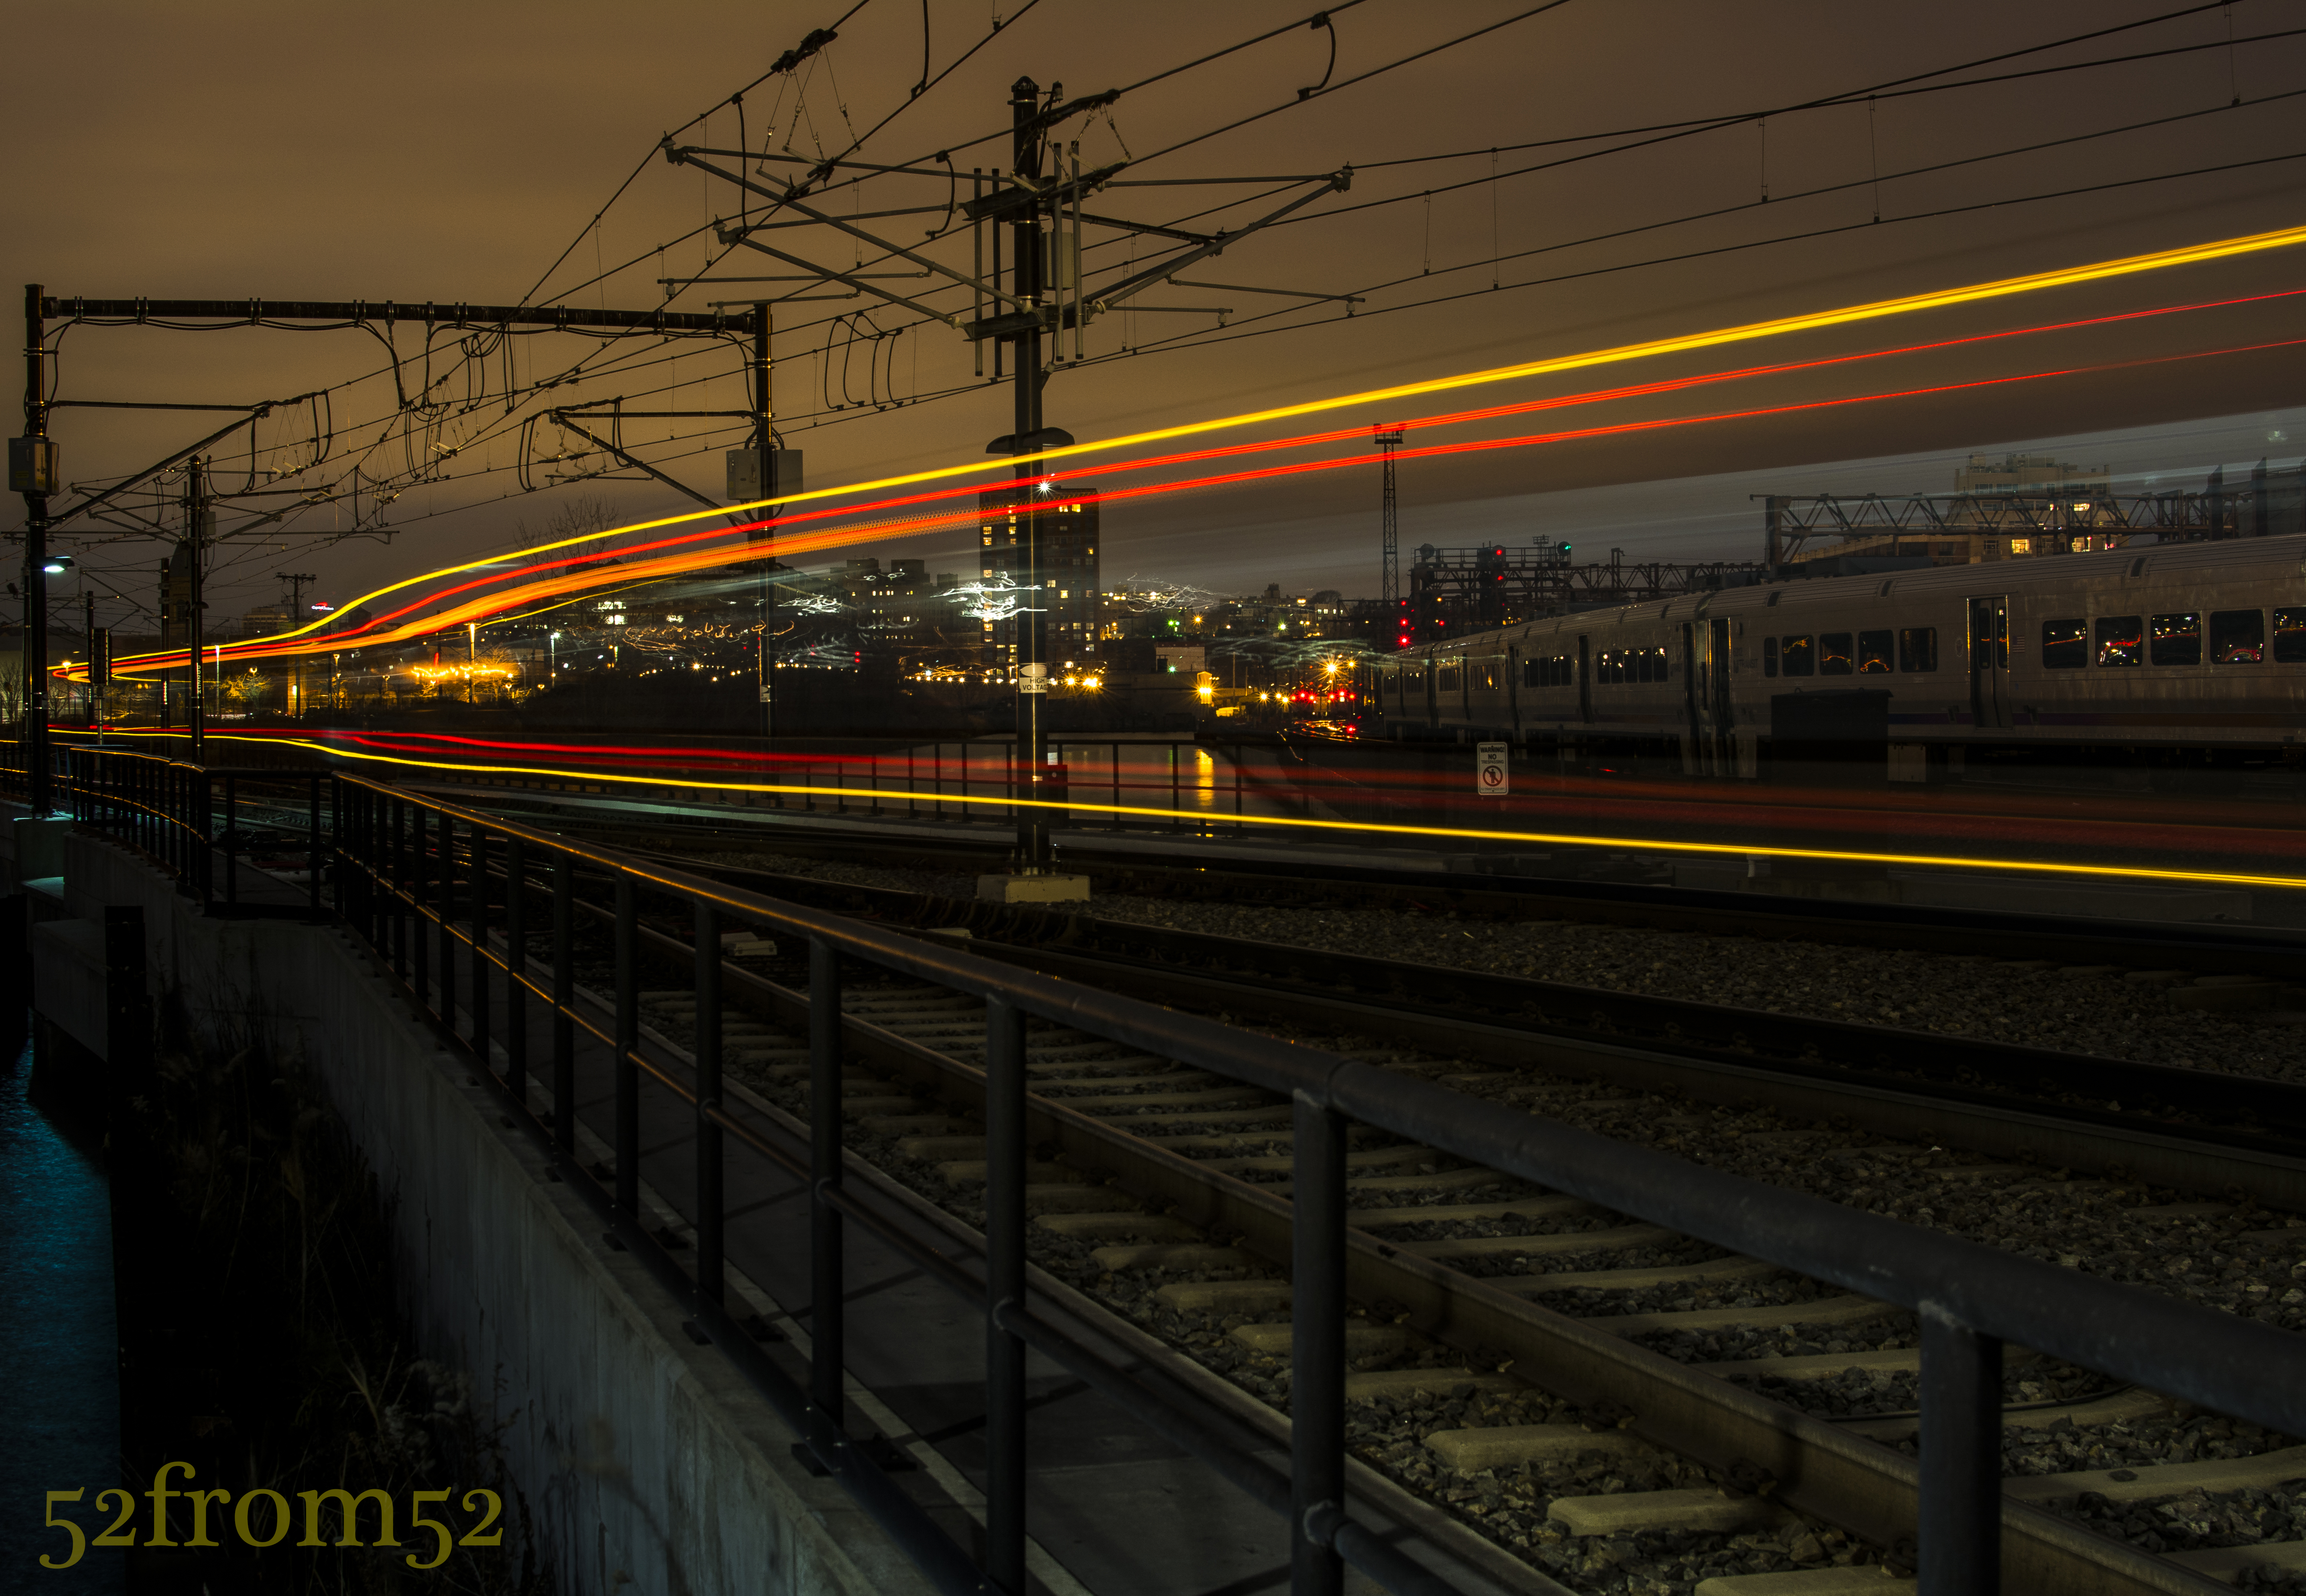
Above is picture from the position I originally planned to take a this week’s photograph from.  As you can see it took a portrait composition to capture the tree and the crowd in one frame.  I could have taken two pictures and stitched them together via photoshop (definitely a future blog subject) but I didn’t know if that would work well with a long exposure.  I also could have tried to get my long exposure from this portrait composition but I wasn’t happy with the way the stores were getting cut off.  There was also one more issue with my long exposure idea that I didn’t learn until after the fact.  Dealing with a crowd of this density doesn’t really provide the look I was going for when using a long exposure.  Of the pictures I did take via long exposure, I learned that at 30 seconds the crowd disappeared and just blotched out the area they were standing in.  Even when I took shorter exposures (4-10 seconds) the crowd’s density still didn’t allow you to clearly see these were people I was photographing.  Below is an example of a 5 second exposure .  This concept of using long exposures to capture the movement of people is something I’m going to experiment with more in the future so stay tuned.

Picture specs: ISO 100, 35mm, f/4.5, 5 secs

Picture specs: ISO 100, 35mm, f/4.5, 5 secs

One shot

Picture info: ISO 100, 35mm, f/9, 30seconds, 0.6 neutral density filter, -2 exposure stops

Picture info: ISO 100, 35mm, f/9, 30sec, 0.6 neutral density filter, -2 exposure stops

Week 17 (11/25/2013 – 12/1/2013): Hoboken Light Rail Station
Picture taken on 11/30/2013 at 5:12 PM

Picture description:

Opportunities come and go, and sometimes you only have one shot to take advantage of them.  That was absolutely the case for my week 17 picture.   This week I picked up some neutral density filters (I’ll explain what these are in the concepts section) which I wanted to experiment with.  Coming into the week my goal was to venture into the city to get some kind of street shot/long exposure.   When it came time to go out and shoot on Saturday I was a bit demotivated due to two things. First it was really cold outside, and the second reason was because of the conflicting online posts about wether or not it’s okay to use a tripod in New York City. Since I wasn’t in the mood to argue my way out of a ticket I decided to play it safe and set out for an area in Hoboken that I have been meaning to photograph for a while.

The location I chose for this week’s shoot was a walkway between the Hoboken train station and Newport, Jersey City.  I’ve seen some really nice pictures on Flickr that were taken from this seemingly hidden location.  Many of the pictures featured old dock posts of a broken down pier with either the Jersey City or New York city skylines in the background.  With a couple clear pictures in mind I set up my tripod and started taking some long exposures.

After spending about 2 hours taking long exposures and chasing lots of seagulls I decided to call it a night.  As I started to pack up my gear I spotted a potential picture which would feature the light-rail train as it left the station.  I figured why not give it a shot?  I quickly set up my tripod on the edge of the tracks in preparation for the next train.  The trains were coming about every 30 minutes, so unless I wanted to wait out in the cold for the next one, I’d have only one shot at capturing a good picture.  From the distance I heard the bell sound announcing the train’s pending departure, I quickly clicked my camera’s shutter release, sat back and watched as the light-rail moved in and out of the frame.   After what seemed like an eternity, but really was only 30 seconds, my camera finished taking the picture and I eagerly awaited seeing what it captured.  Once the preview came up on the screen I immediately knew this was the picture I had to feature in this week’s post.

Photography concepts:

This is the second “long exposure” post that I’ve done, the first being my week 6 picture “Night Light.”  Since week 6 I’ve learned some new tricks for taking and editing long exposure pictures.  As I am becoming better from past lessons, I’m able to add more moving parts and that’s what spurred on this week’s experiment with neutral density filters.

Neutral density filters, commonly called ND filters are pieces of glass that come in many shapes and sizes but ultimately block light from hitting your camera’s sensor.  As I mentioned in this weeks description, my goal for the week was to get a long exposure but you don’t need an ND filter to do this.  Although ND filter’s are not required for all long exposures, they are if you want to take a long exposure during the day or anytime there are bright light sources.  With the use of ND filters you’re able to use settings that would usually not be feasible in certain conditions or due to other selected camera settings such as wide apertures. Usually when you use slow shutter speeds (20-30 second) you have to shrink your aperture to f/13-f/20 to limit the amount of light.  f/13 isn’t bad but once you start approaching f/20 pictures lose their crispness, this is where the ND filters come in handy.  Take the below picture for example.  The sun was setting behind the buildings and flooding my camera’s sensor with light.  Given the amount of light, and having already maxed out at the smallest aperture my lens can shoot with (f/20), I would usually only be able to use a fast shutter.  With the use of the ND filters I was able to shoot with a 4 second shutter speed.  For the below picture I used a combination of ND filters which totaled out at a 2.7  density rating,  which is equivalent to -9 exposure stops.

Picture info: ISO 100, 35mm, f/20, 4 seconds, 2.7 ND filter, -2 exposure stops

Picture info: ISO 100, 35mm, f/20, 4 sec, 2.7 ND filter, -2 exposure stops

Now you’re probably asking why would you want to do a long exposure for a picture such as this, and what are the effects? One reason/effect is the smooth and very reflective water.  Notice how the water has begun to almost look like ice in the above picture.  The smoothing effect is even more prevalent in the below picture where I used a 30 second exposure and a 0.6 ND filter.

picture info: ISO 100, 35mm, f/14, 30 seconds, 0.6 ND filter, -2 exposure stops

Picture info: ISO 100, 35mm, f/14, 30 sec, 0.6 ND filter, -2 exposure stops

All this being said, how did the ND filter help me with this week’s picture? In order for me to capture the train’s full movement from right to left I needed to use a 30 second shutter speed.  As mentioned in previous blogs, night pictures look better when under exposed but even with dropping the exposure down 2 stops I still wasn’t able to hit the 30 second shutter speed mark.  Add in the fact that once the train passed by my camera’s sensor was going to get a burst of light it was very important to somehow compensate.  I didn’t want to shoot with too small of an aperture so here is where the ND filter came in.  I used a 0.6 ND filter which is equivalent to -2 exposure stops, this allowed me to maintain a good night exposure, use an aperture of f/9 and hit my 30 second shutter speed.  The result of the 30 second exposure was the very vivid light trail that’s featured in this week’s picture.  This was my first time experimenting with the ND filters so expect some more pictures and feedback in some coming blogs.  For more info on ND filters check out the below link.

http://www.digitalcameraworld.com/2012/07/05/how-and-when-to-use-nd-filters-and-what-the-numbers-mean/