Picture info: ISO 160, 36mm, f/4.0, 1/4000 sec
Week 29 (2/17/2014 -2/23/2014): Wagner Park, New York, NY
Picture taken on 2/23/2014 at 5:13 PM
Photograph description:
There is a first for everything, and this week was a feast of firsts. For starters, this week was the first time that I didn’t post within my weekly deadline. After a busy weekend when it came time to write my post on Sunday night, I couldn’t resist collapsing face down on my plush tempurpedic. Other than my latent post, this week also marked the first time that my post’s picture was shot with something other than my Nikon 35mm f/1.8 lens. I still shot my picture at ~35mm but this time it was with a new Sigma 17-50mm f/2.8. I had been tussling with whether or not to buy a new lens for a couple of weeks. Last week I was finally able to validate purchasing a new lens. One of my stocks recently started to take a hit so I decided to cut bait and divert those funds to the investment of a new lens. Hopefully the lens will pay better dividends.
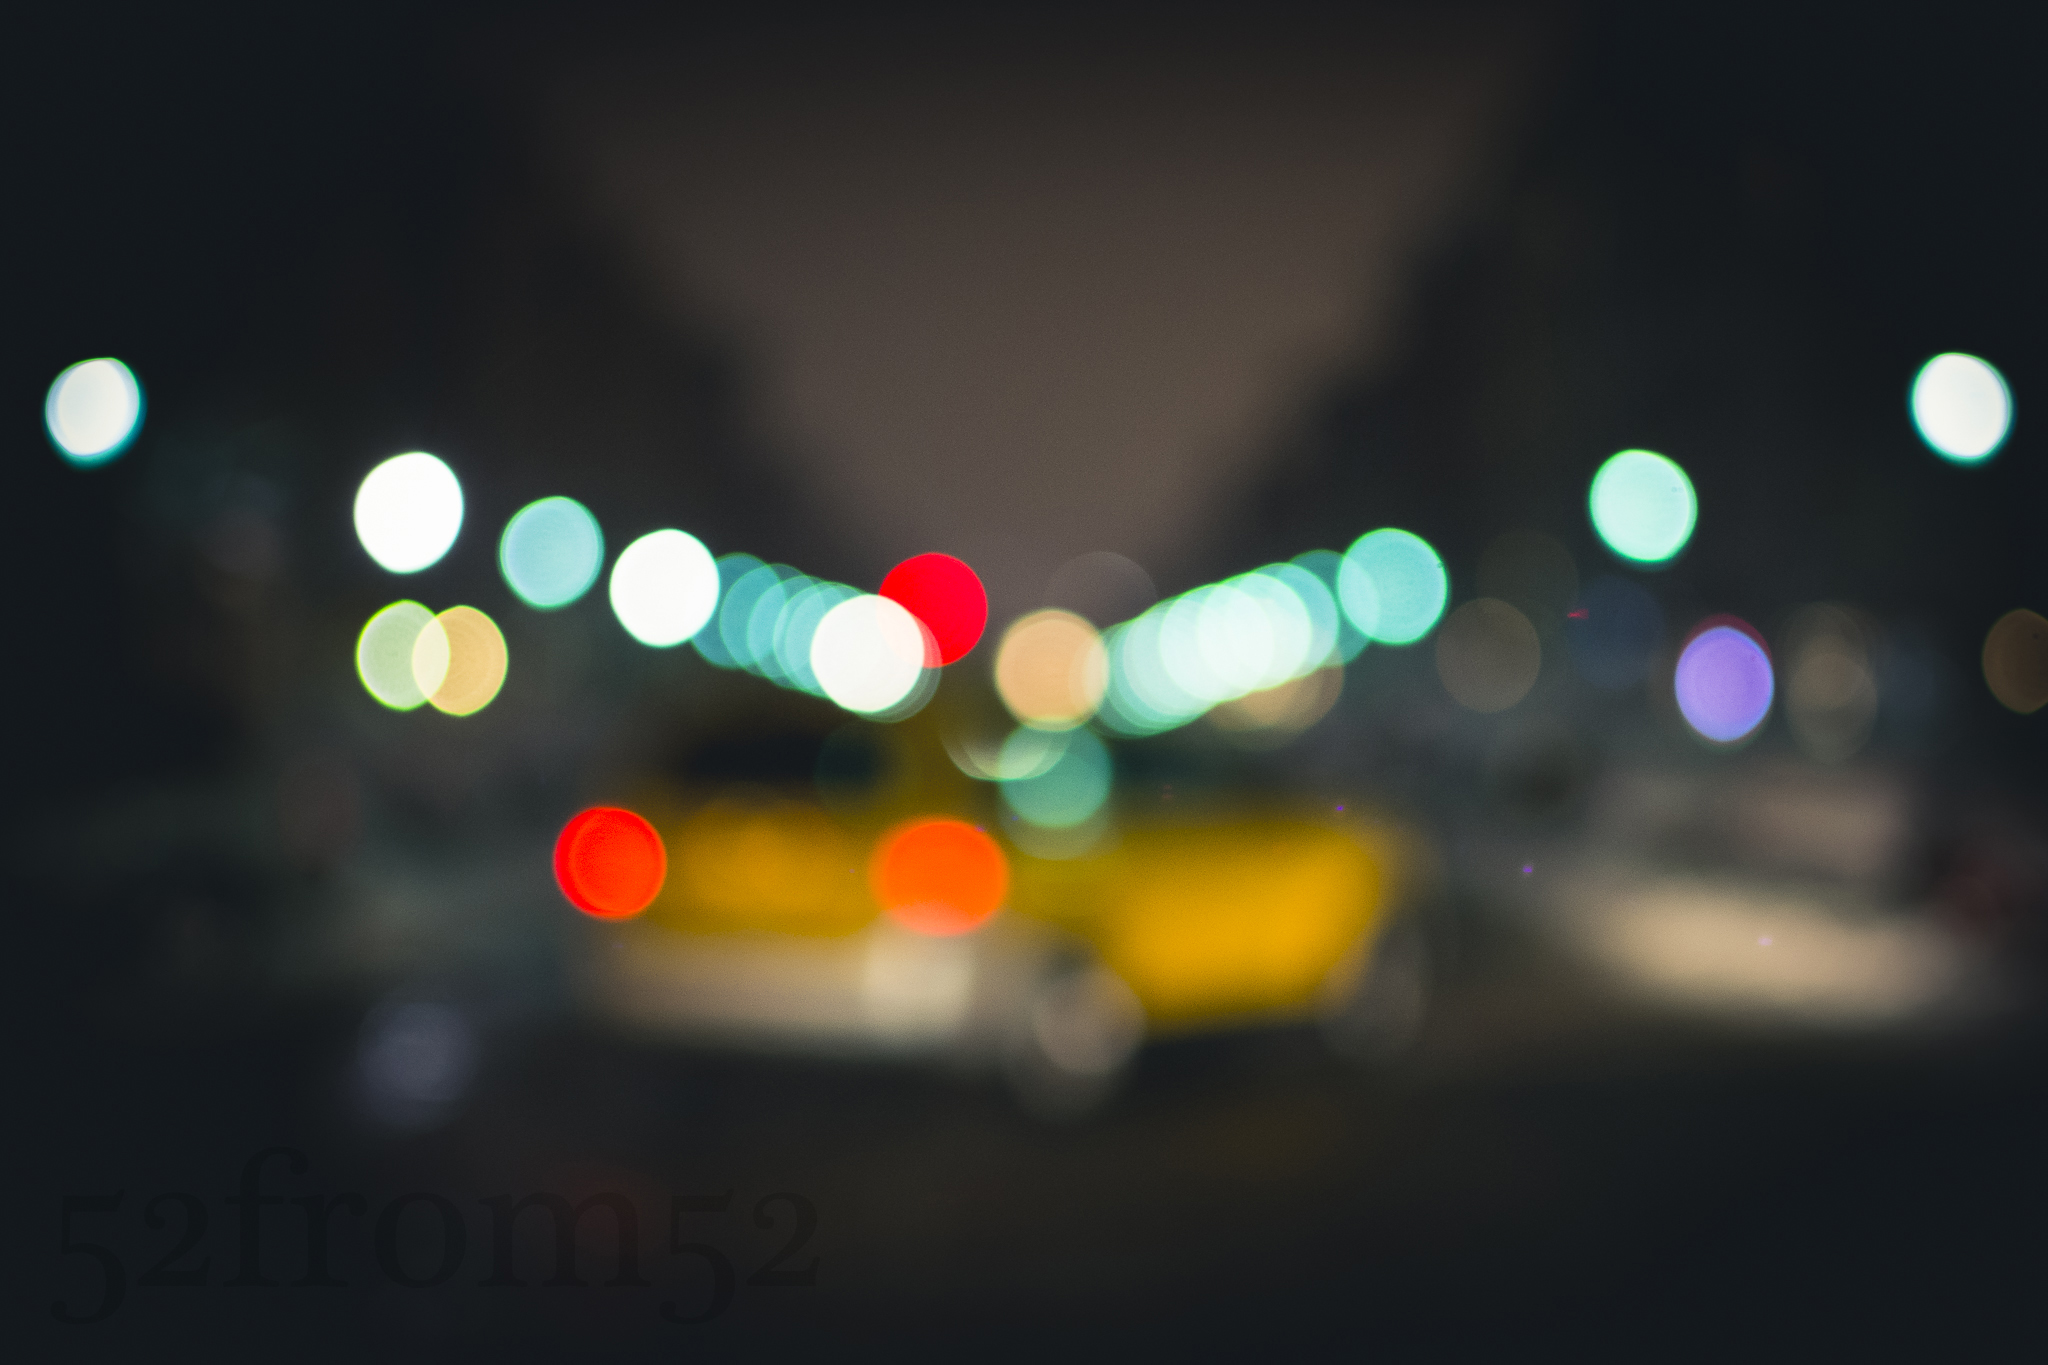
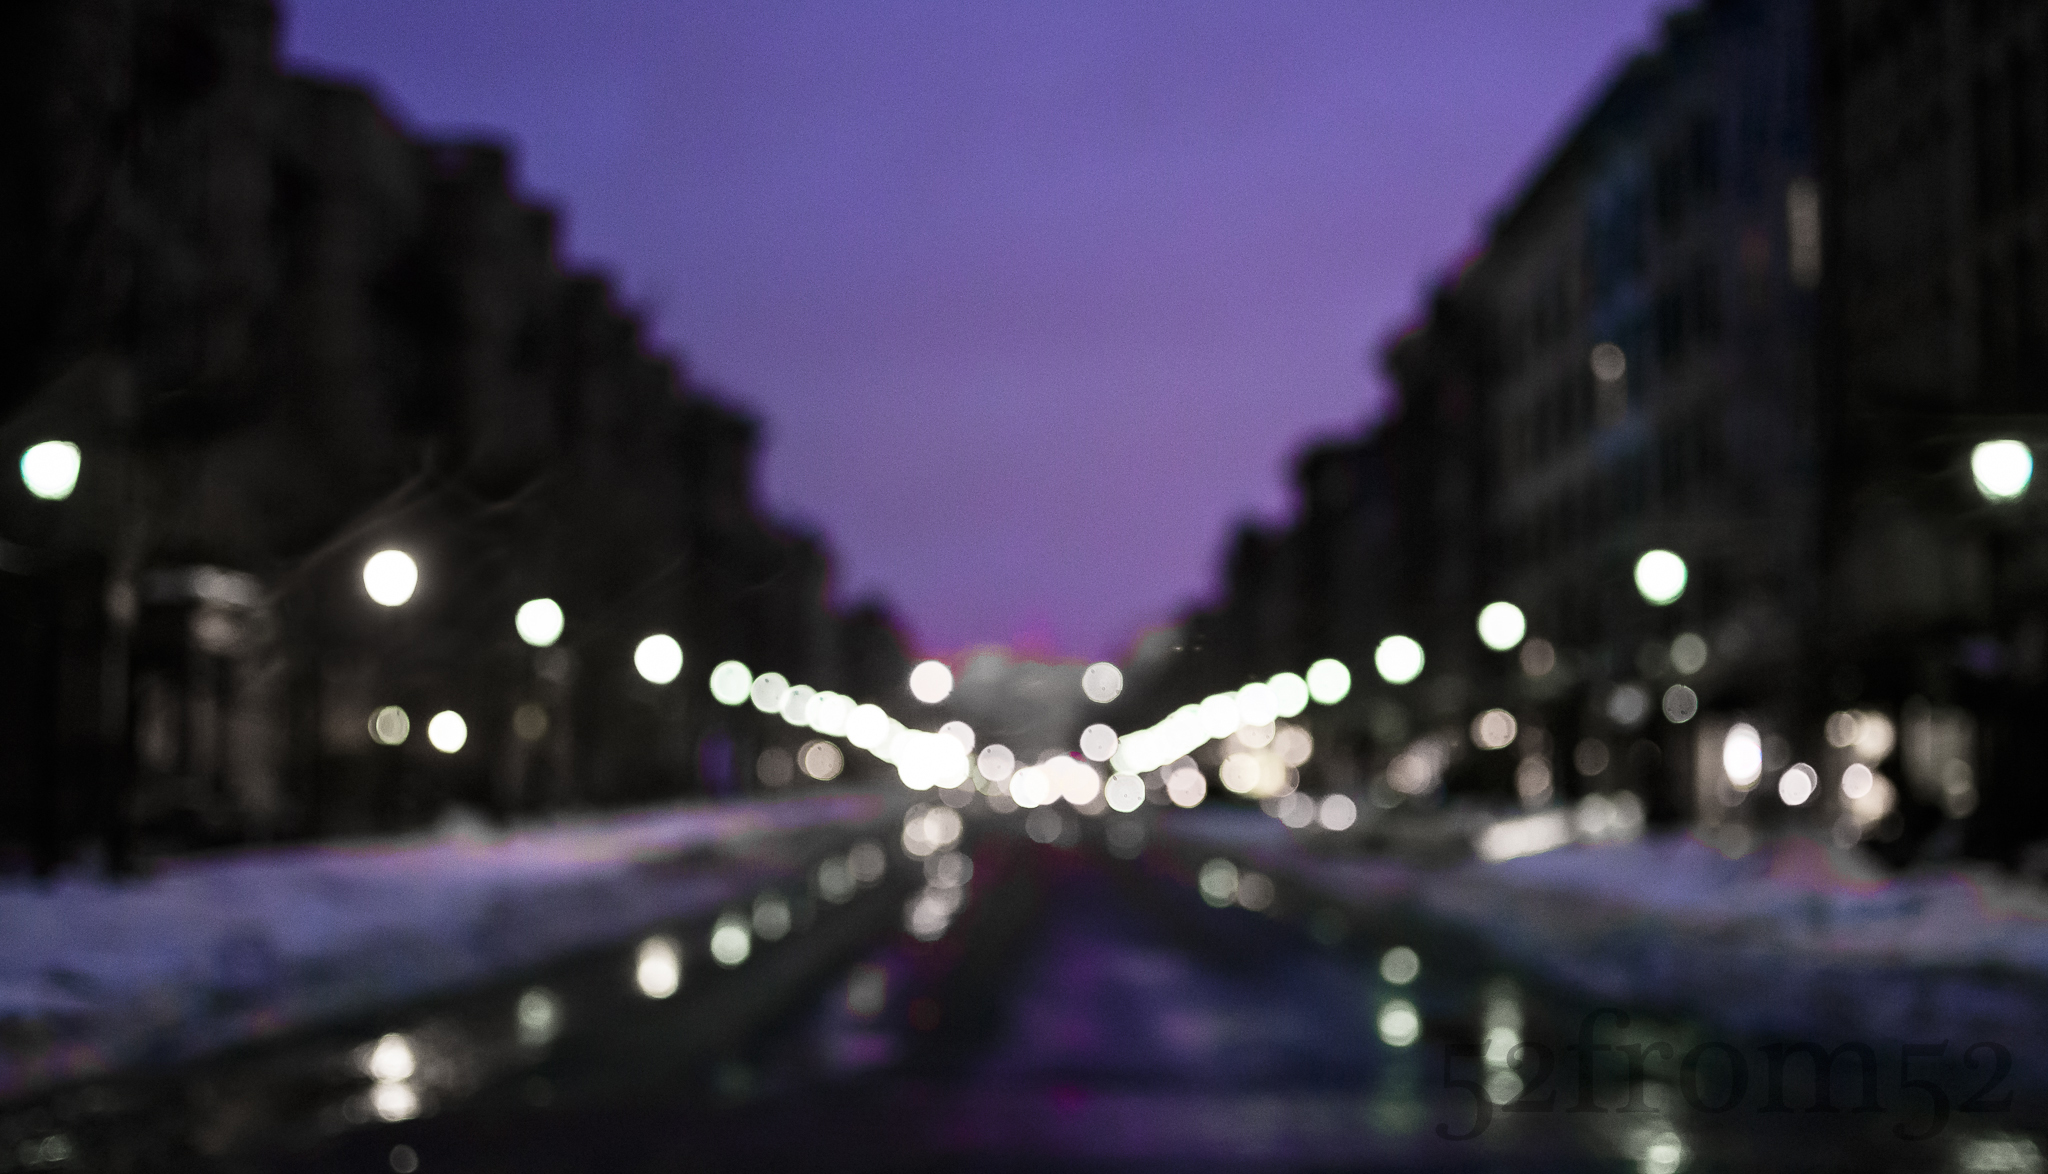
The last two “firsts” worth noting are locations based. This week was the first time that I visited Washington Square park and the nearby Stumptown coffee shop. I’ve been to the Stumptown on 29th street a few times but never the second and smaller location by Washington Square park. It was nice finally checking out the park even if it wasn’t the best time of the day for pictures. The sun was at about 45 degrees and blindingly bright. After walking around the park for a few minutes with my friend that tagged along we decidle split off from one another so we could each focus on finding the best shot. As I moved away from the park’s iconic arch I found a couple ways to use to the sun’s harsh angle. One was to shoot some reflection pictures using the wet ground. The second idea I had was to line the sun up within the street lights that littered the park so it looked like they were glowing in the daylight. Although both were fun ideas, they quickly grew old so I decided to find my friend and search for a better location.
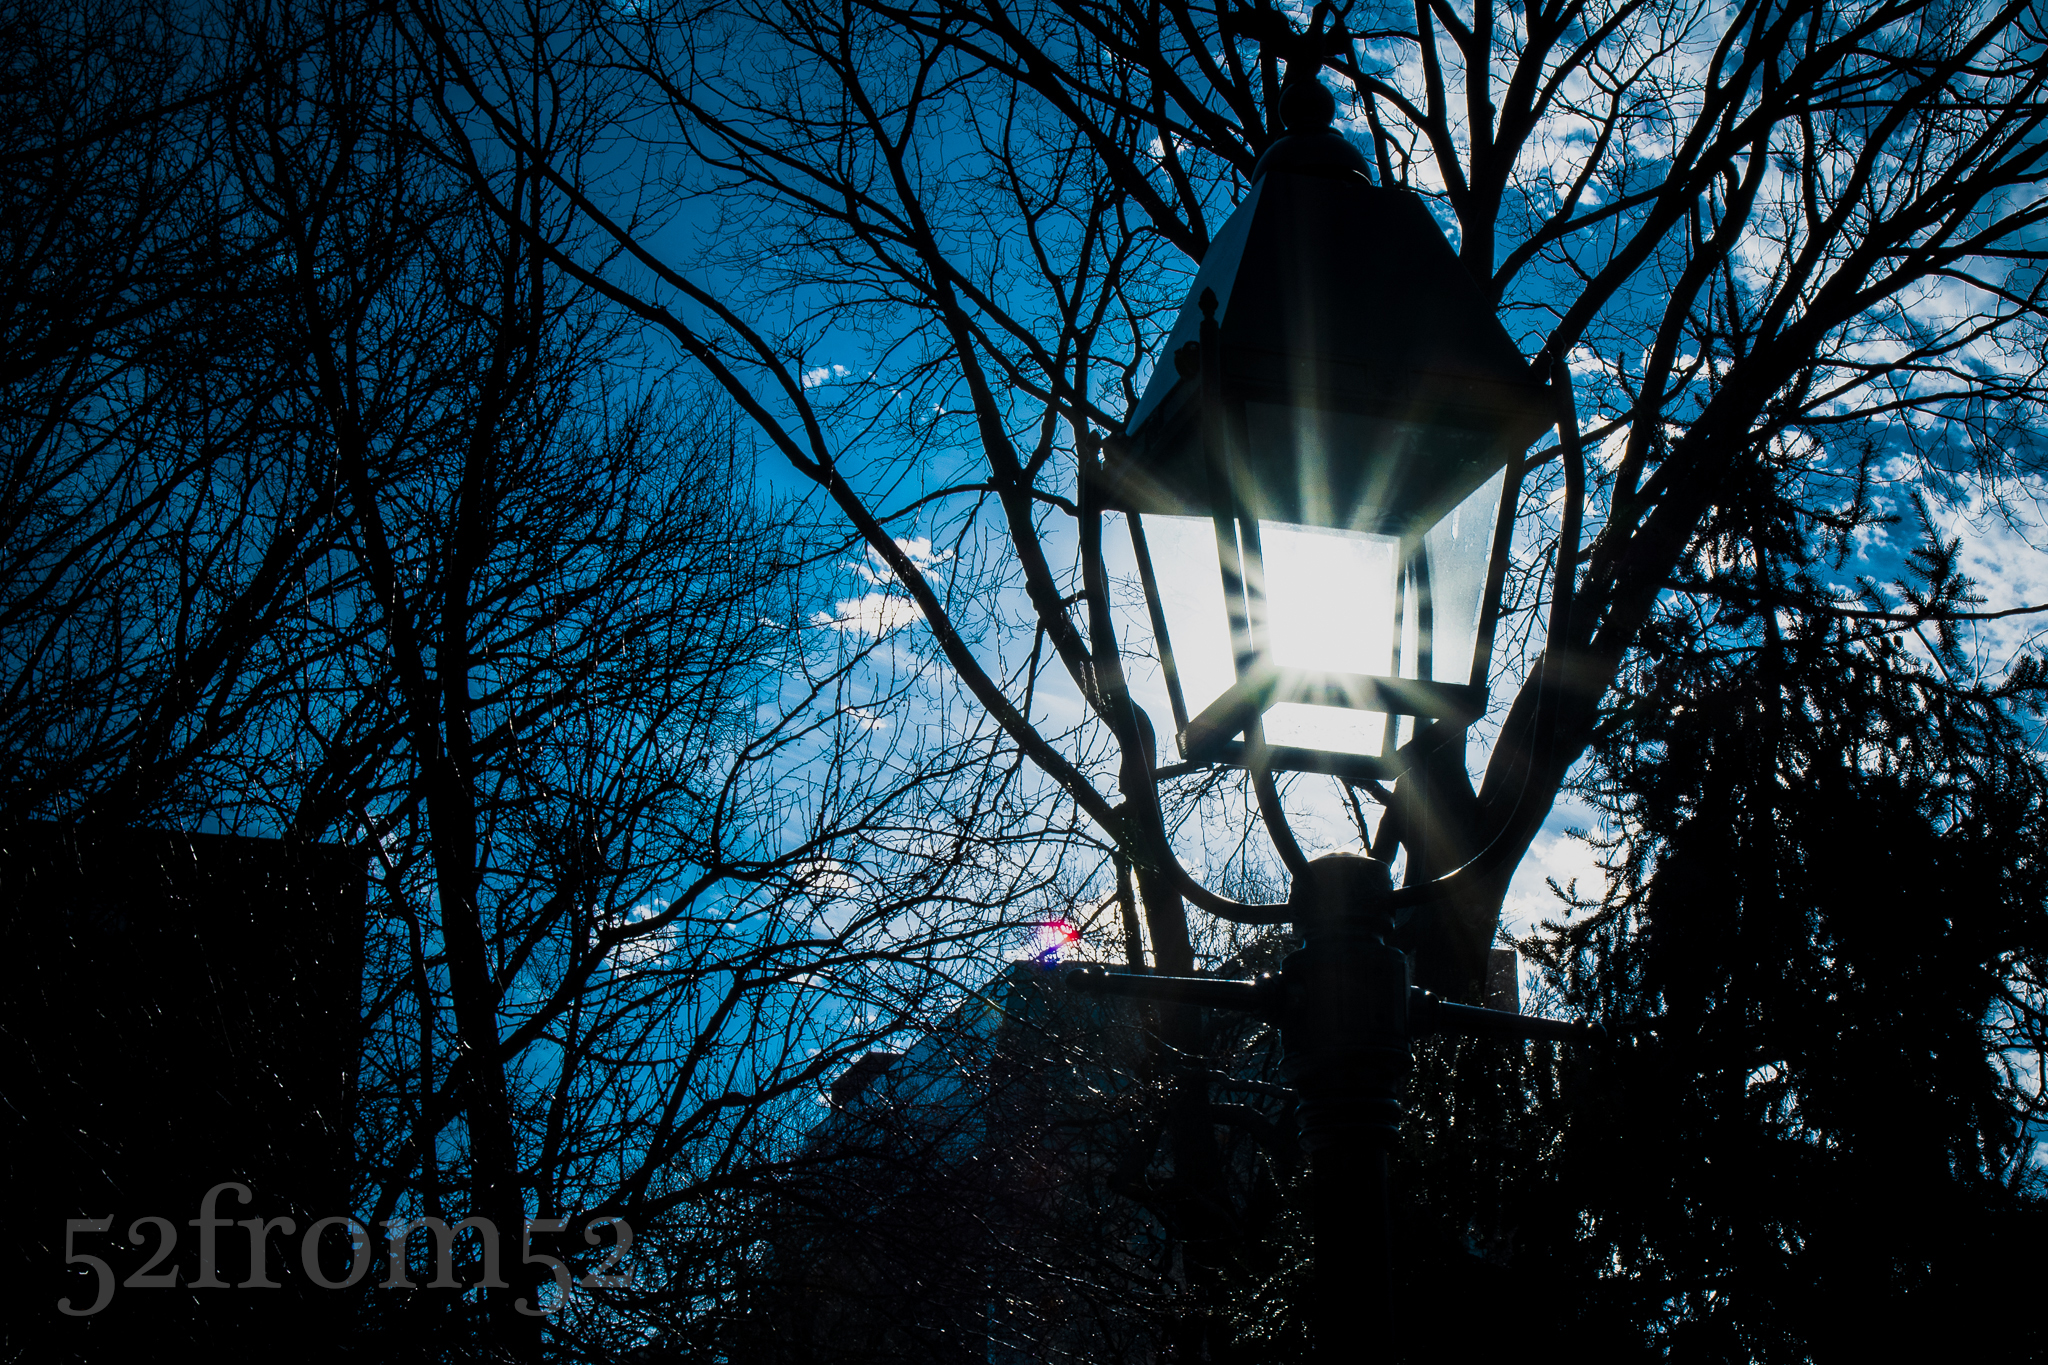
Washington Square Park Light Post
With sunset approaching we decided to head to Wagner Park located at the southern tip of Manhattan. I shot at that location once before during week 16 but since it provides great sunsets, I knew there was no harm in taking a return visit.
While on our way south we seemingly stopped every couple of feet to take pictures. Since the purpose of our trip was to take pictures, frequently stopping wasn’t a problem, but it was threatening our chances of getting to the park at the right time. Eventually we decided to jump on the 1 train to expedite our journey.
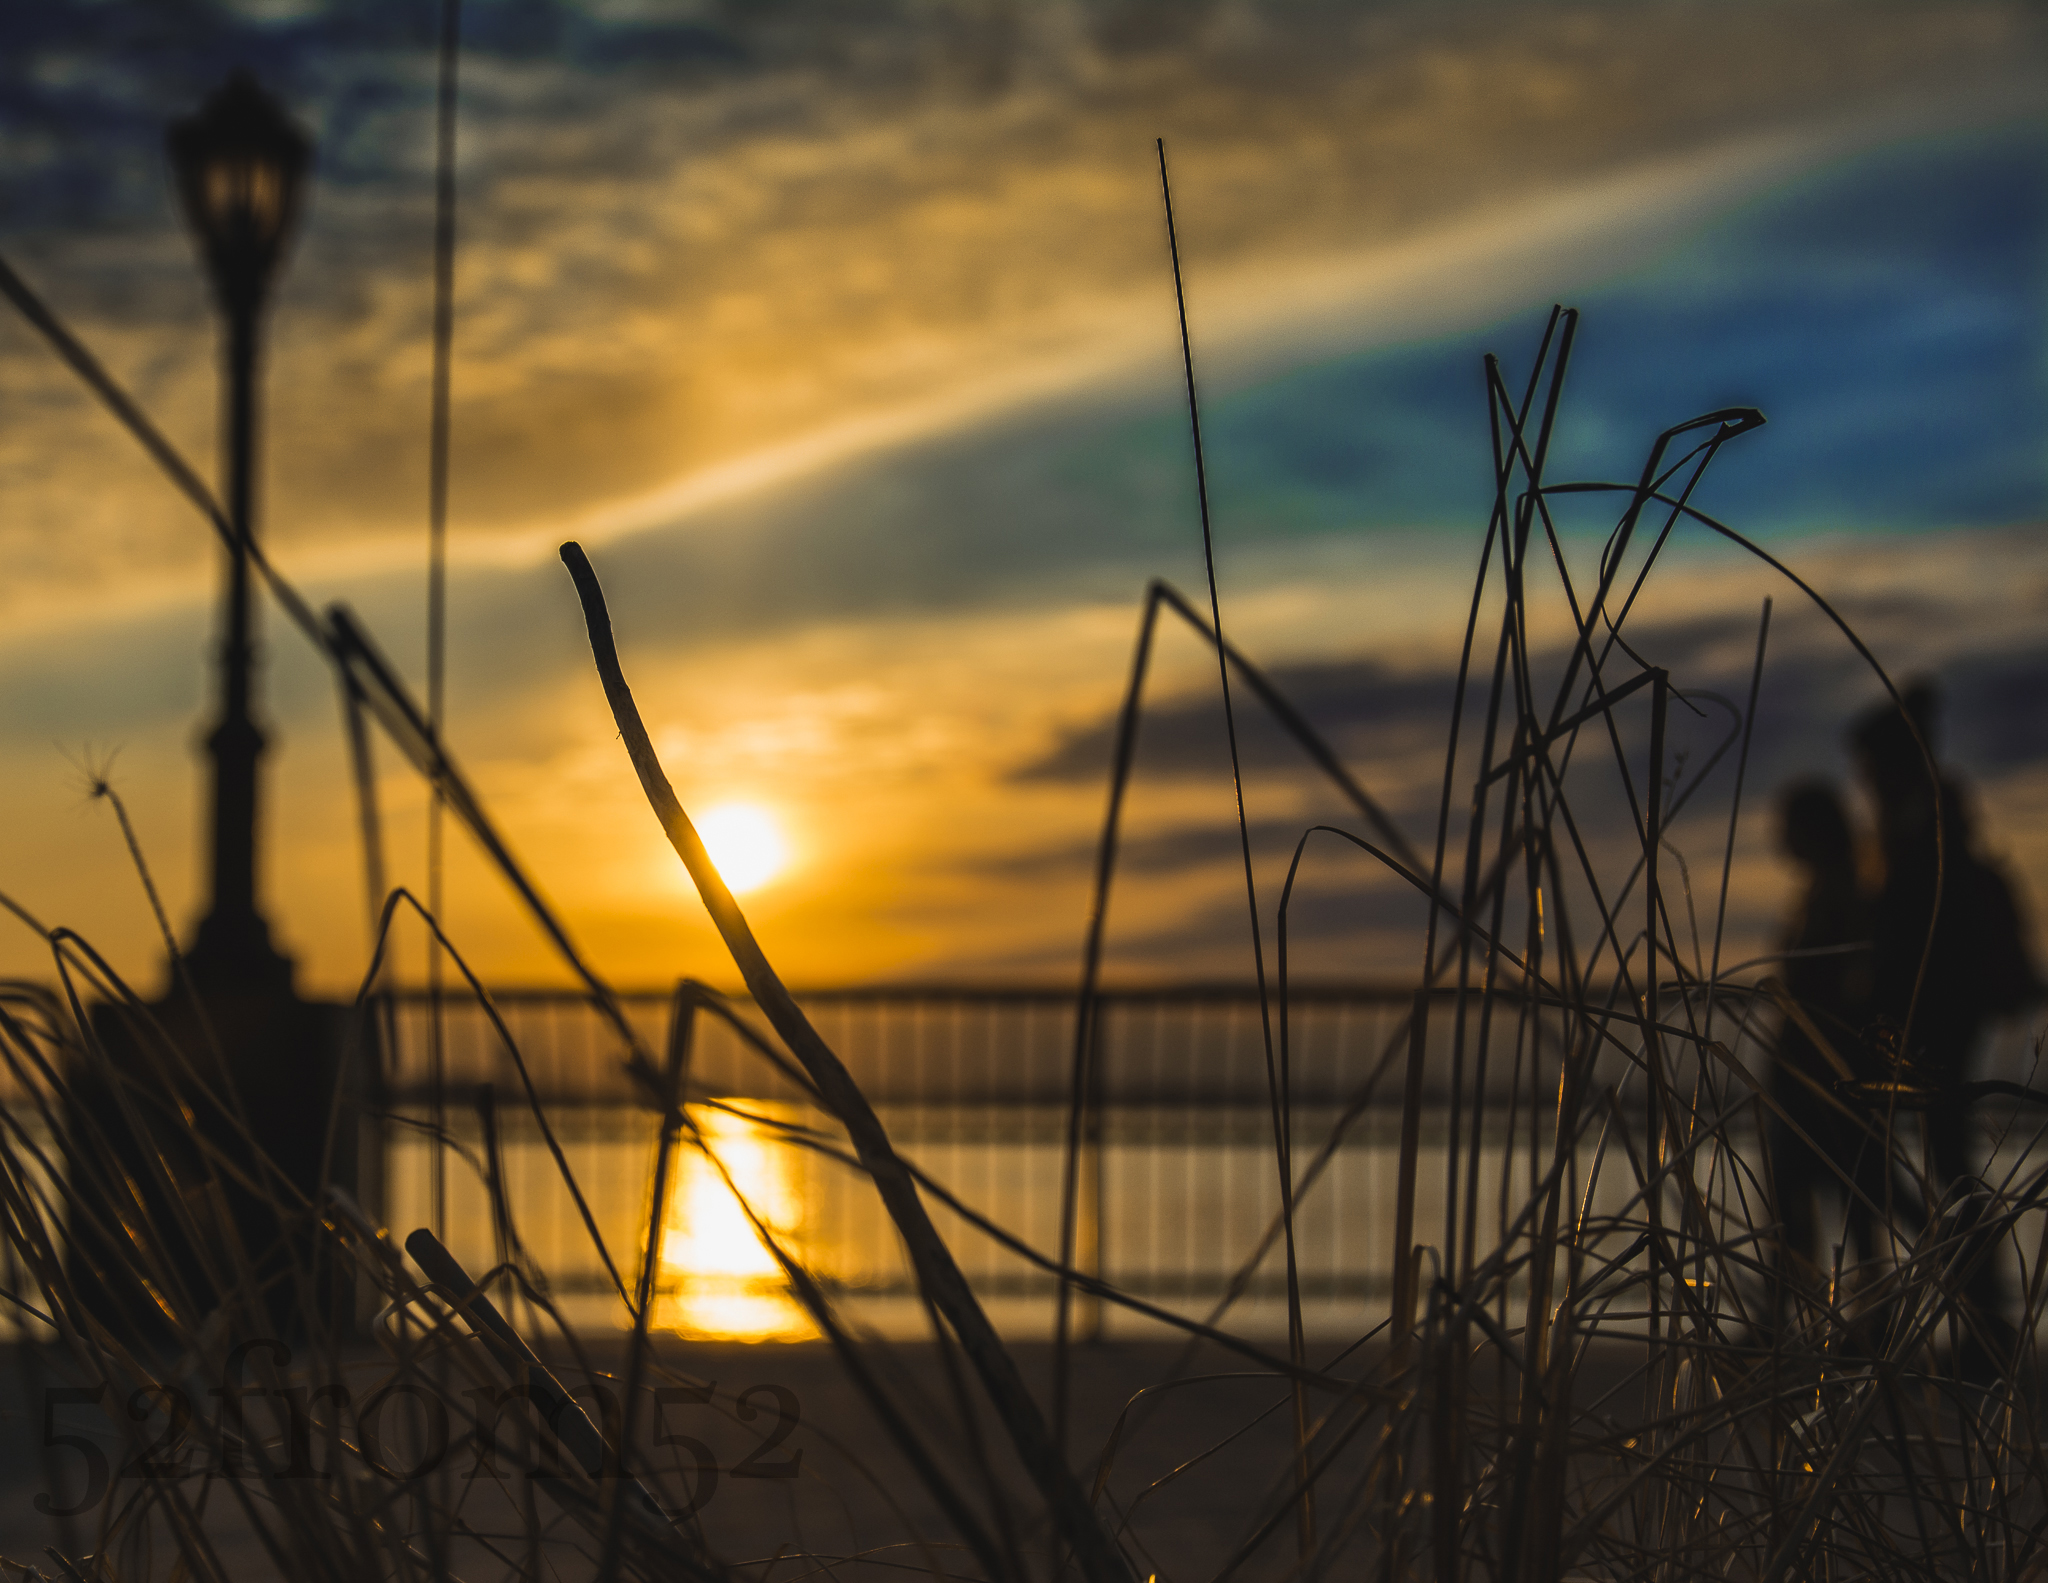
Once we got out of the subway we made a beeline towards the park. When we finally cleared the tall buildings of the financial district, I yelled out “boomshakalaka” in excitement once I saw the beautiful evening sky. For the next hour or so my friend and I were treated to one of the better sunsets I’ve seen in a while. We both shuffled around the park trying to find the best shot. I eventually spotted a patch of tall grass which provided me with a good foreground subject and sealed the deal for this week’s picture.
Photography concepts:
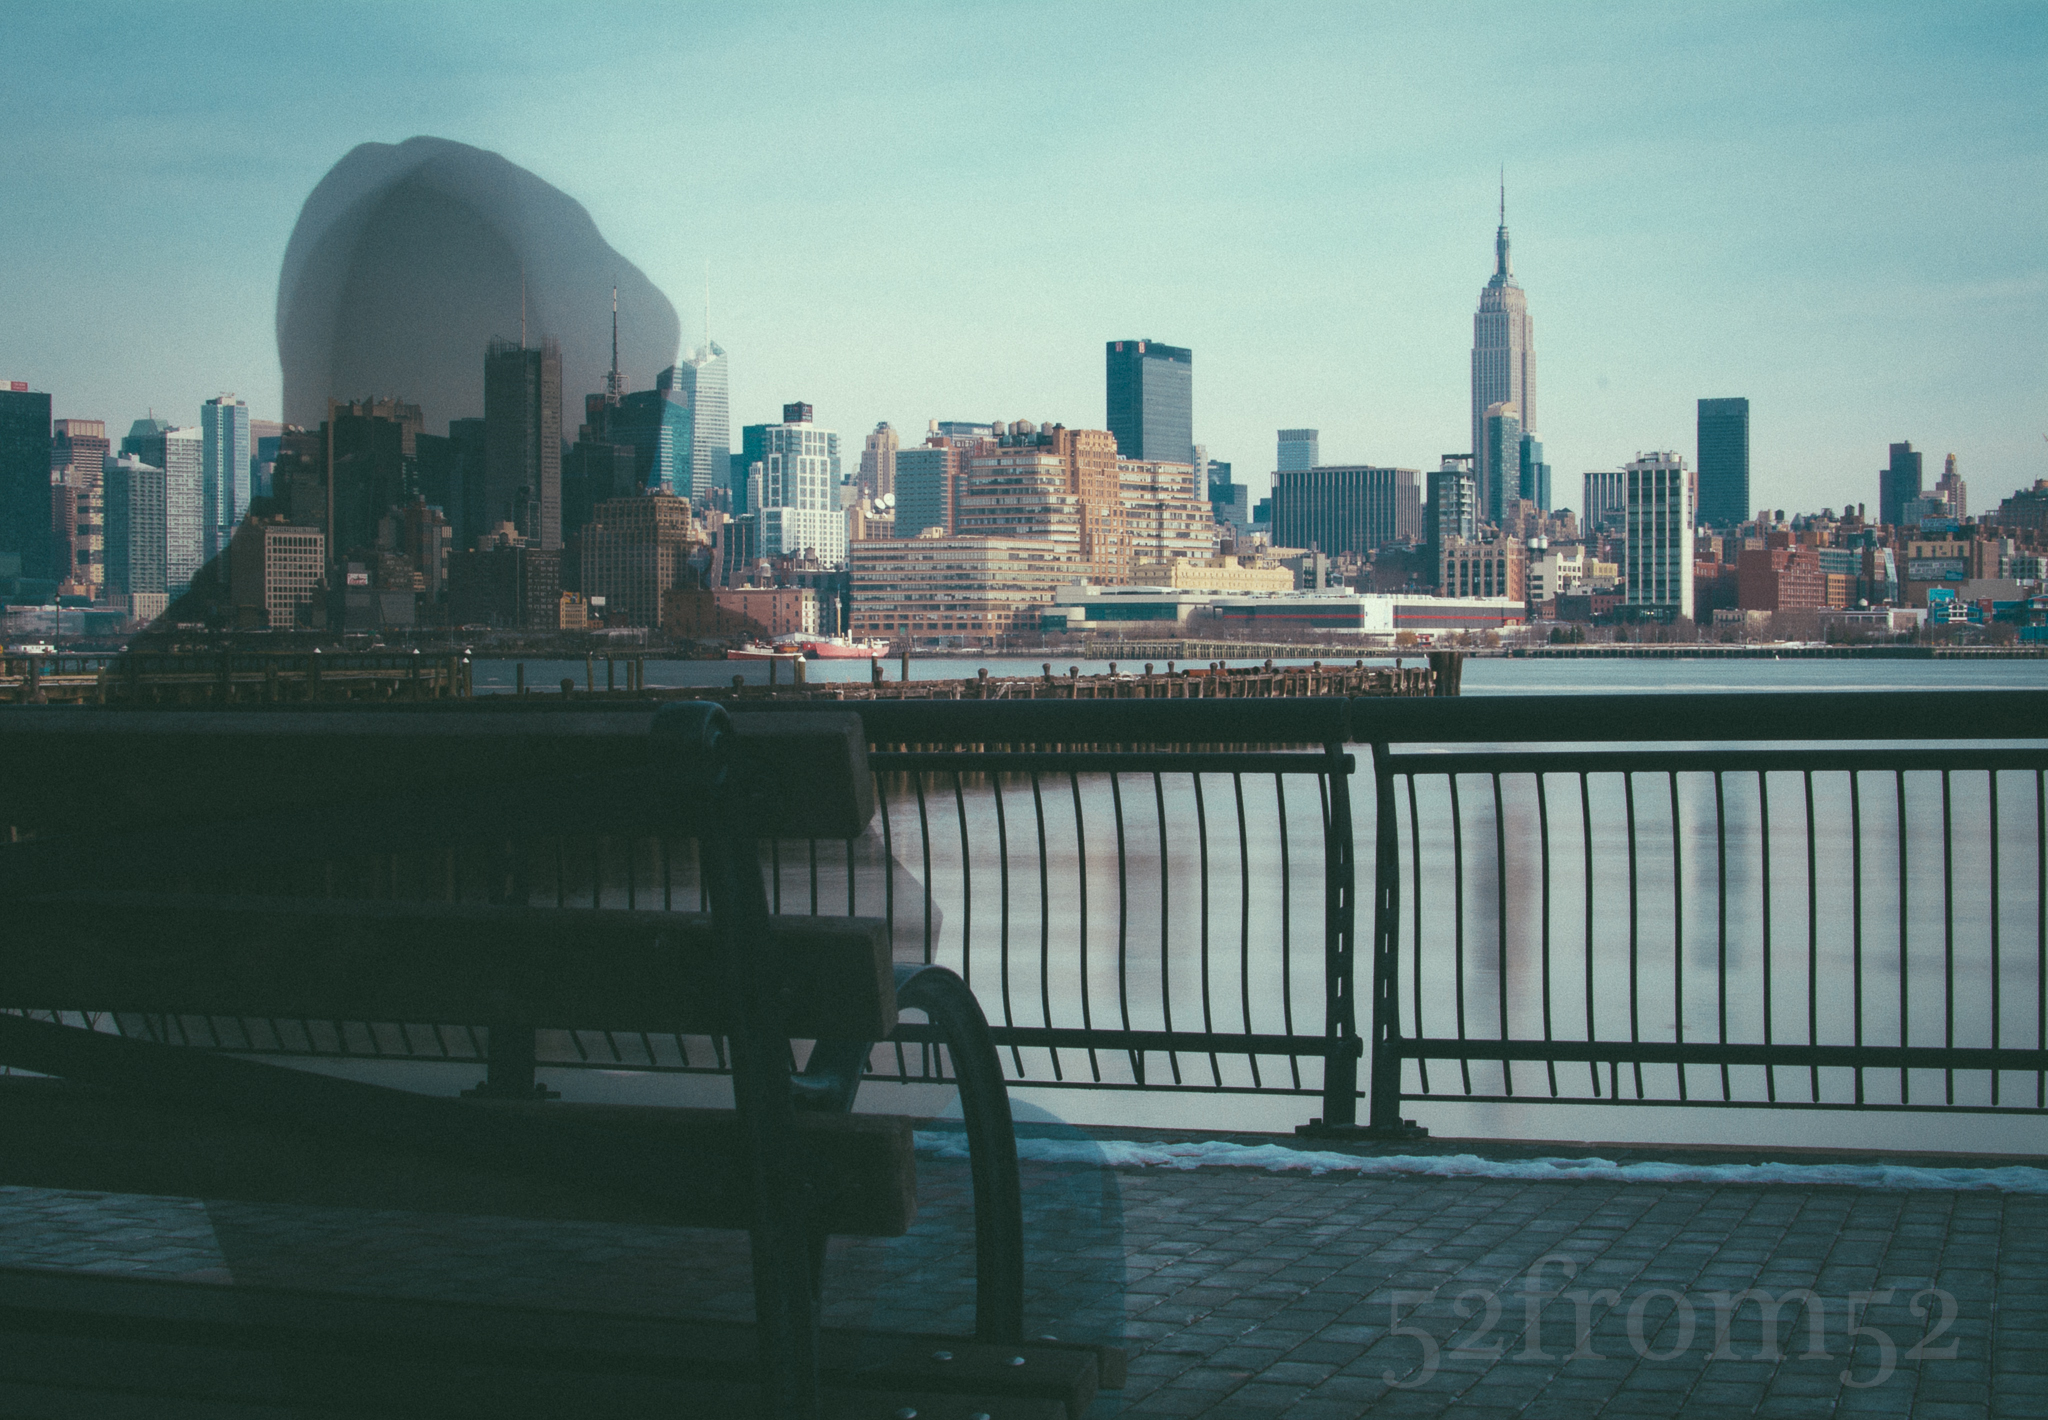
Since this week is the first time shooting with my new Sigma lens it makes sense for me to talk about some of the advantages it provides. One of the advantages which benefited this week’s picture is the Sigma’s nice bokeh. As I talked about last week, bokeh is the part of the picture that’s out of focus. One thing I recently learned is that with nicer lenses the bokeh is smoother and although it’s a little bit of an oxymoron, the out of focus images are sharper. The nice bokeh worked well for creating silhouettes of the lamp post, railing and couple walking.
Another advantage the Sigma has is a low fixed aperture of f/2.8. Although the Sigma doesn’t beat my Nikon 35mm’s f/1.8 aperture it’s still large enough to make shooting indoor and night pictures easier. The Nikon beats the Sigma aperture but the Sigma has a 4-stop Anti-Shake feature which allows for slower shutter speeds. This means that although the Nikon can let in more light via a wider aperture, the Sigma can let in more light via slower shutters (without using tripods). The term 4-stops means I can go 4 stops lower than the recommended shutter speed for a specific focal length. When shooting at 35mm (52 with a crop sensor) it’s recommended that I stay at or above 1/100 of a second. Thanks to the anti-shake feature I can hit a shutter speed of 1/40 of a second, and possibly slower if I have any added stabilization. This is a moot point if you’re using a tripod but it’s very relevant when you’re shooting indoors or at night.
The last advantage I’ll quickly mention because it’s not one that can help me during my 52from52 photoblog series is that the Sigma is a zoom. The advantage of having a zoom lens is pretty obvious. With a zoom you’re able to recompose your picture without moving and hit targets that a 35mm prime can’t. Because it’s a zoom I might use my Sigma again in some upcoming posts, not to shoot my picture from another focal length, but so that I have some flexibility for the pictures not meant for this blog. The Sigma’s focal length range 17-50mm ( ~25-75mm) is very versatile. The lens moves from wide angle to a nice focal length for taking pictures of people, especially when I can maintain a f/2.8 aperture. The possibilities this lens has is exciting so stay tuned!