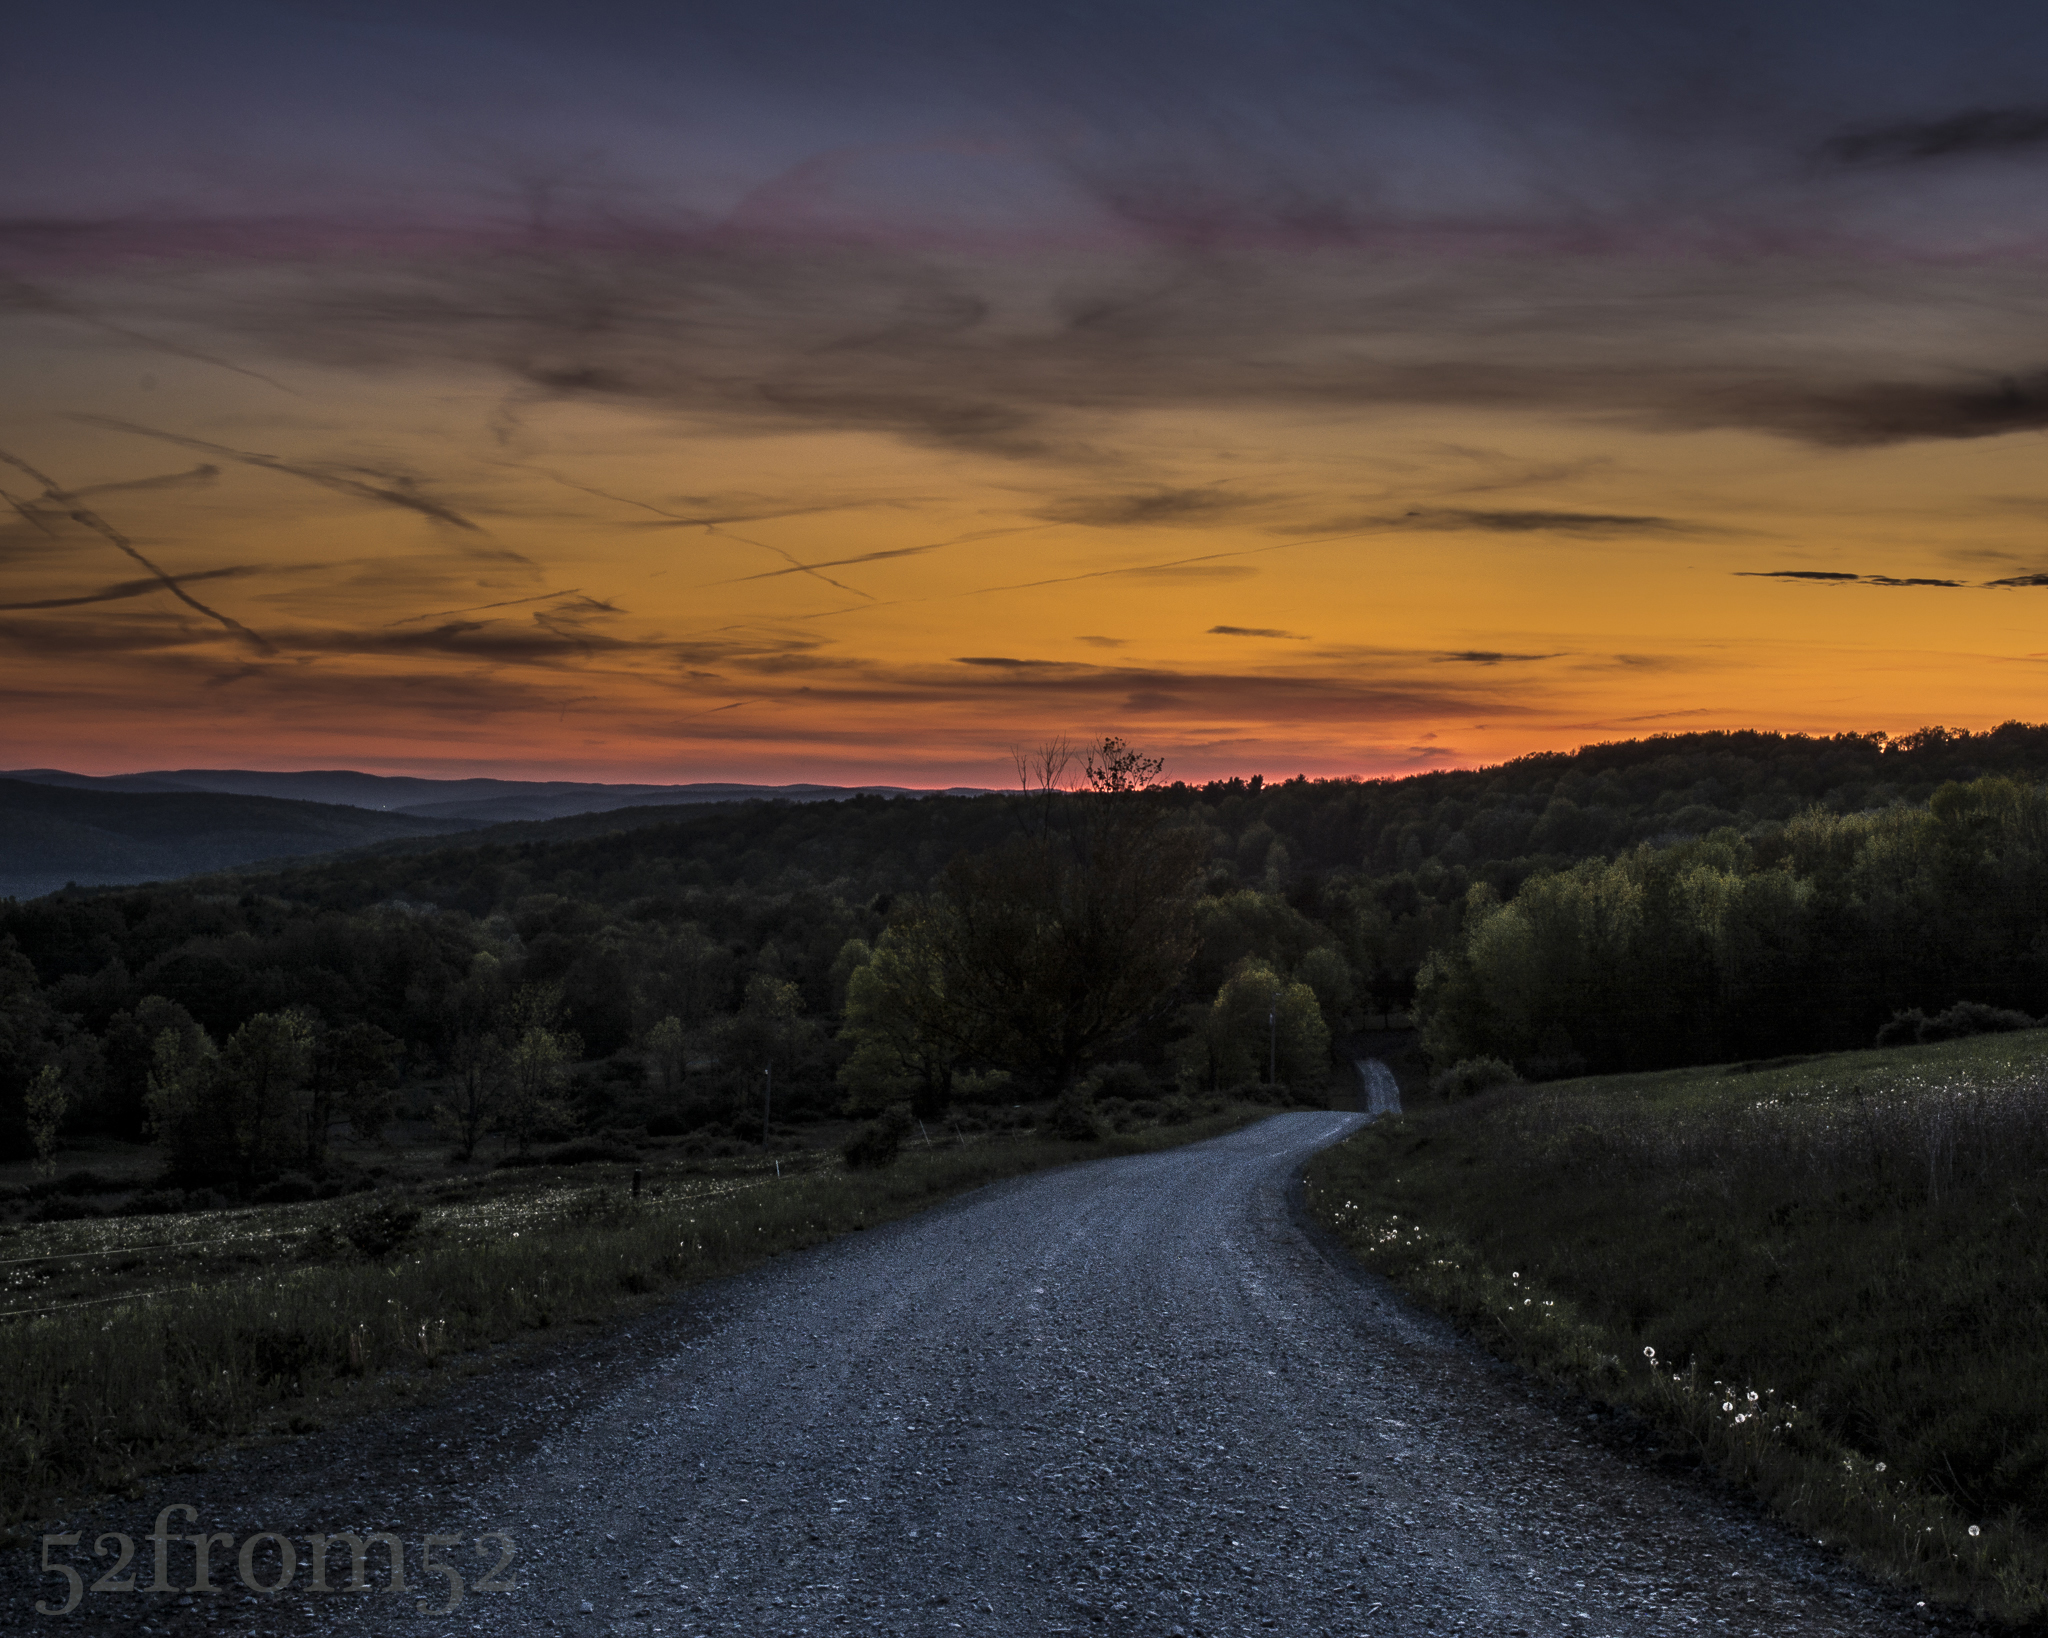
Picture Info: ISO 100, 36mm, f/22, 5.0 seconds
Week 42 (5/19/2014 -5/25/2014): “The Farm” PA
Picture taken on 5/25/2014 at 9:00PM
Photography Description:
Progress, it’s something that is noticeable but not always easy to measure. Some progress is tangible while other progress is more metaphysical. When it comes to metaphysical progress, the question is how can you measure the progress of something that doesn’t have a scale of measure. Take for example a picture, how can you scale a picture’s quality? Is a picture measured by the number of “likes”, the price tag someone can sell it for, or is it the satisfaction the photographer get’s after taking it? The concept of measuring my own progress in the world of photography is one that I’ve been dwelling on recently. I feel like I’m getting better, but how can I truly measure my progress?
This past week presented the perfect opportunity for me to try and measure my progress in the world of photography. For me, one of the key metrics in progress is difference over time. In terms of photography this means you need to take the same picture or shoot the same subject at two intervals of time. How does this relate to last week? Well last week marked the one year anniversary of purchasing my camera. I couldn’t think of a better way to gauge my progress than comparing pictures I took in the first week of owning my camera, to ones I took one year later.
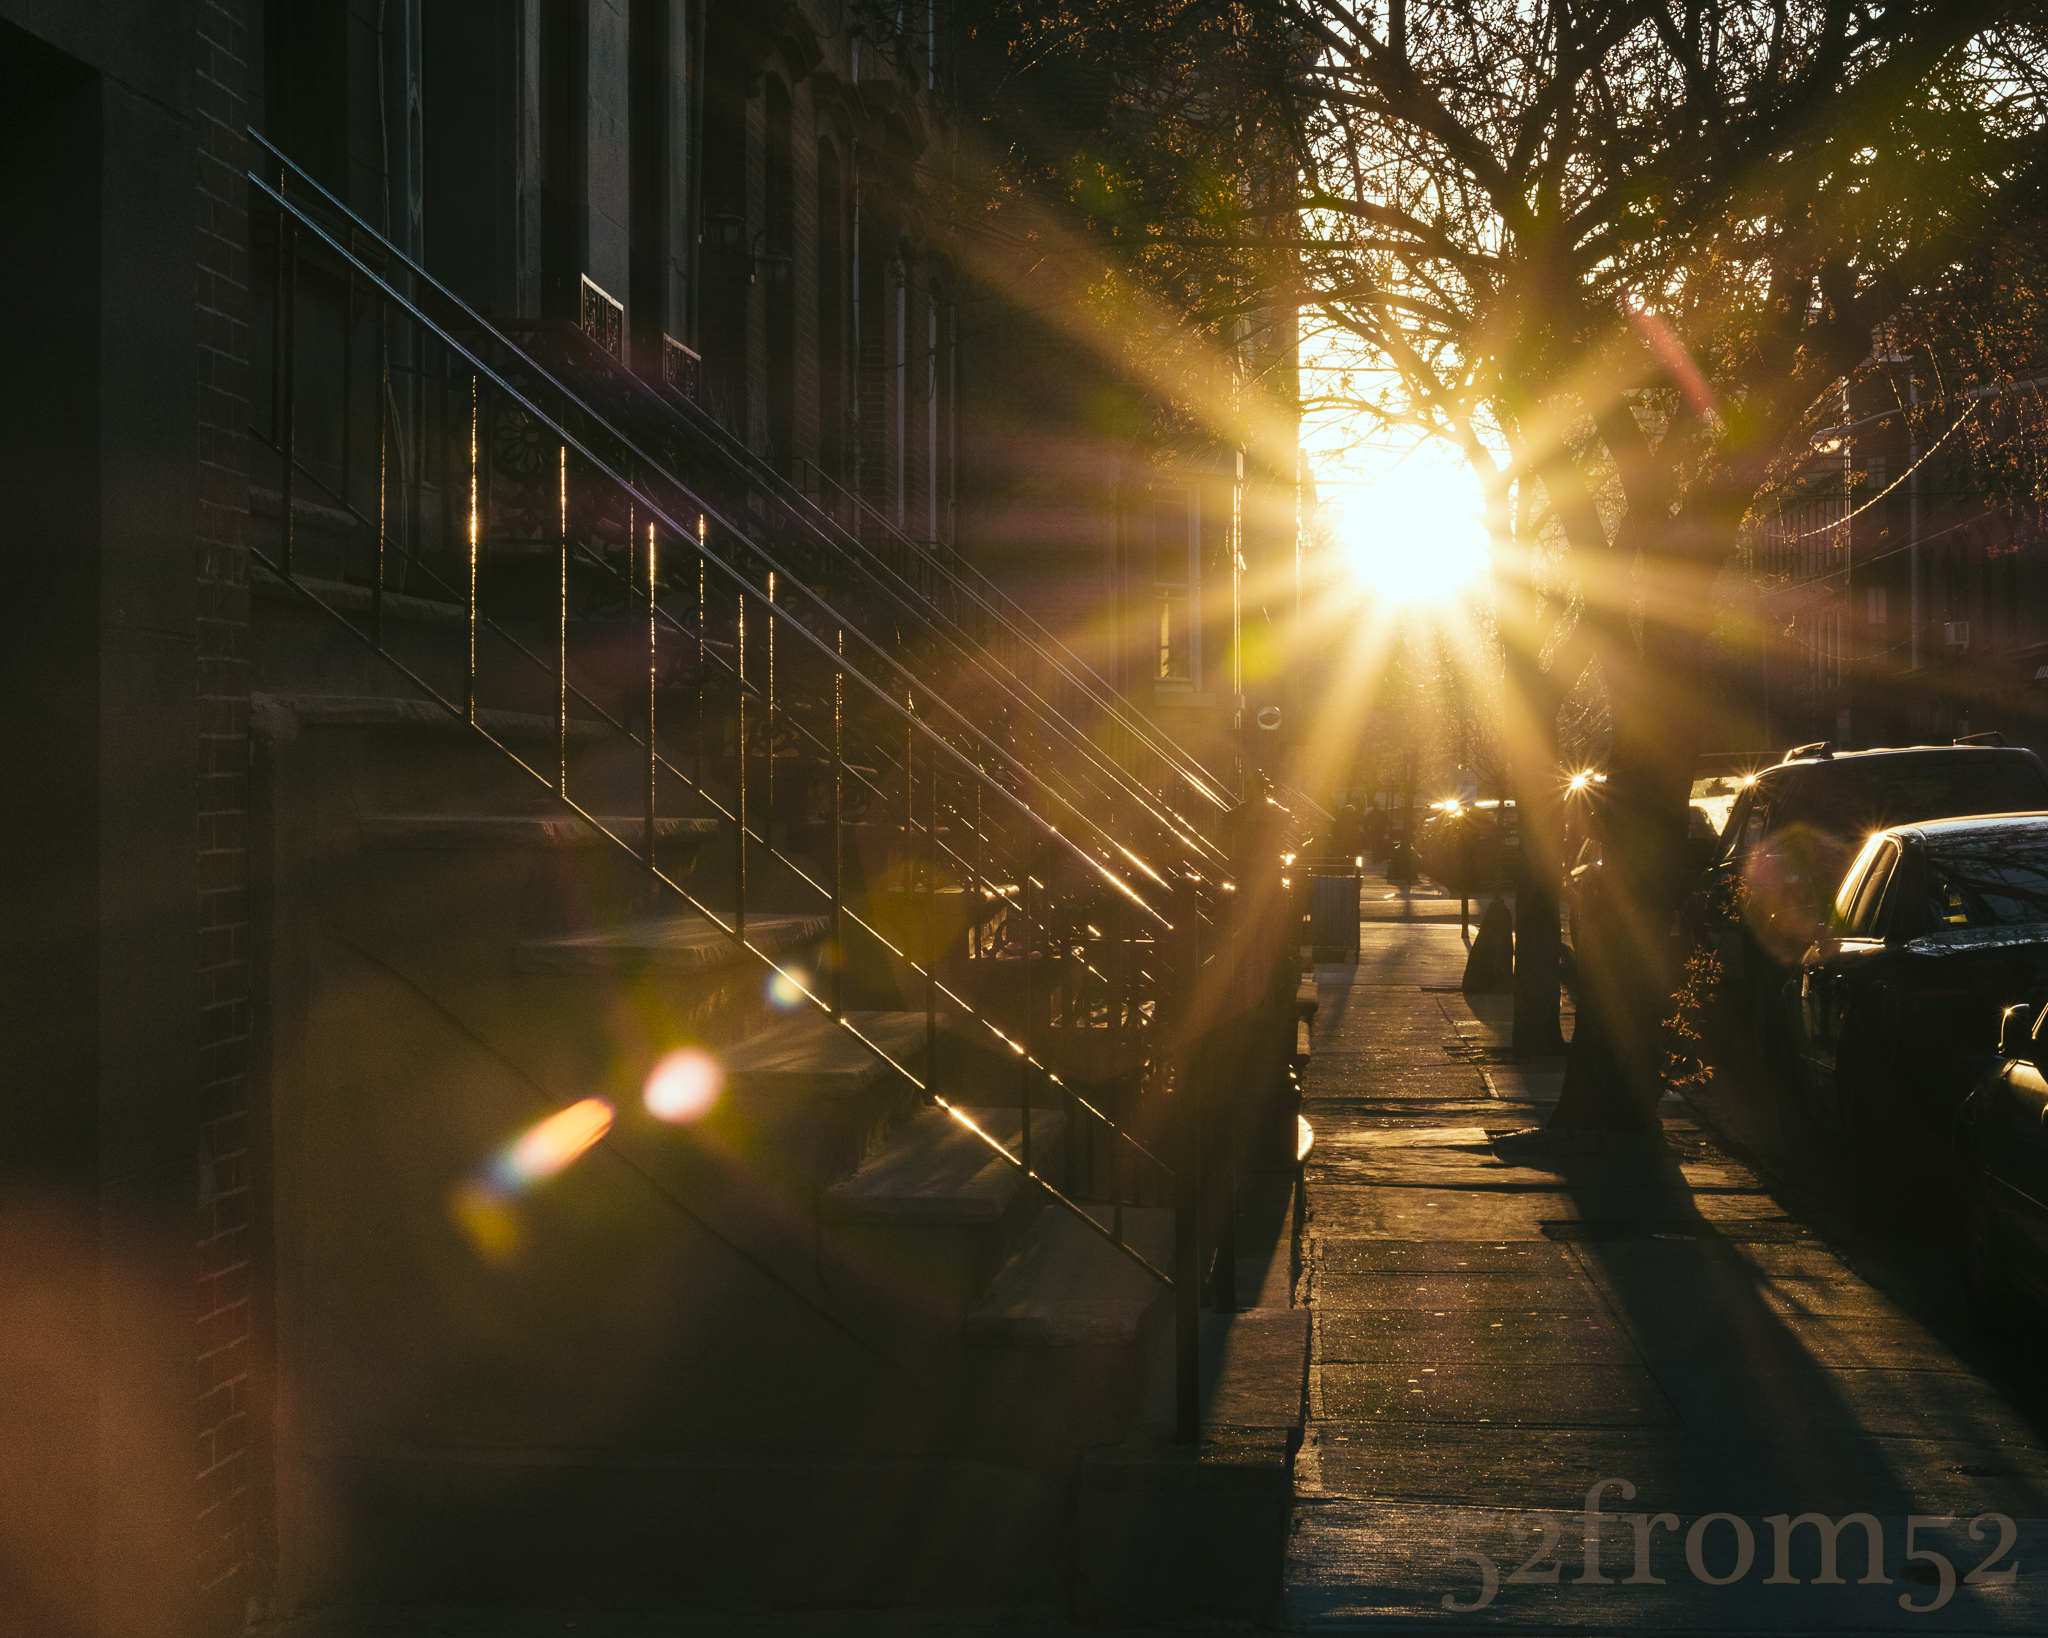
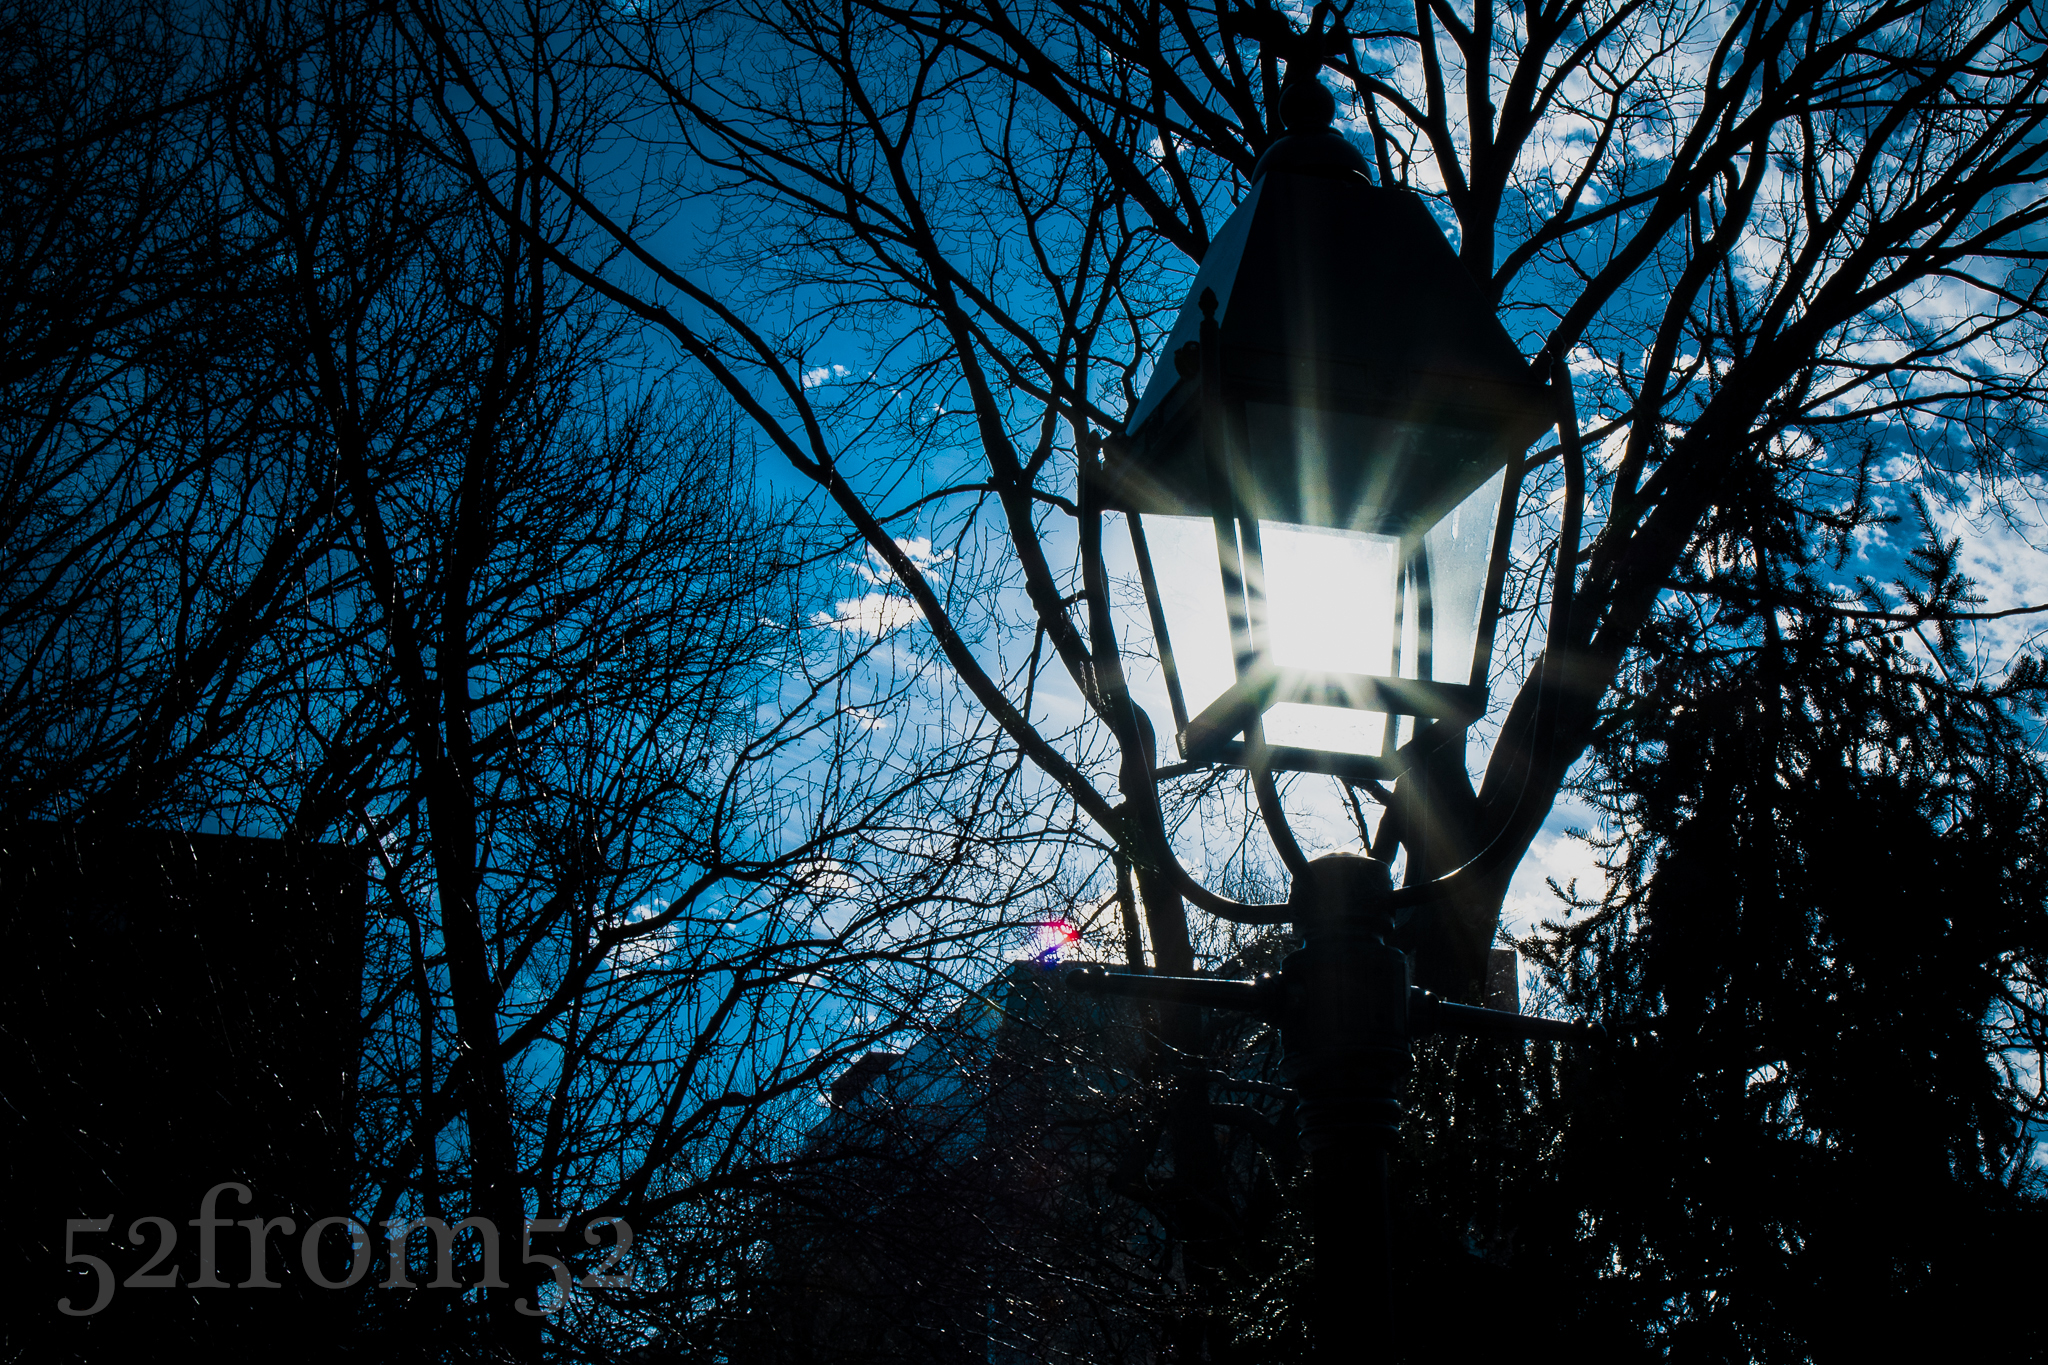
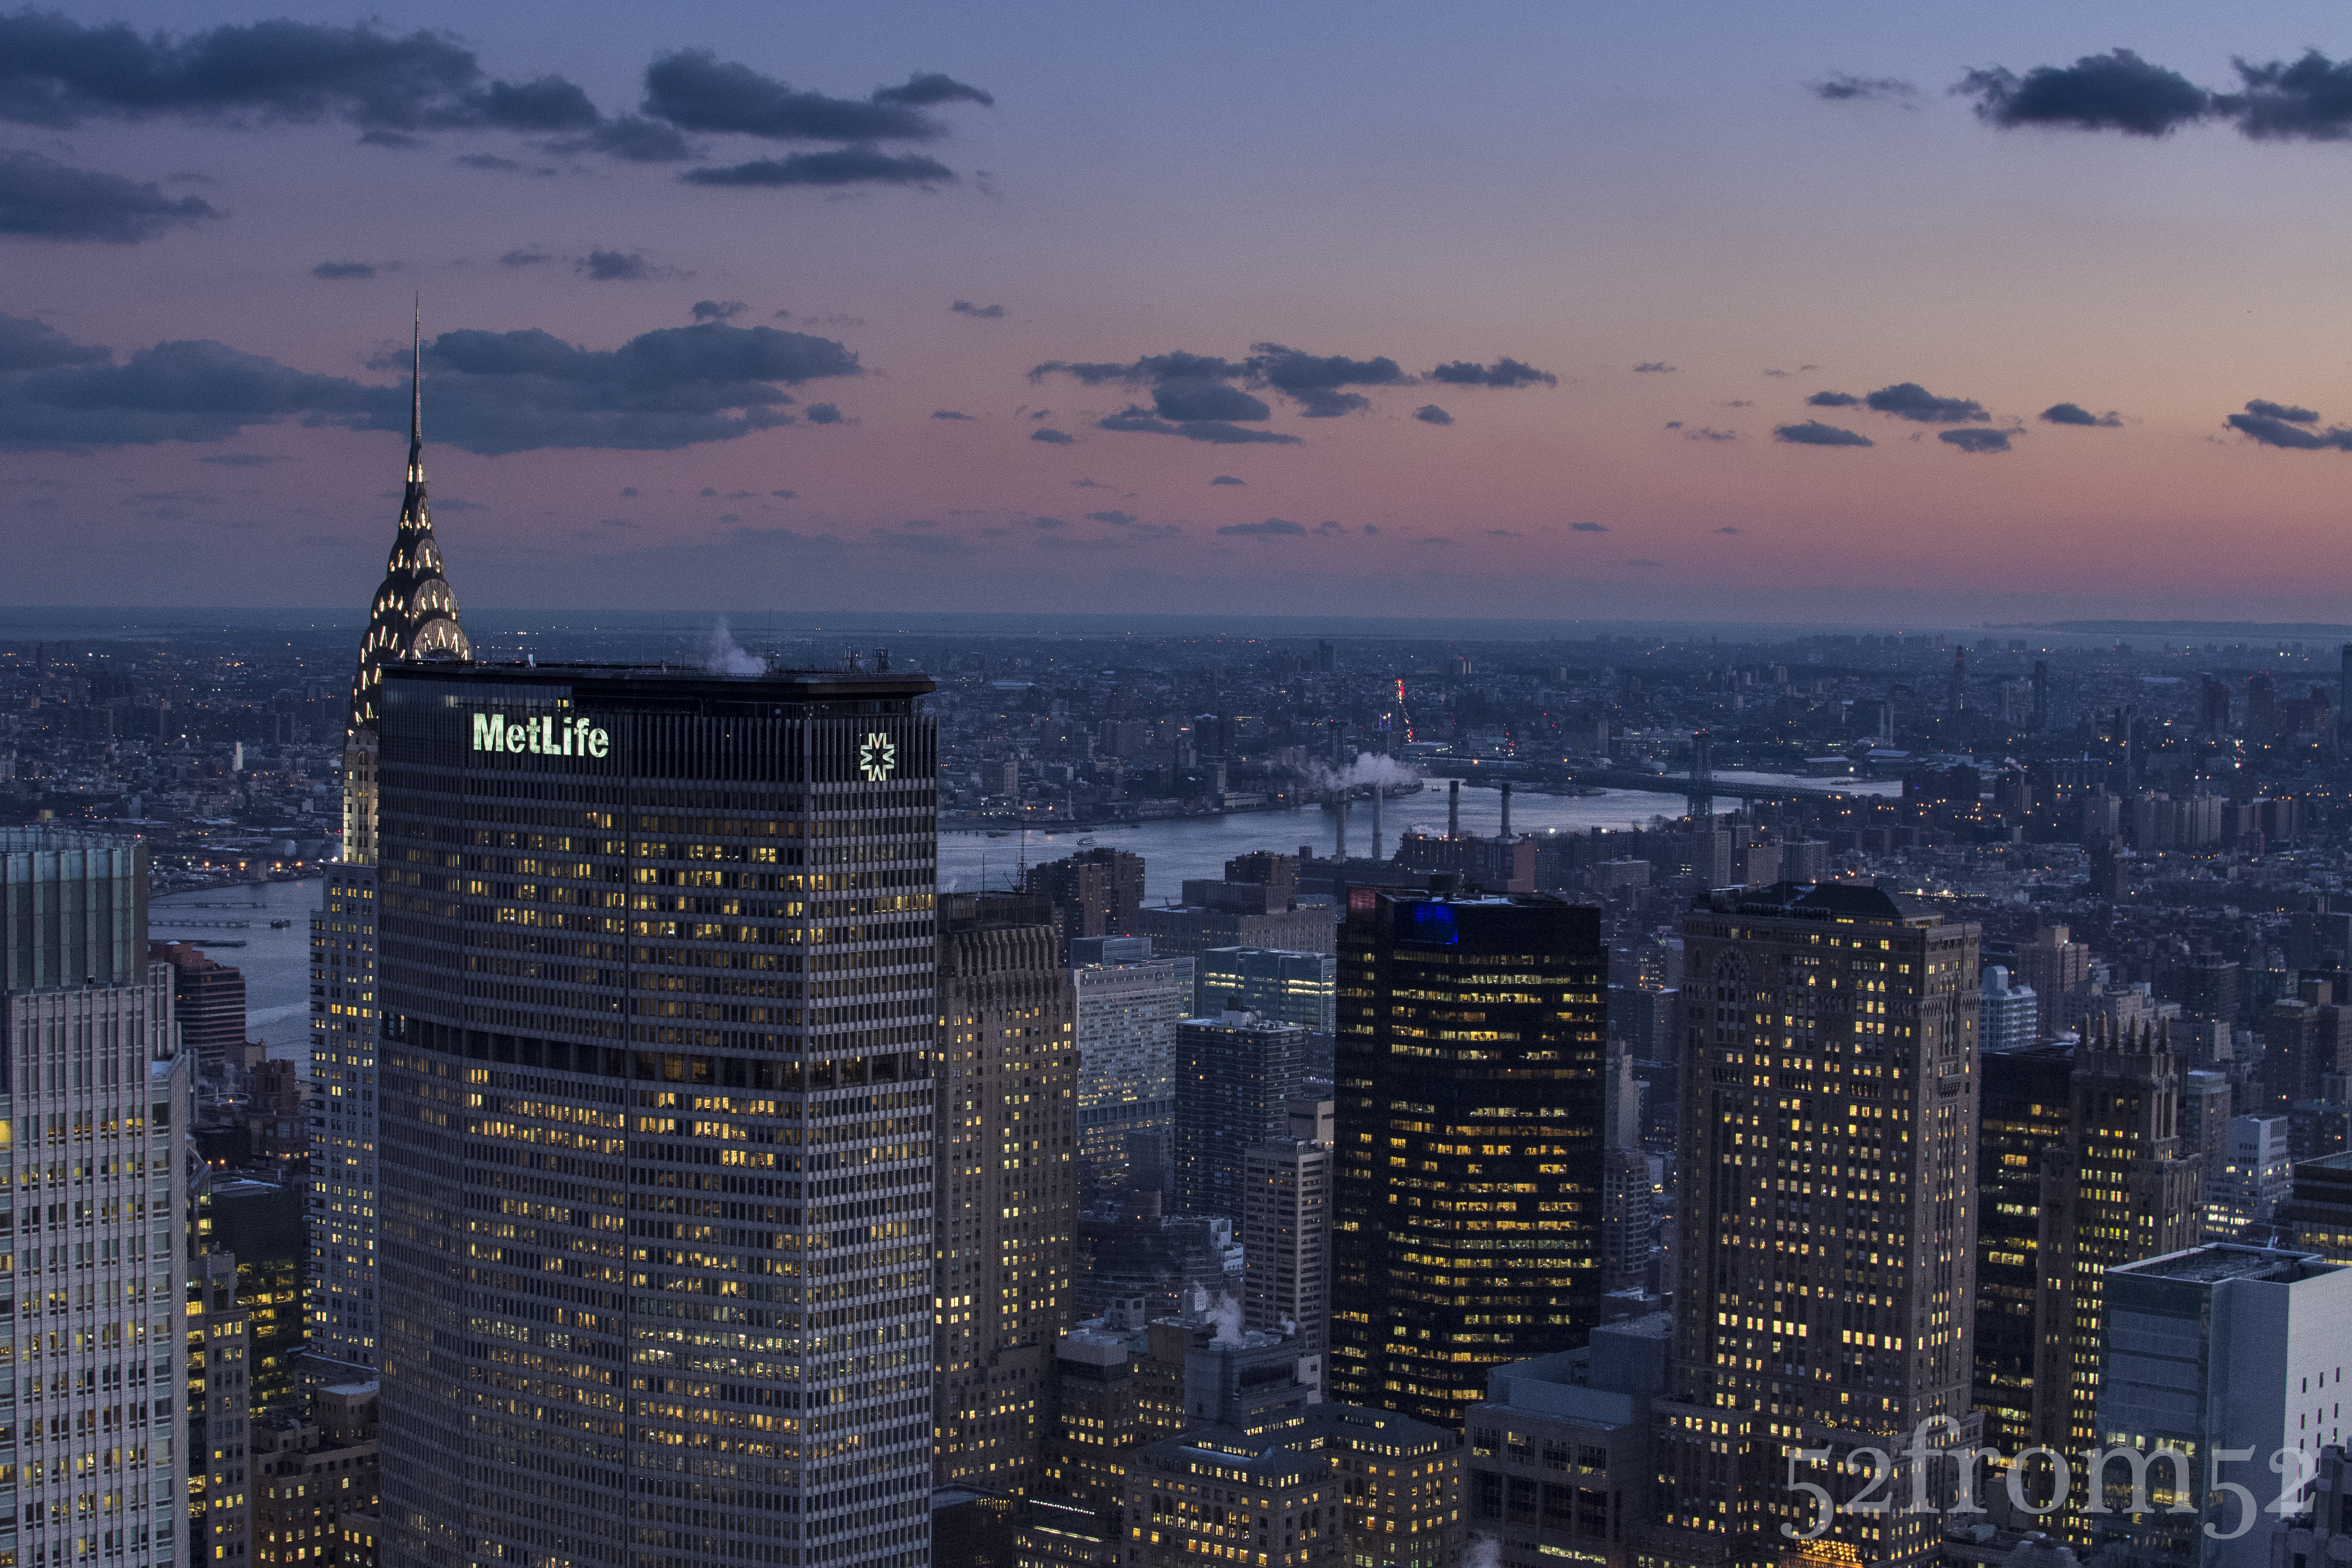
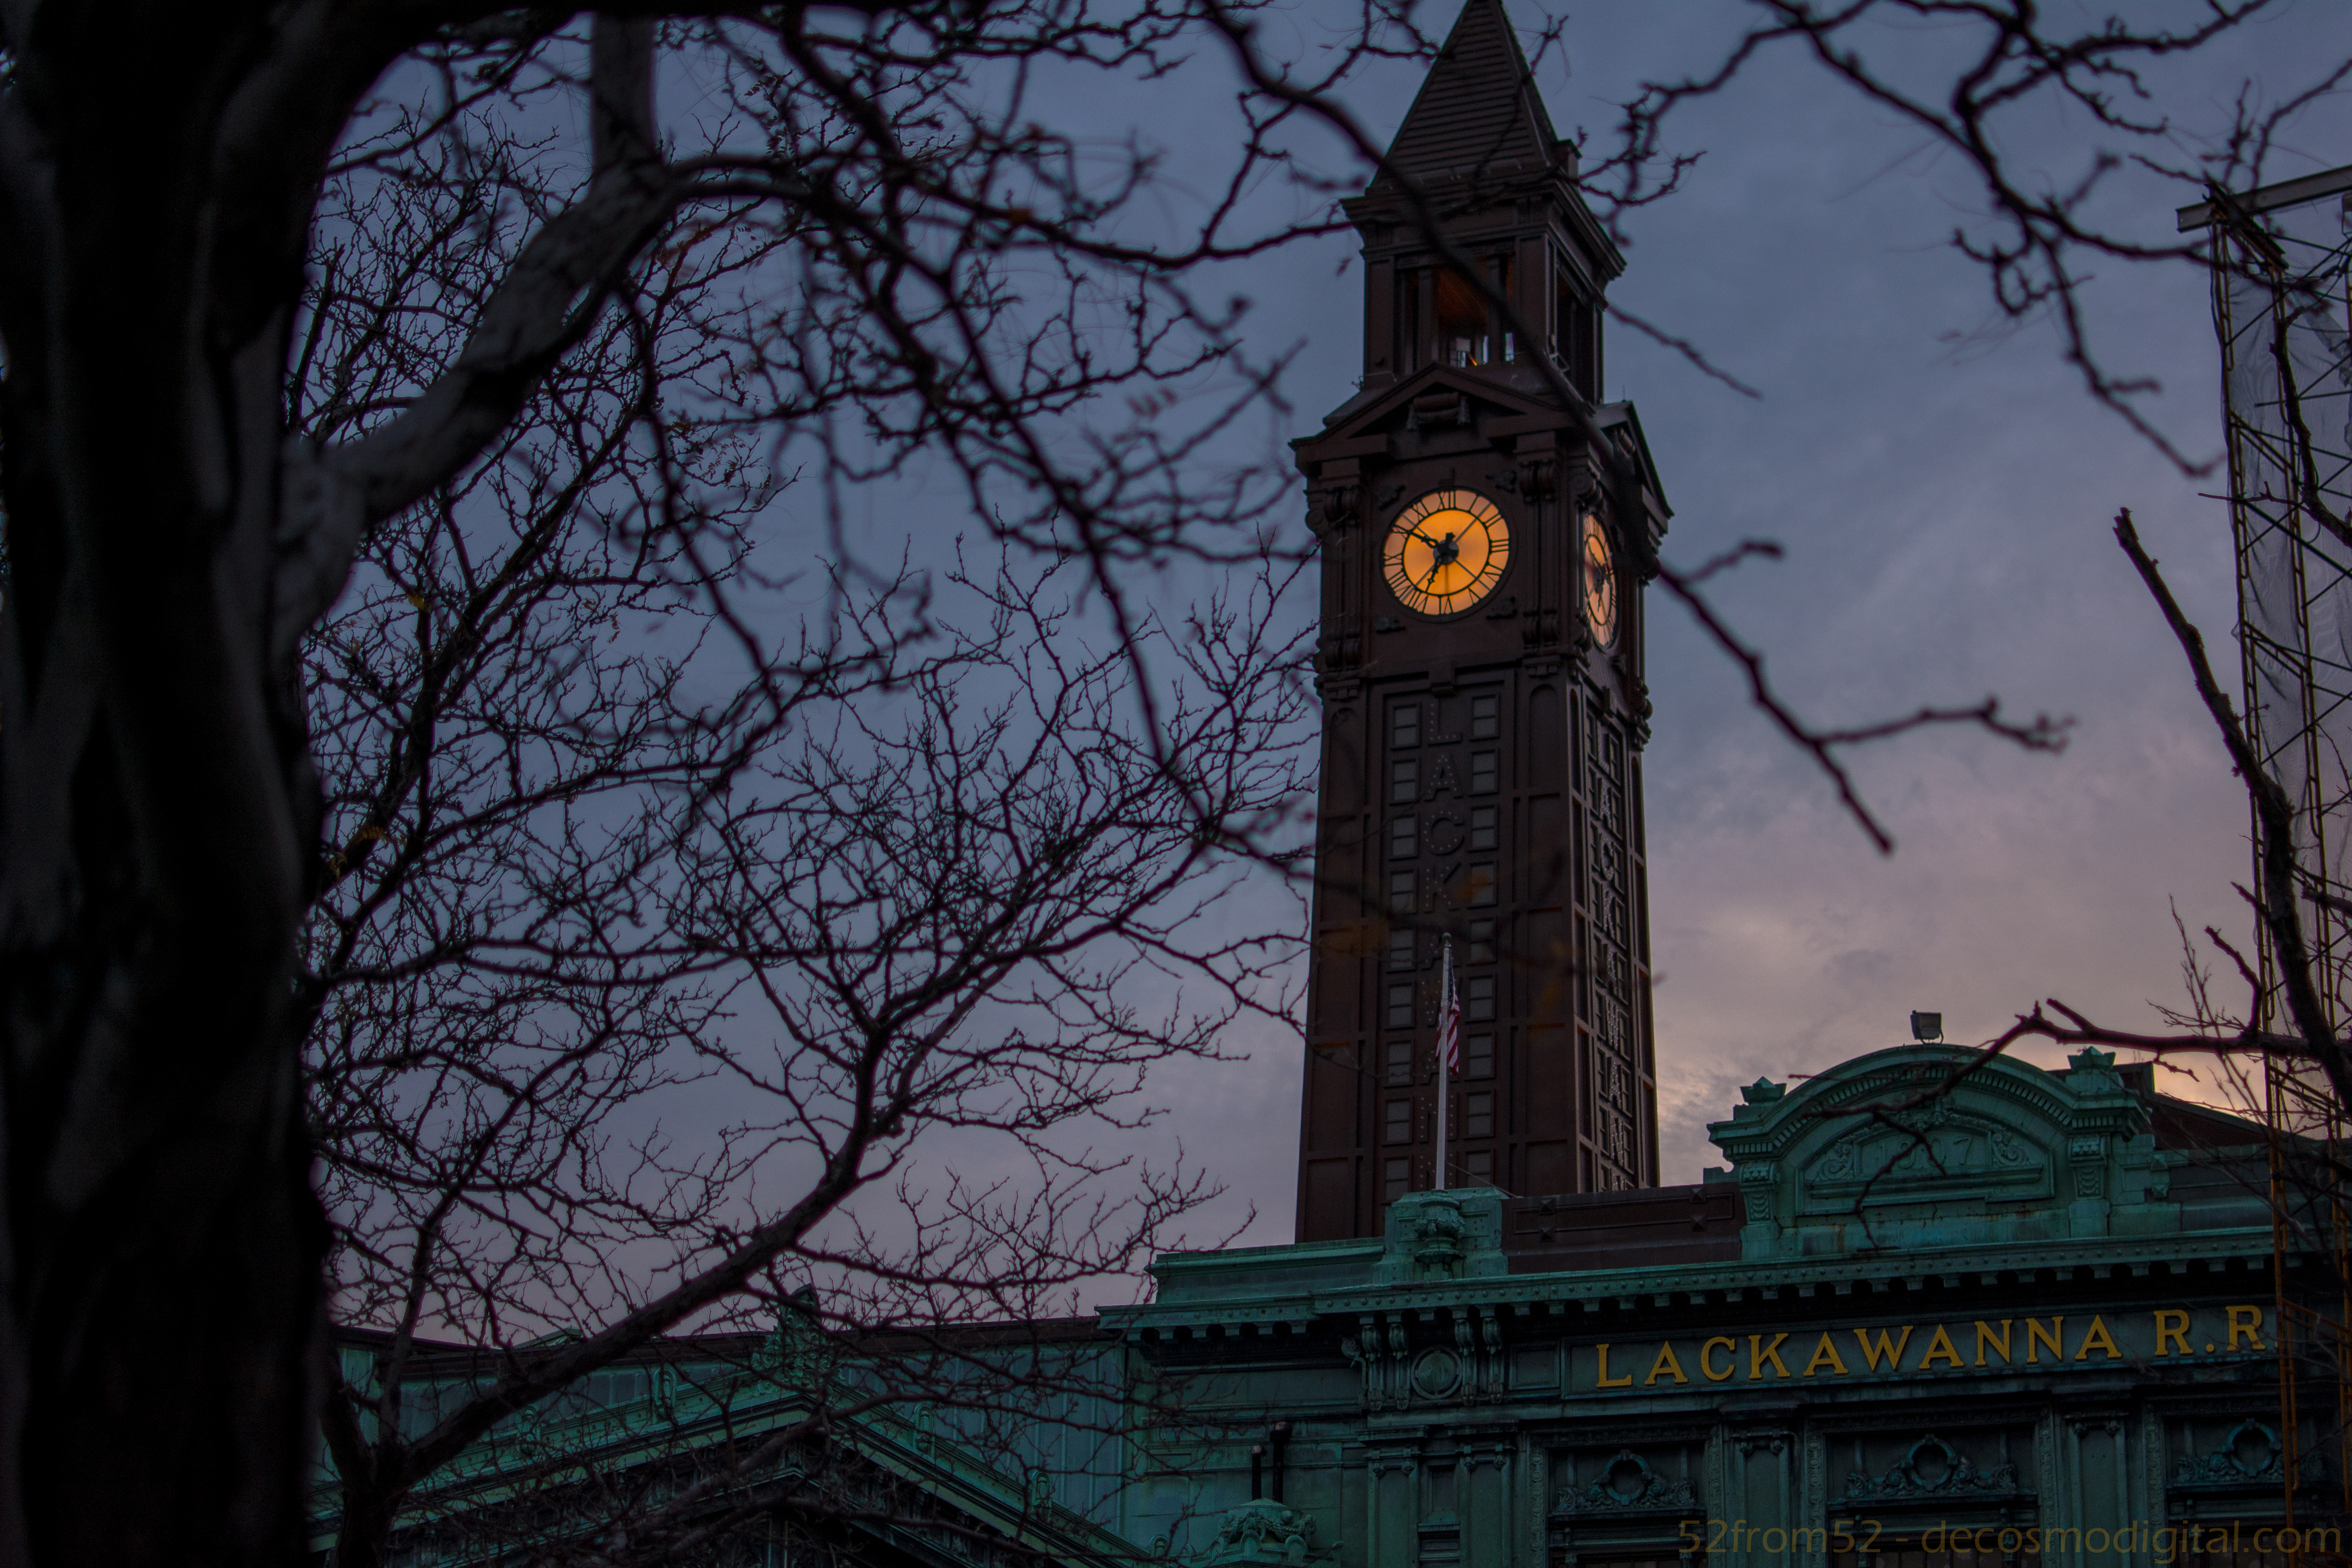
During the week I went out and tried to recreate some of my first attempted “night photography” pictures. After successfully recreating one of the pictures I took on the first night of owning my camera, the progress was pretty clear. However, after looking at my recreation I realized one nuance in my recreation idea. I couldn’t limit myself to taking the “exact” picture, I needed to place myself at the same location but then shoot freely choosing whatever composition I liked. Since composition is such a large component of photography, it seemed silly to force myself into recomposing images that might have been better from another perspective.
On Friday, I set out for my traditional Memorial Day weekend trip to “The Farm,” which is my friend Bob’s PA house. While in route I was excited knowing “The Farm’s” rural landscape would act as the perfect testing ground for my progress.
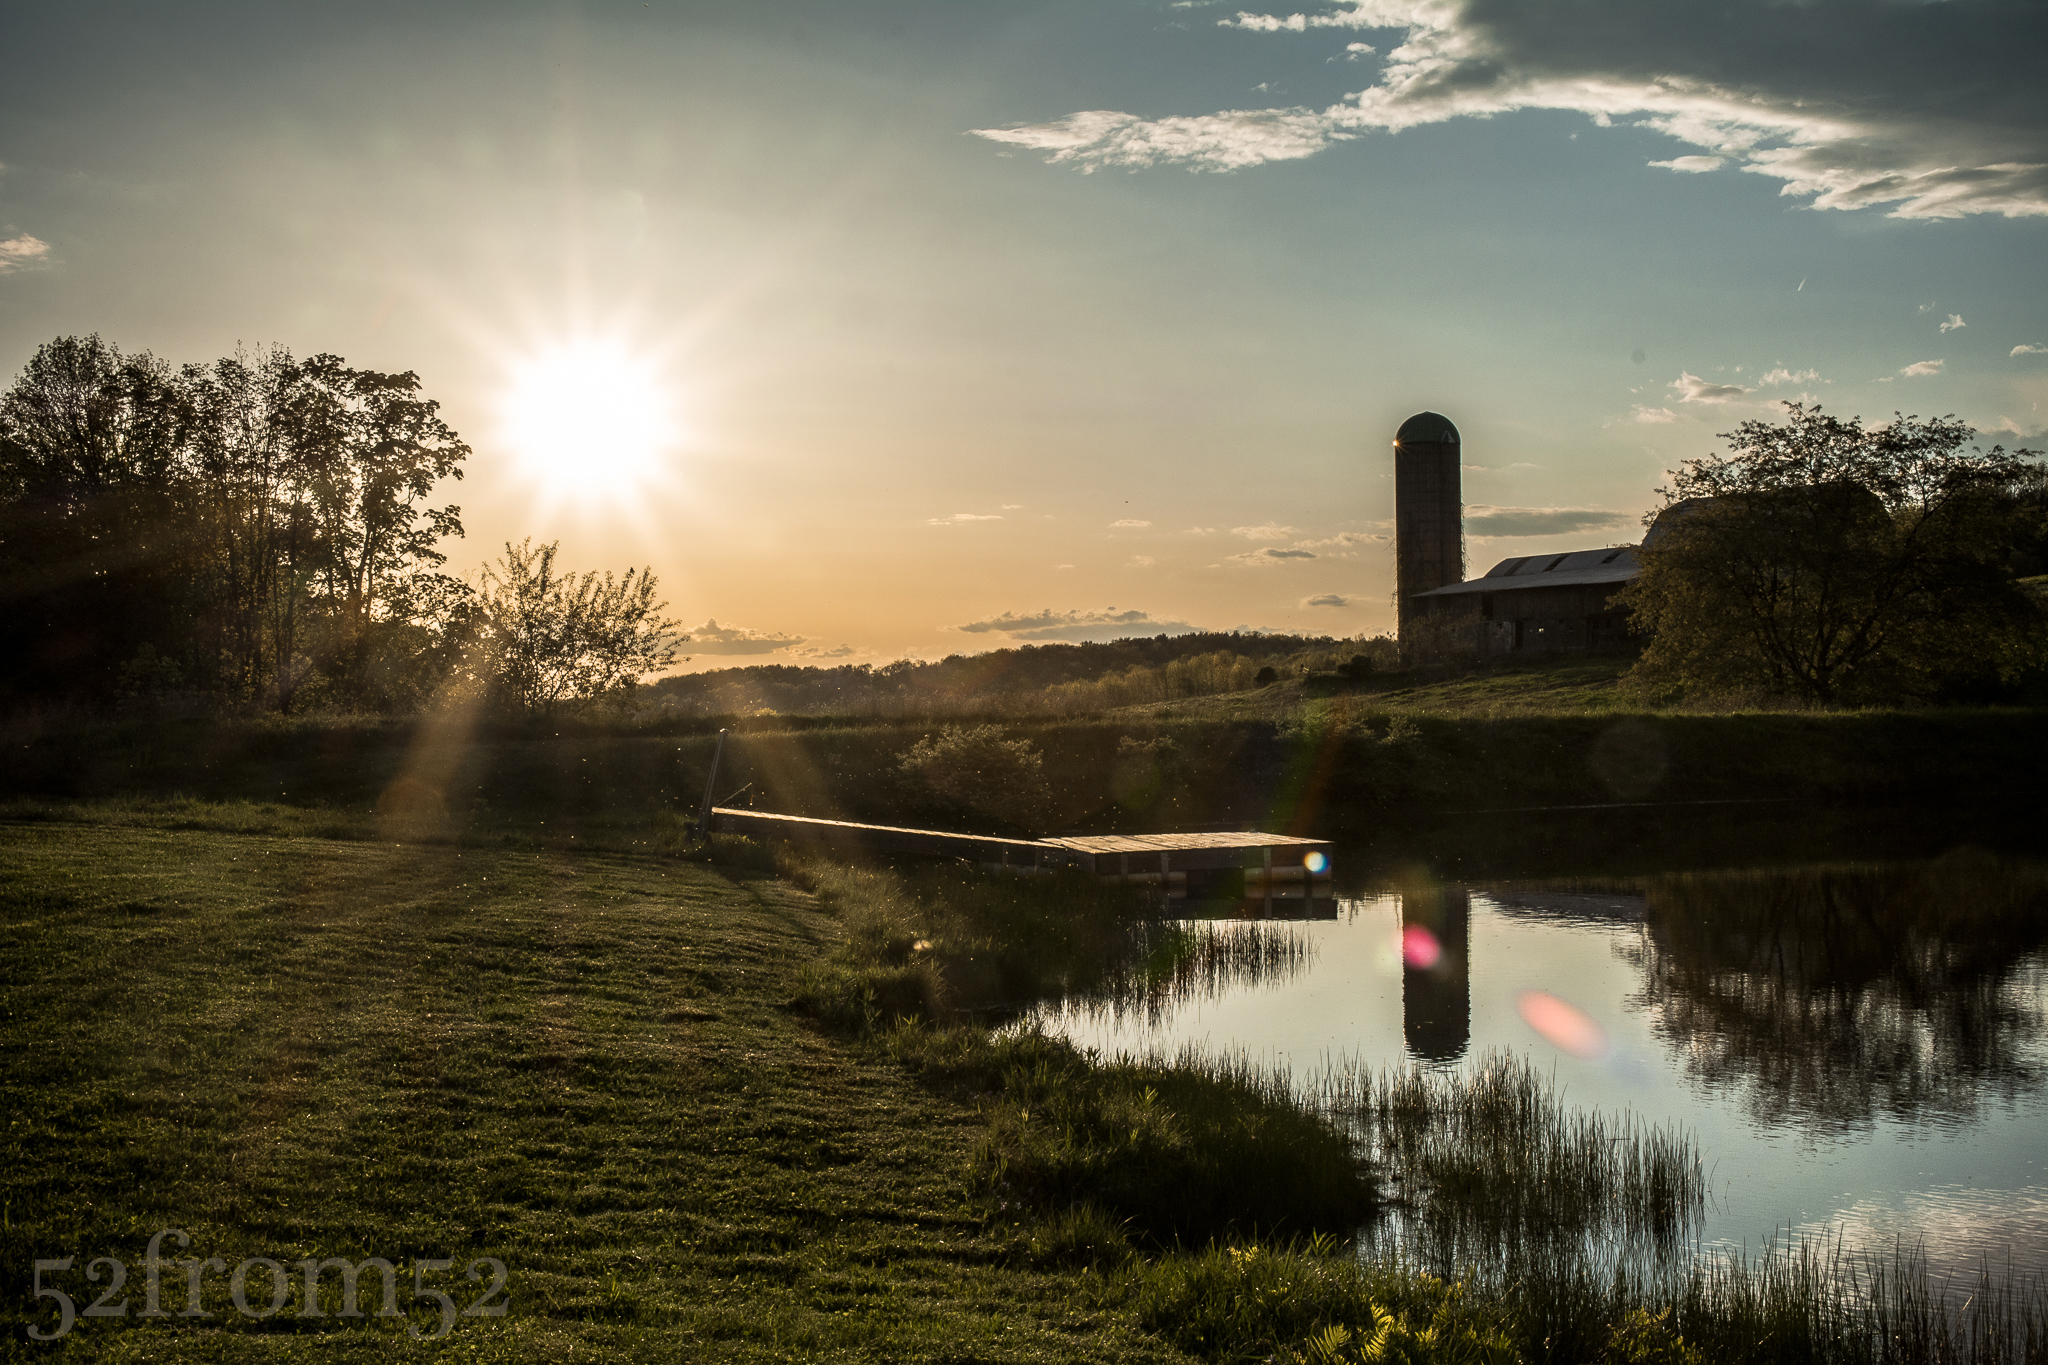
Recreation of a shot from 2013
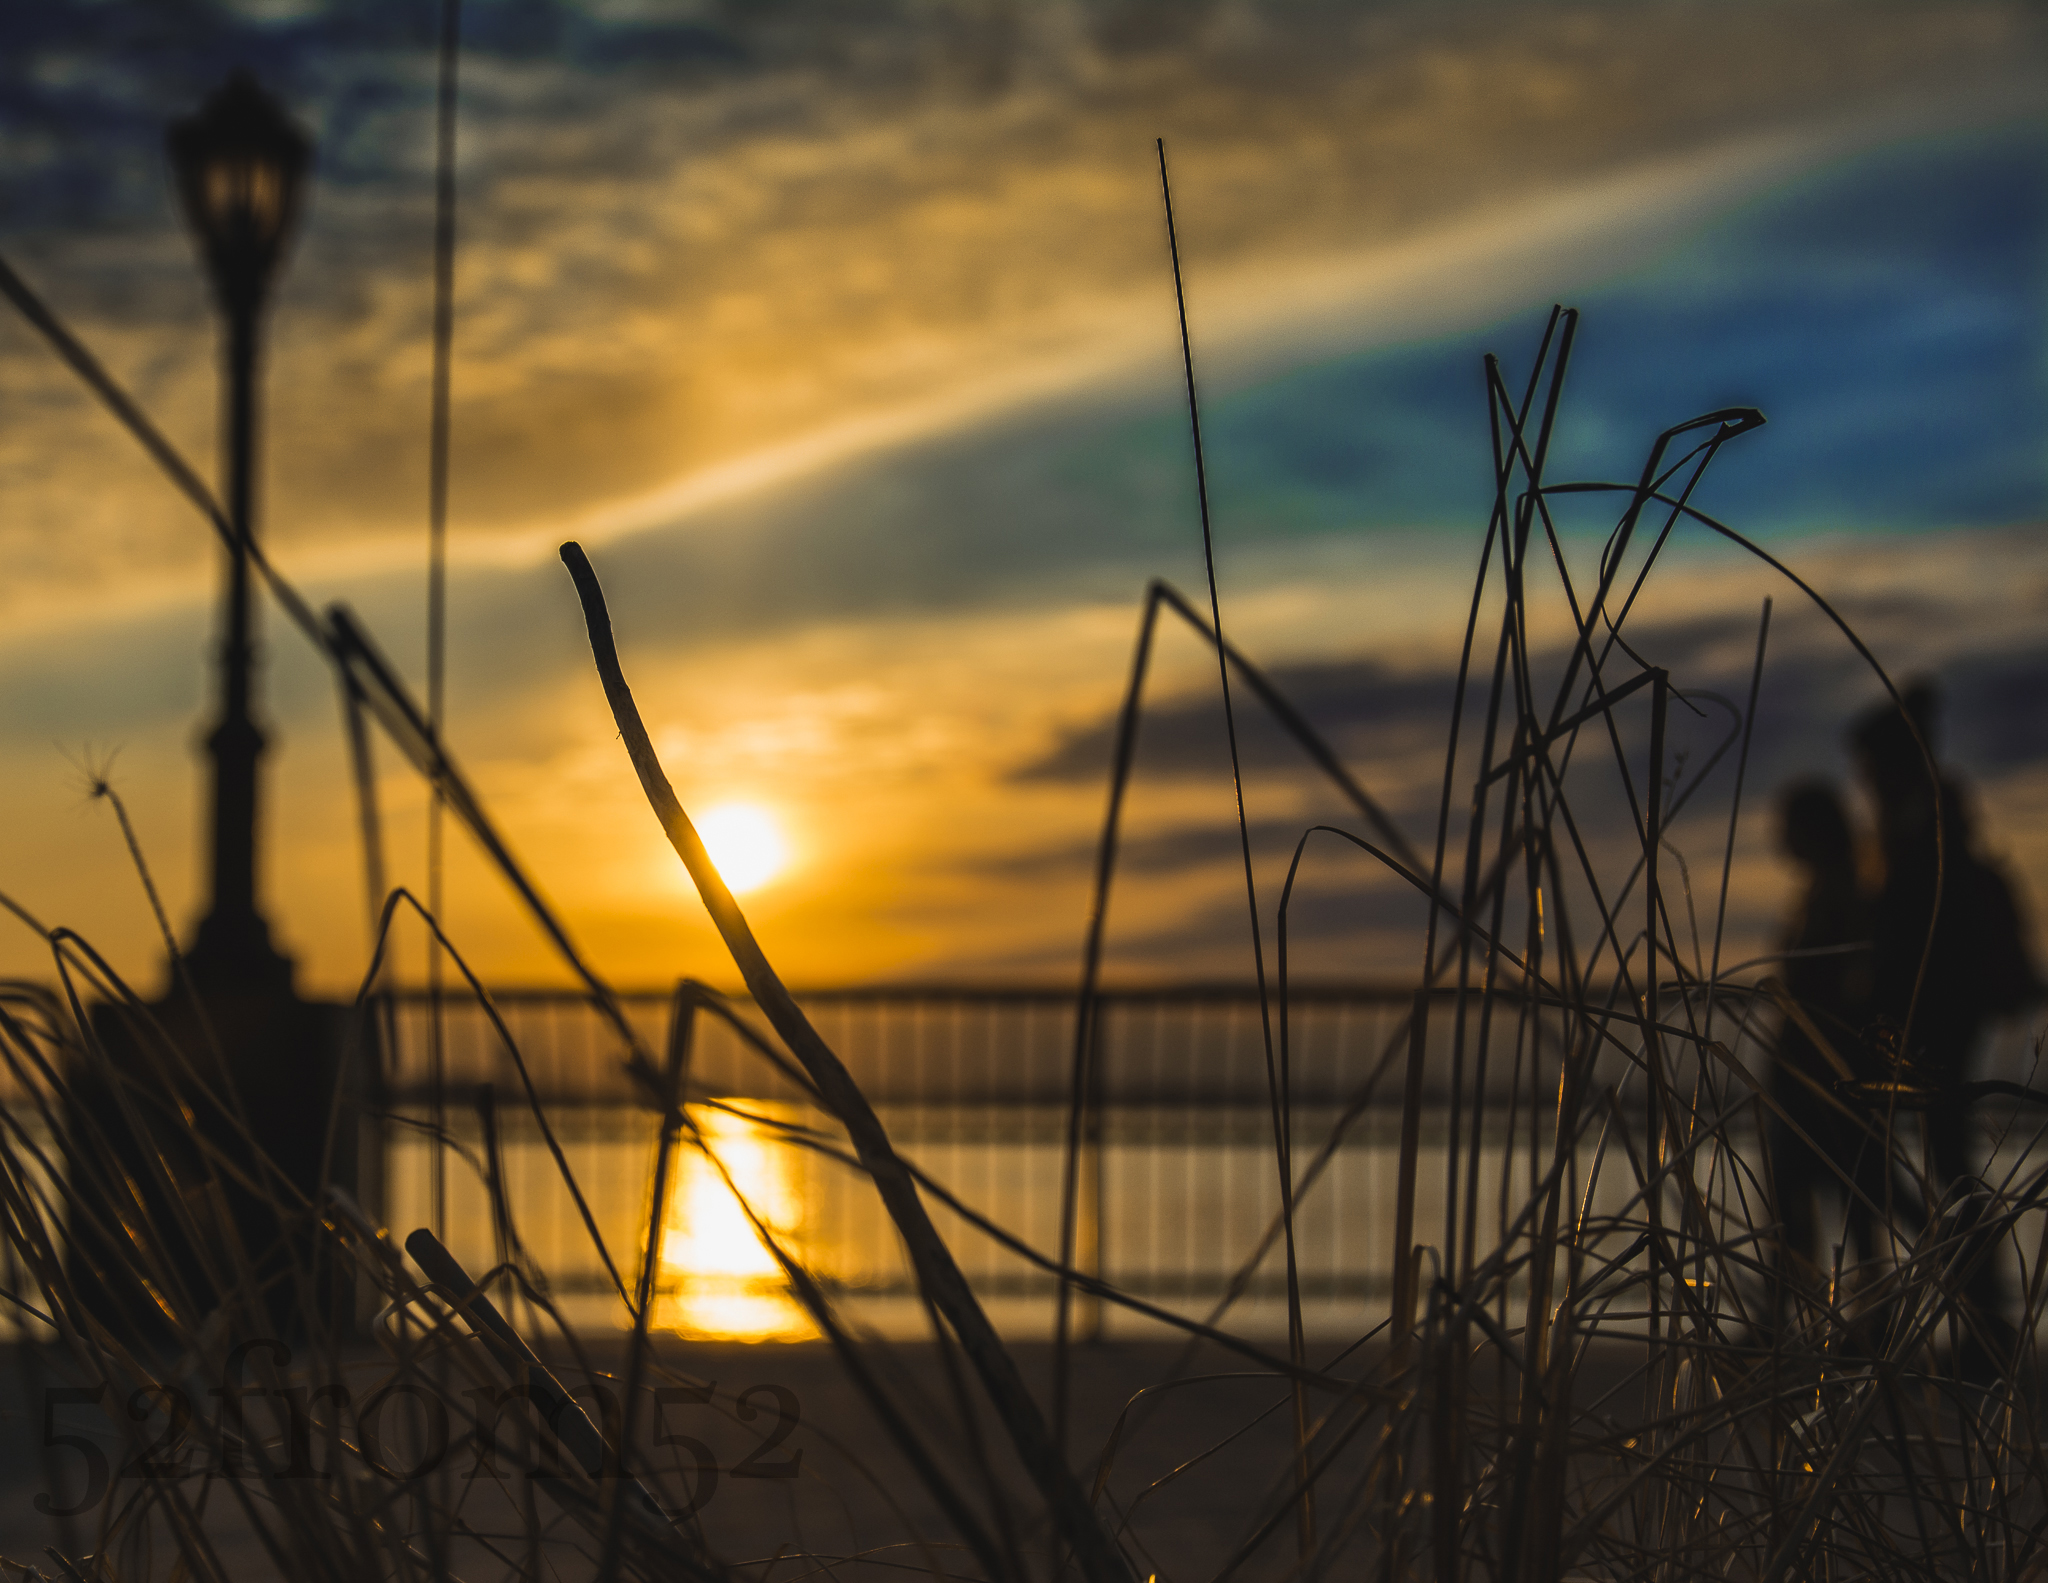
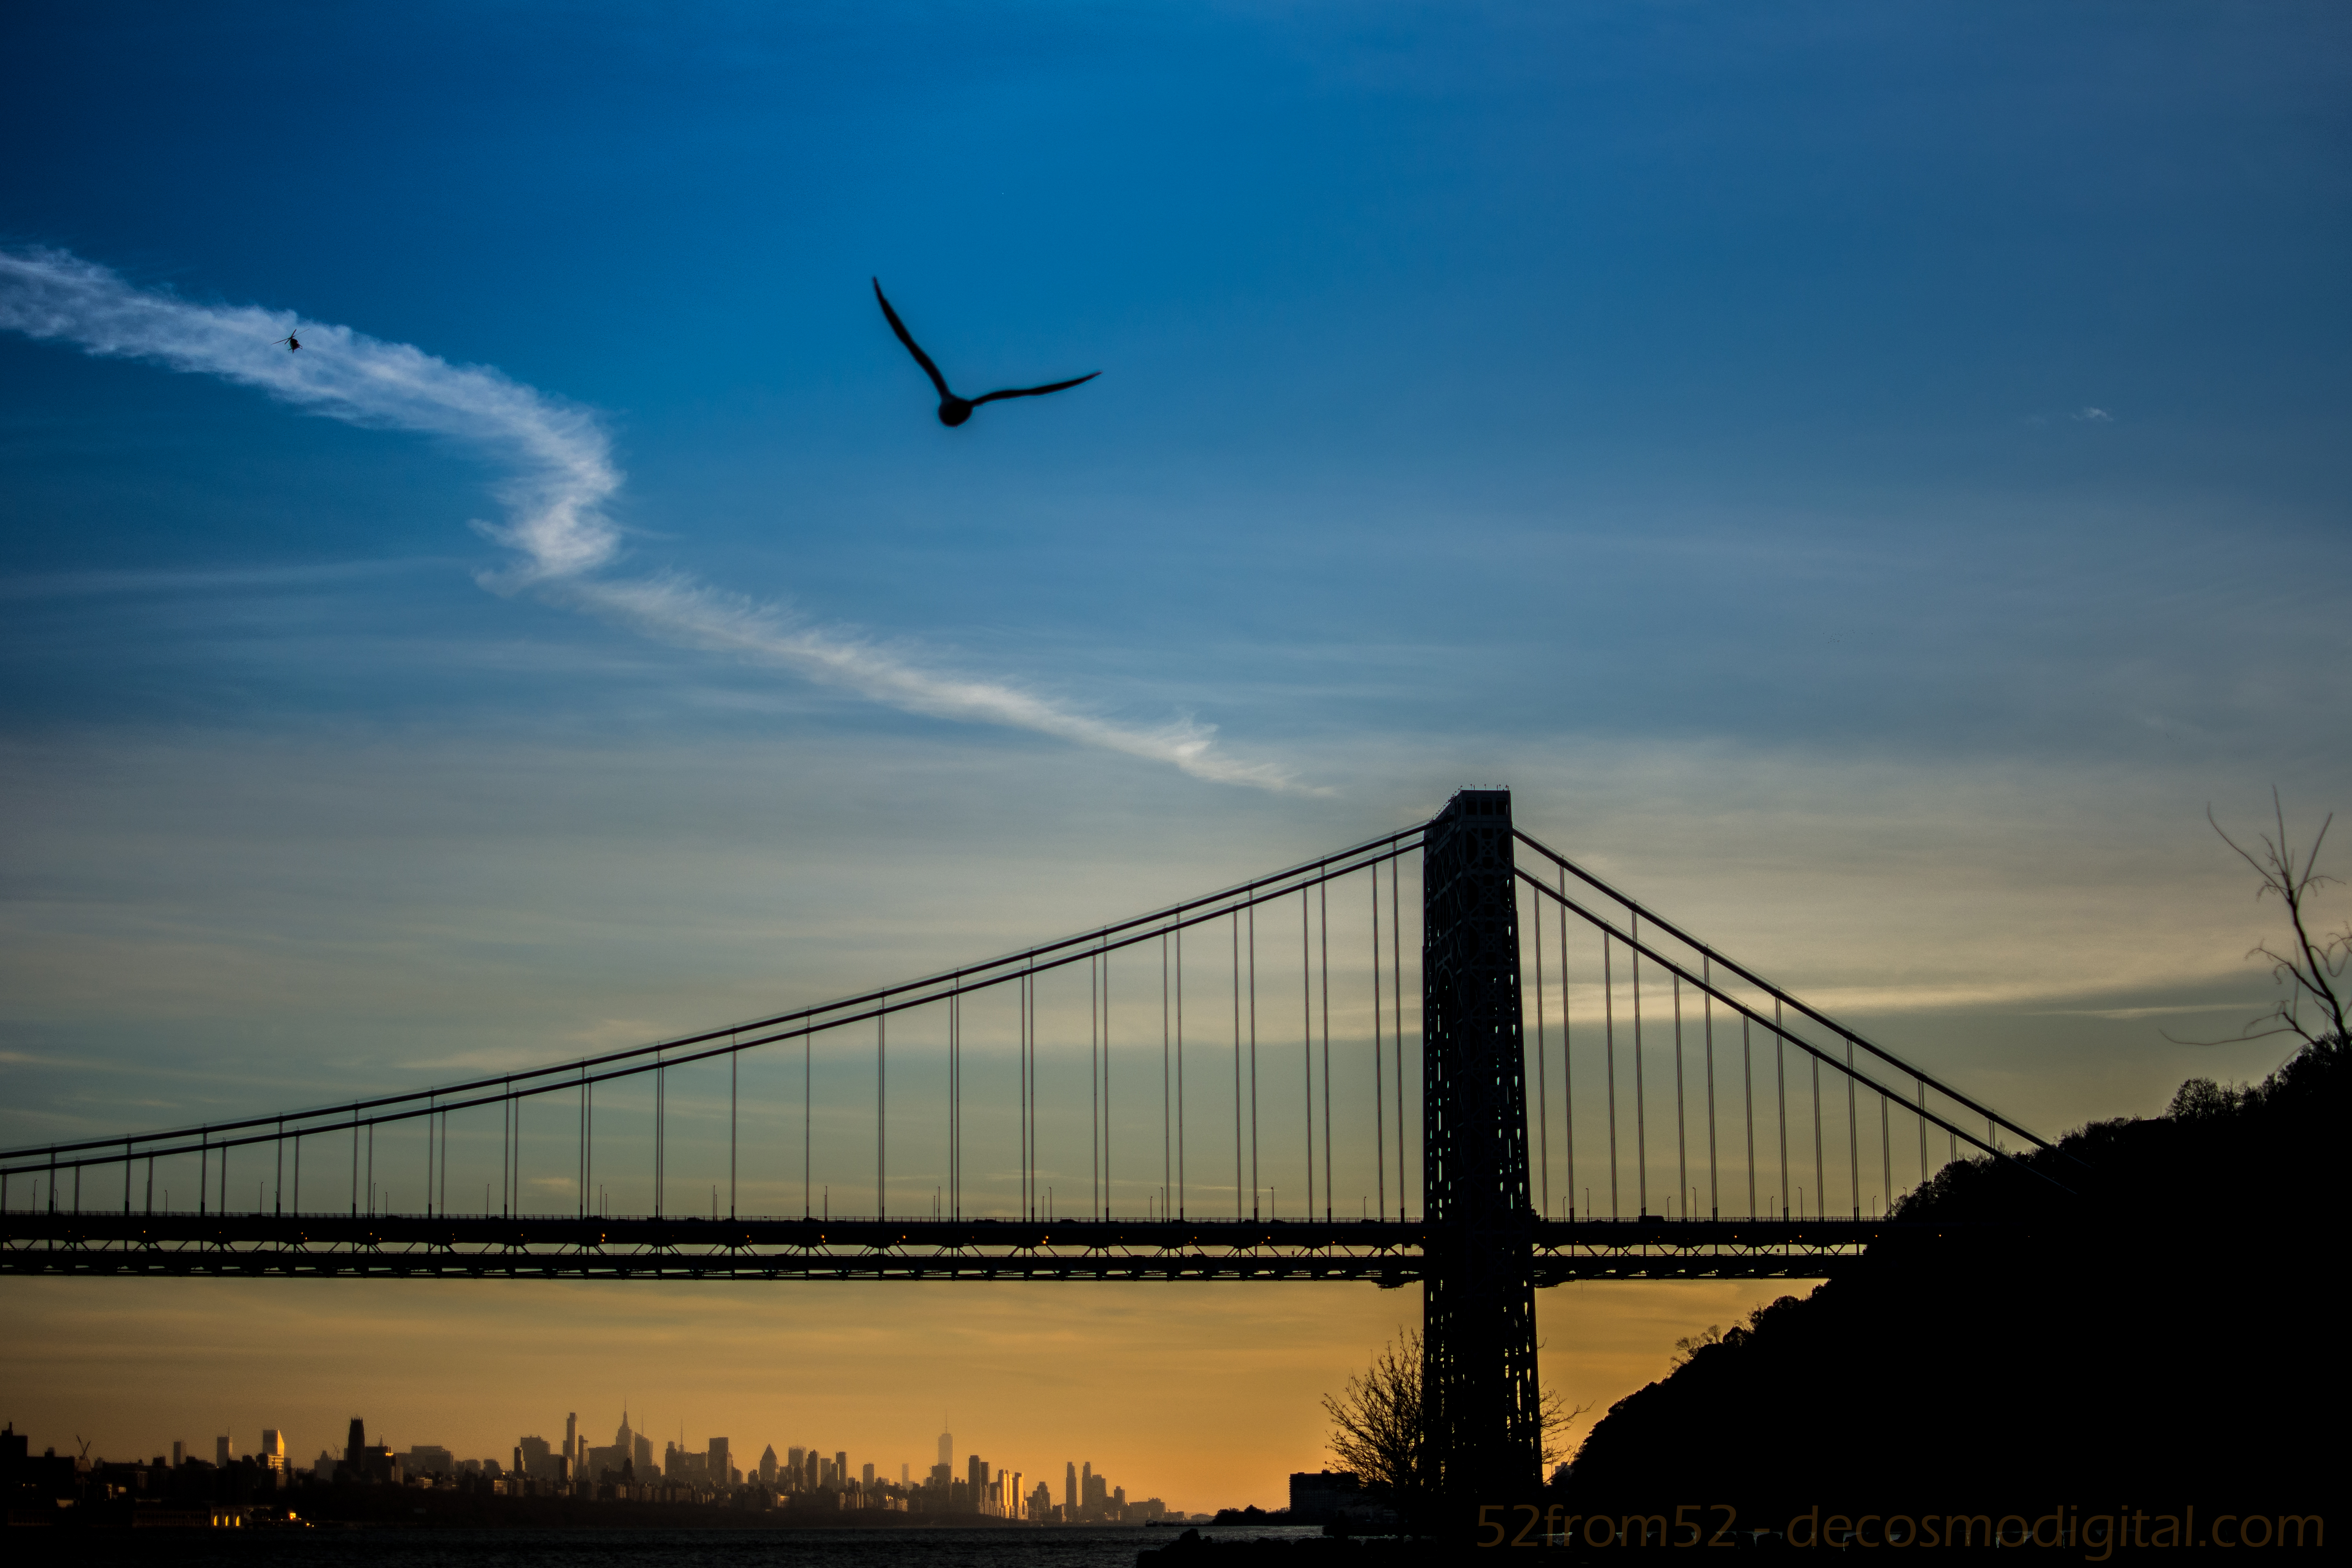
Without getting into the technical aspect of my progress (I’ll cover that in the next section), let me just say WOW, I saw a whole new side to the Farm. It’s worth noting that I’ve been going to the Farm for 11 years, so something new totally blew my mind! Take this week’s picture for example. Never before have I thought to walk down this road during sunset. It wasn’t until this year that it dawned on me, this road, sunset and mountain background would make for the perfect leading line composition. The new perspectives didn’t stop at this road. The entire weekend I was shown how photography has unlocked a whole new world for me visually. That’s progress, and although it’s not entirely measurable it’s certainly noticeable to me and hopefully everyone else. Seeing the progress that I’ve made in a year makes me excited to think about where I’ll be another year down the road. Only time will tell…
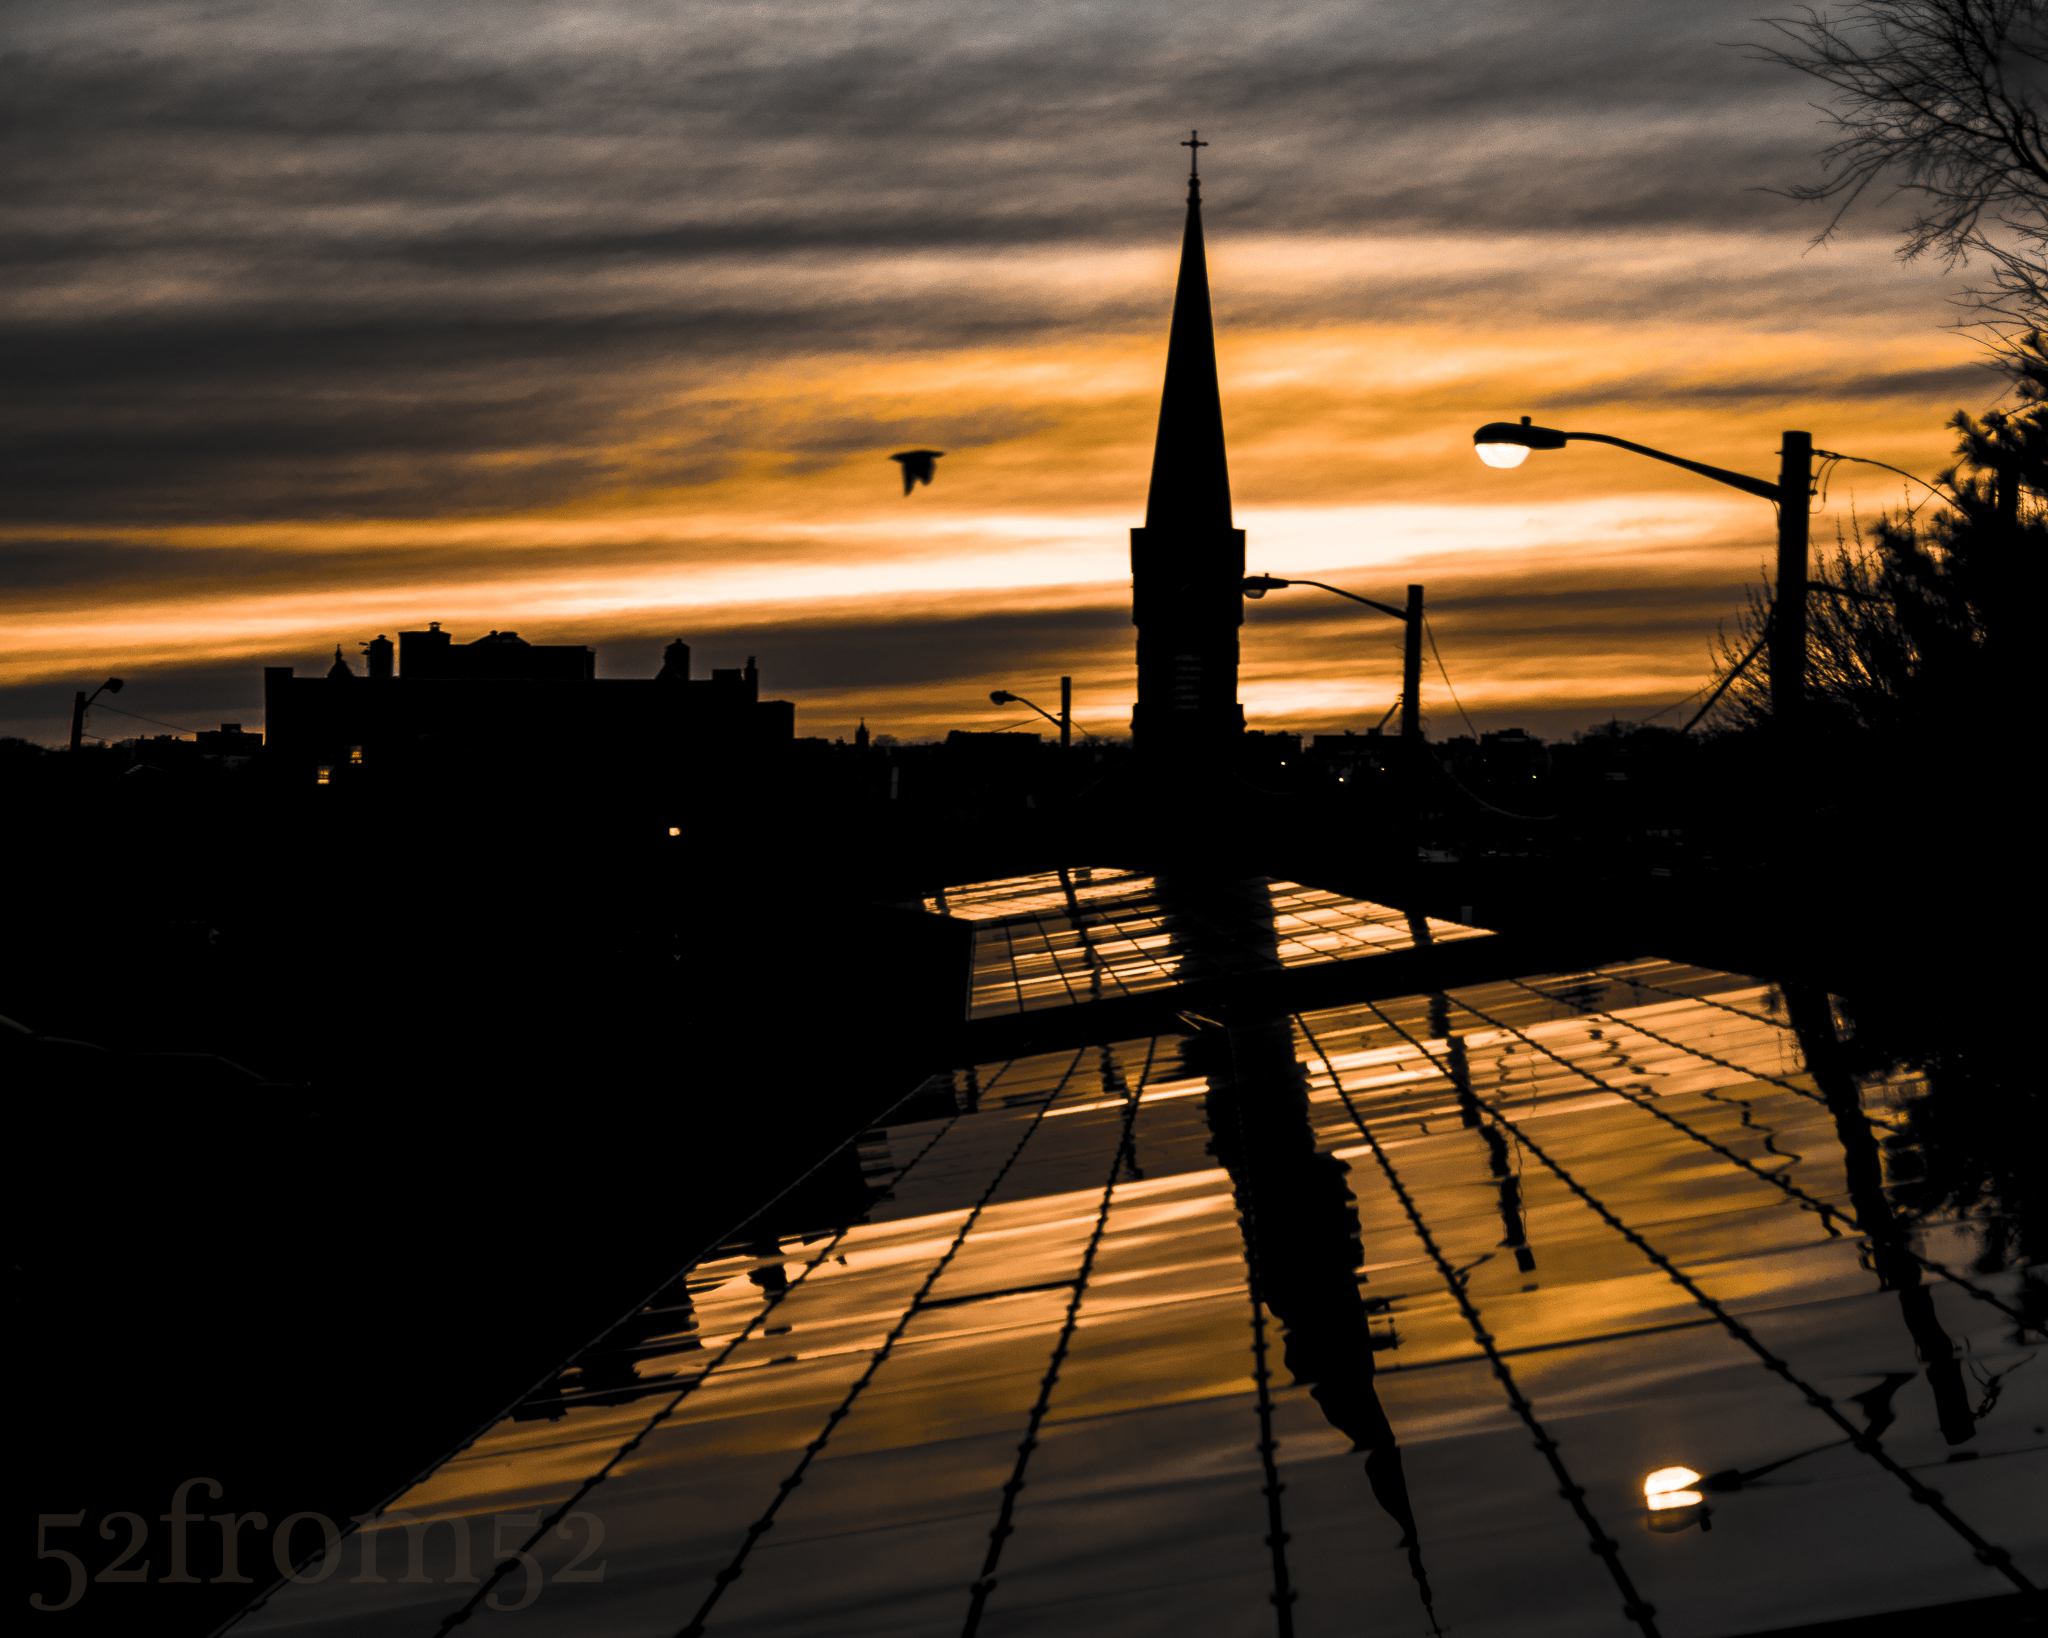
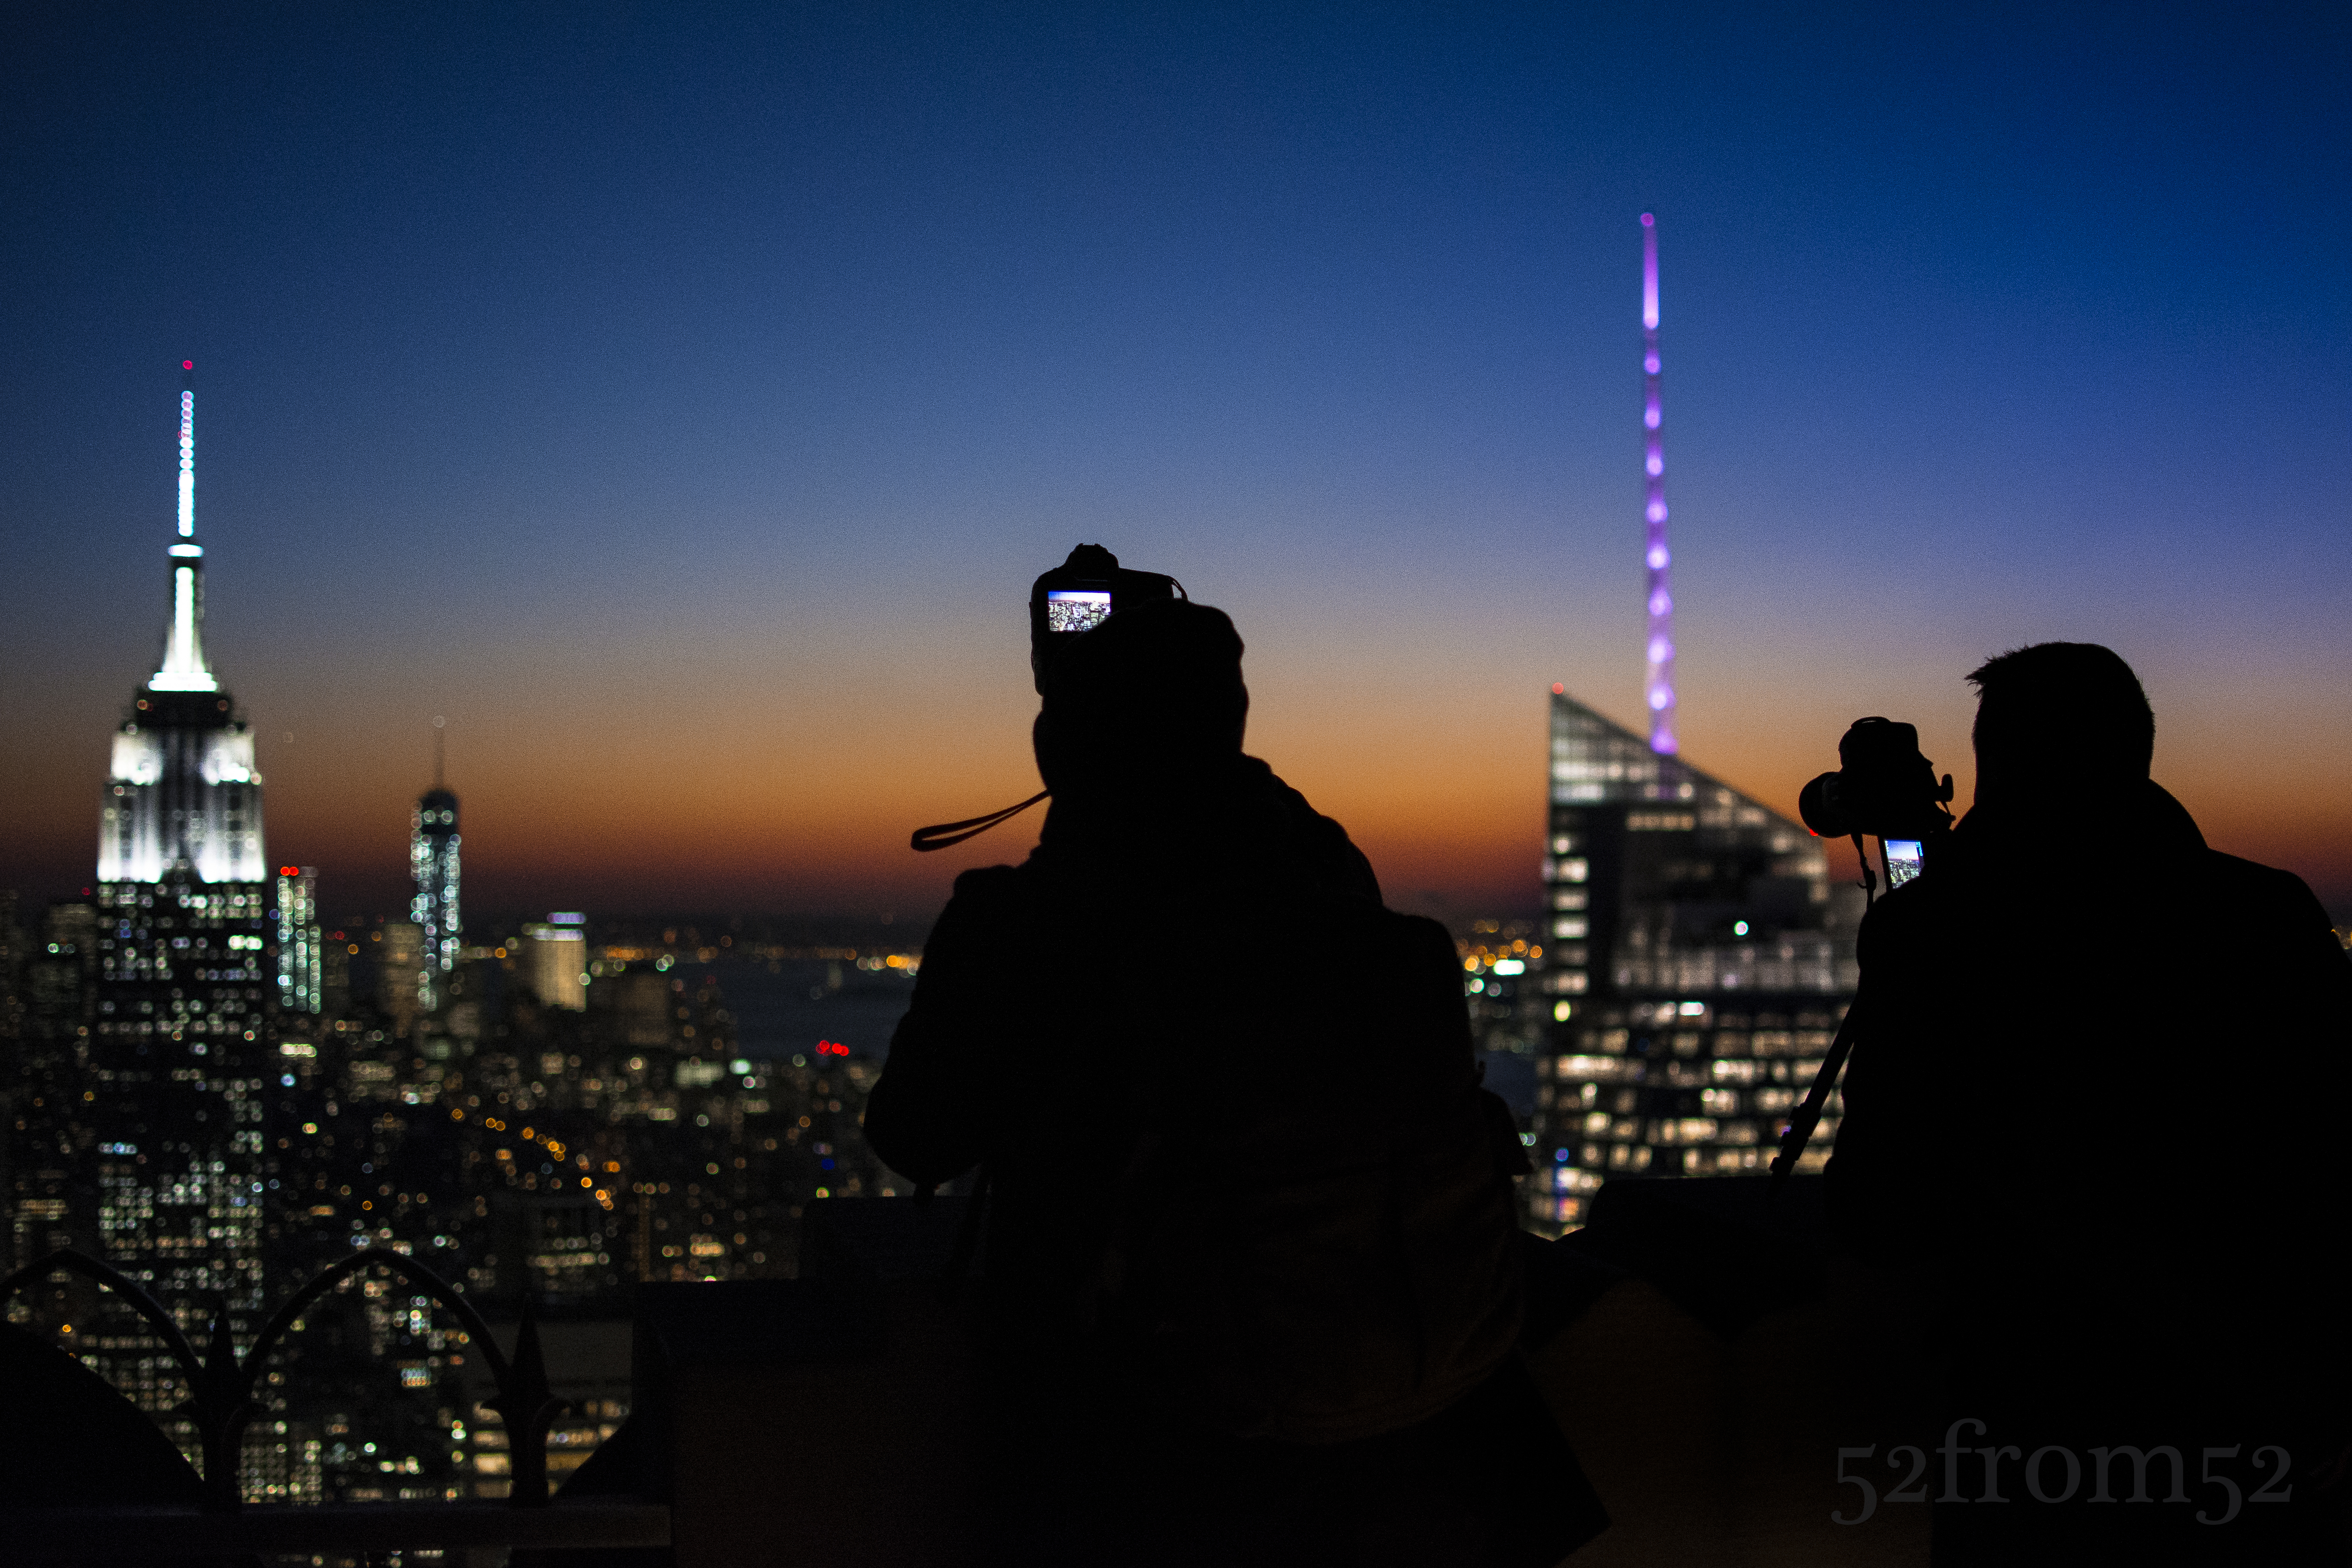
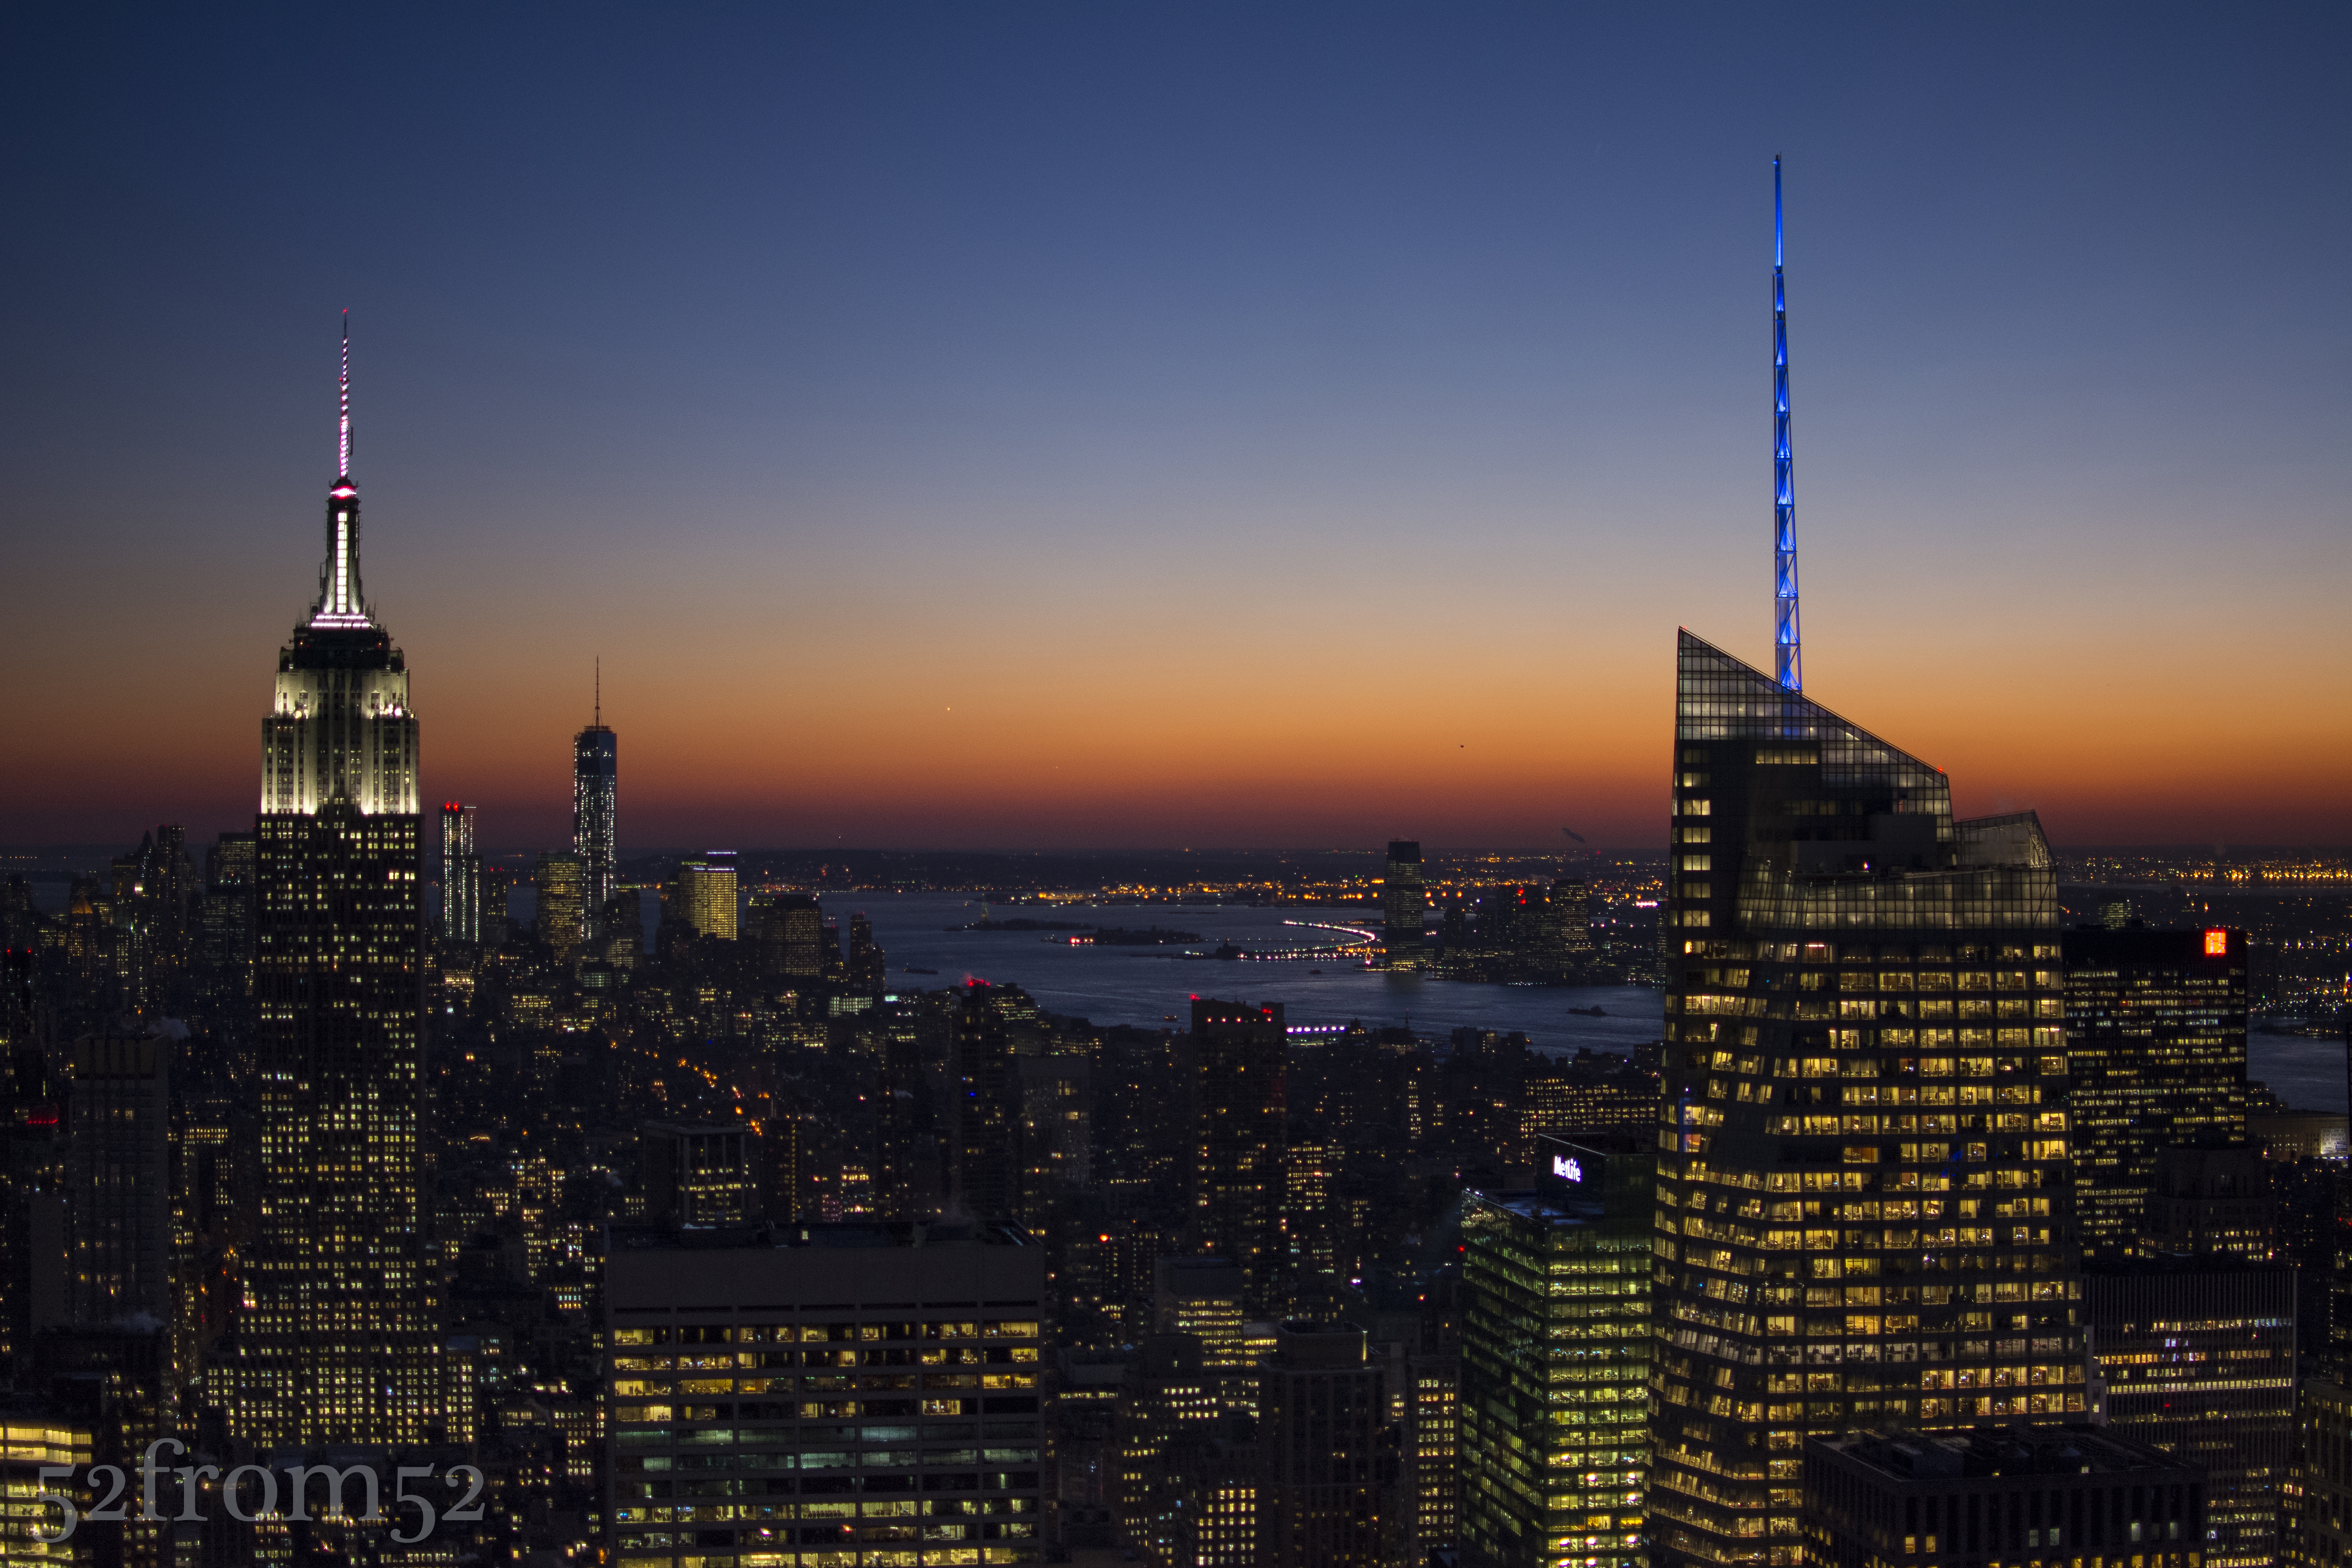
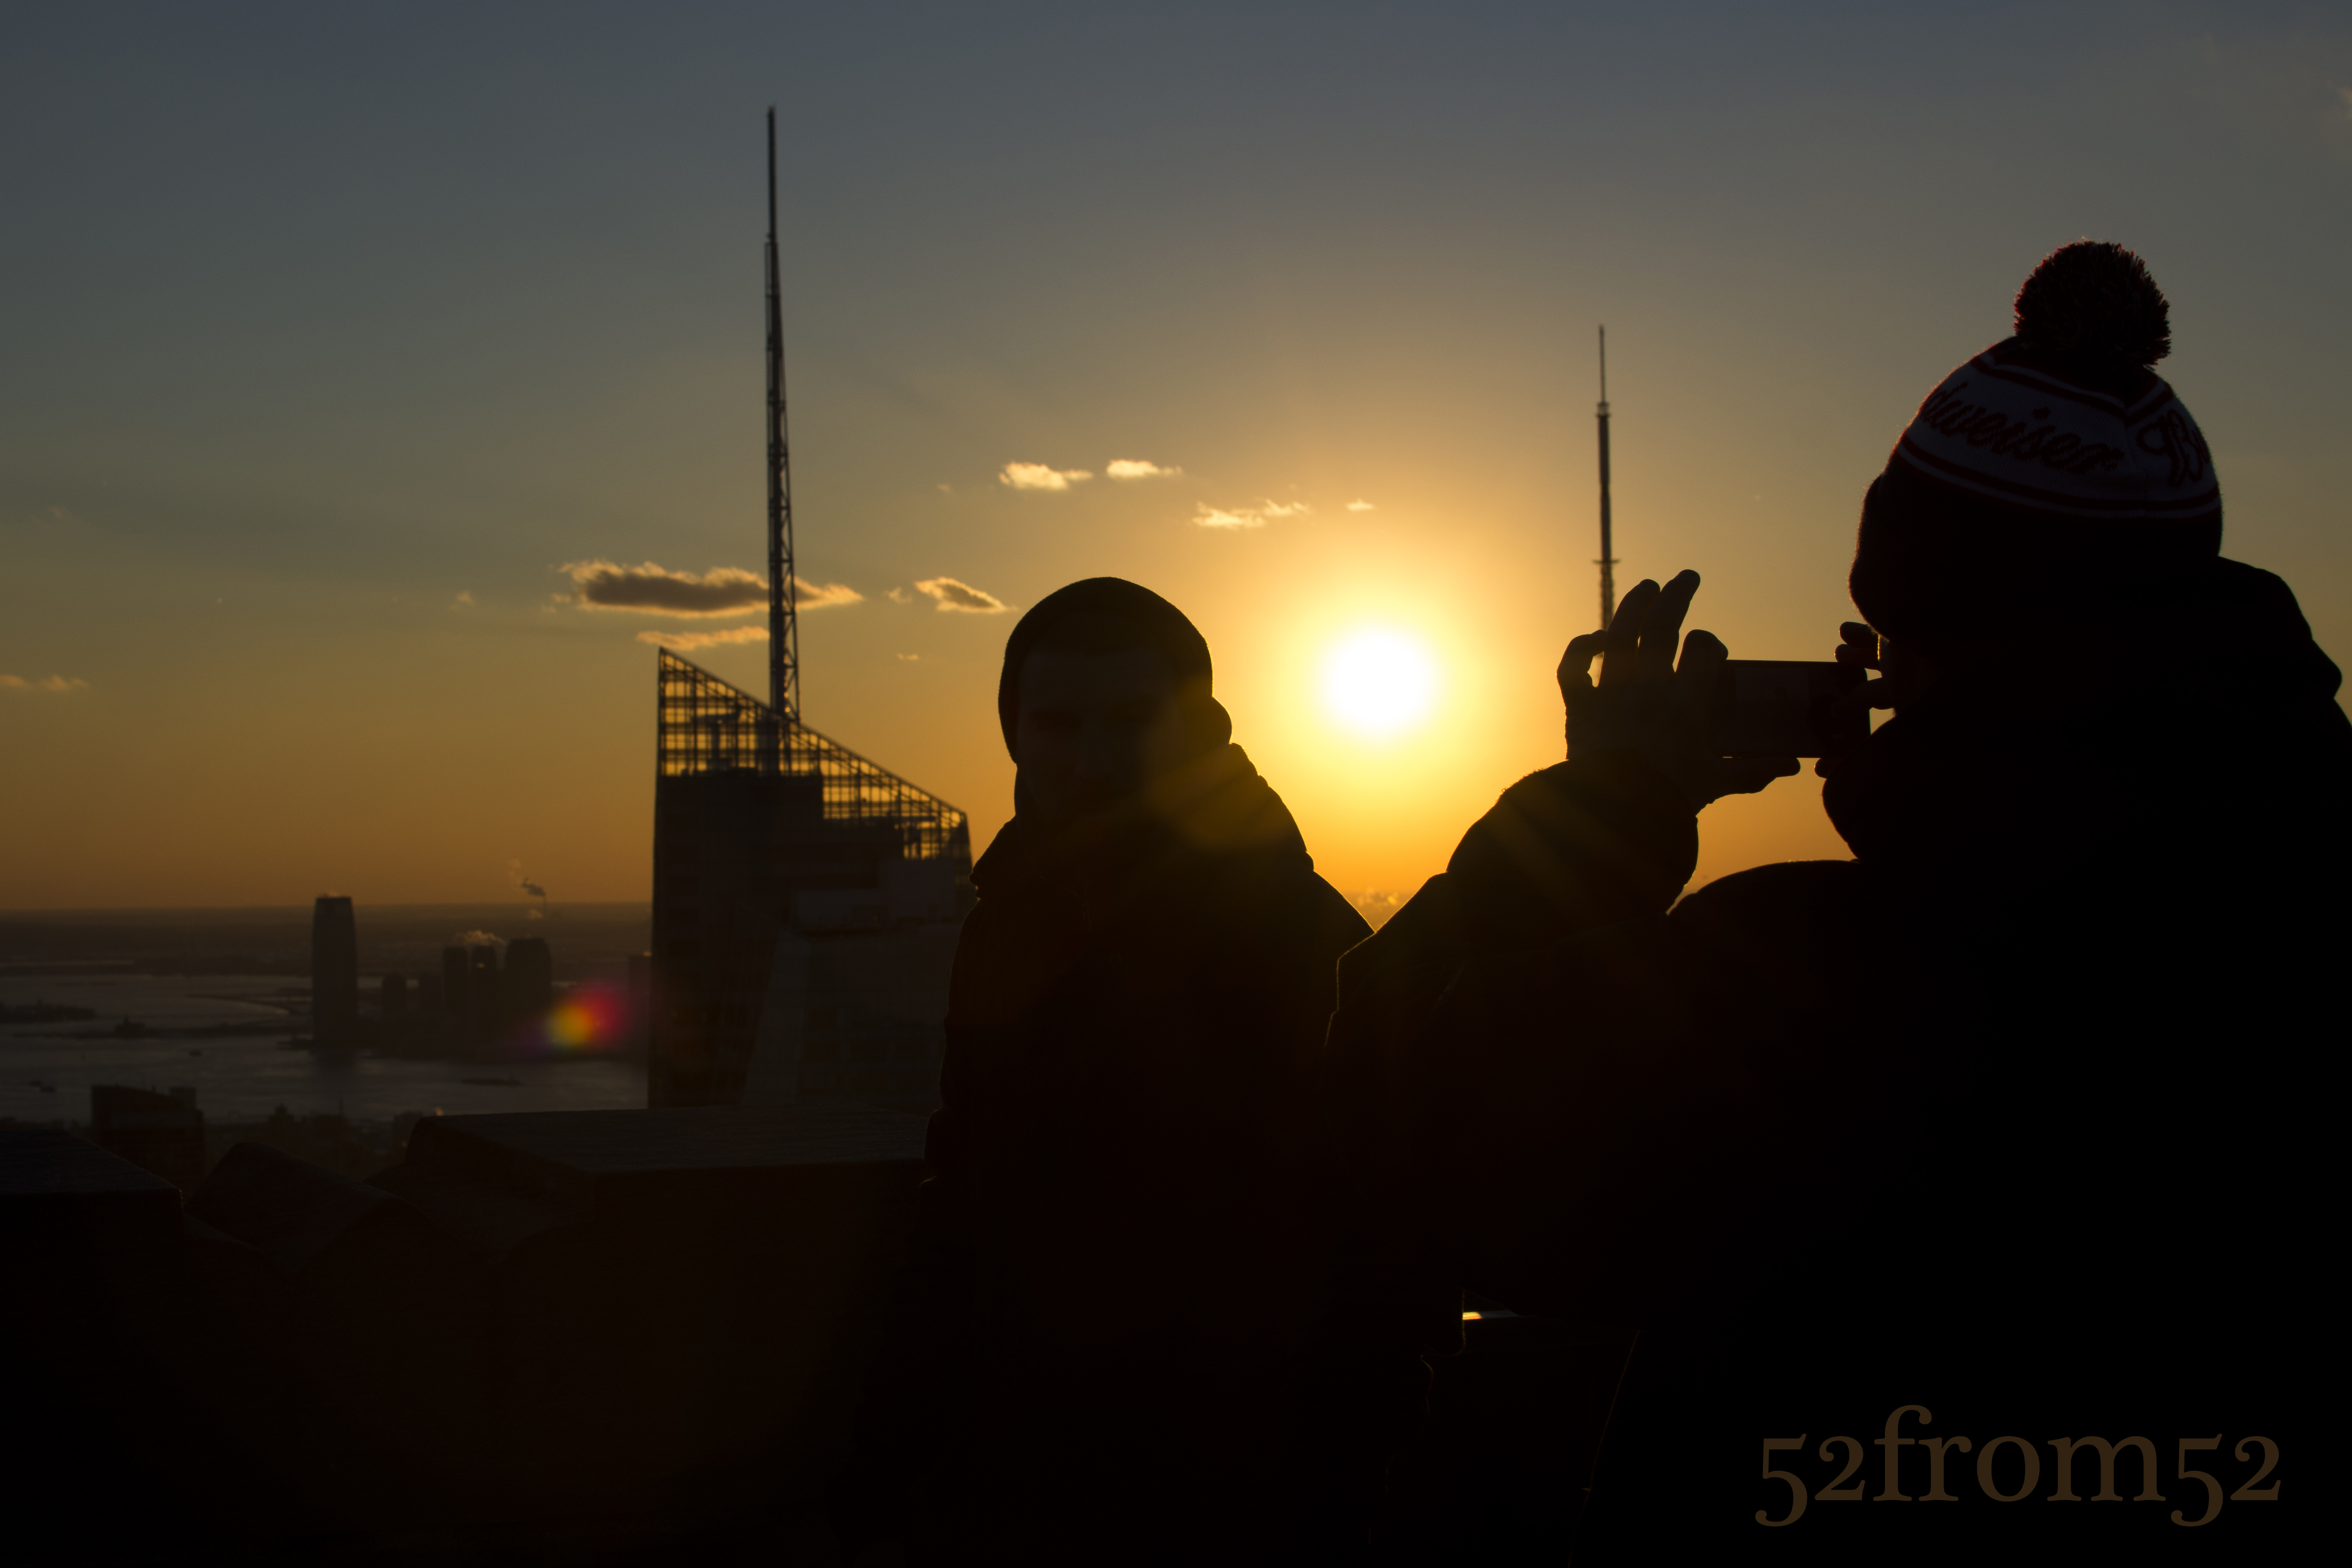
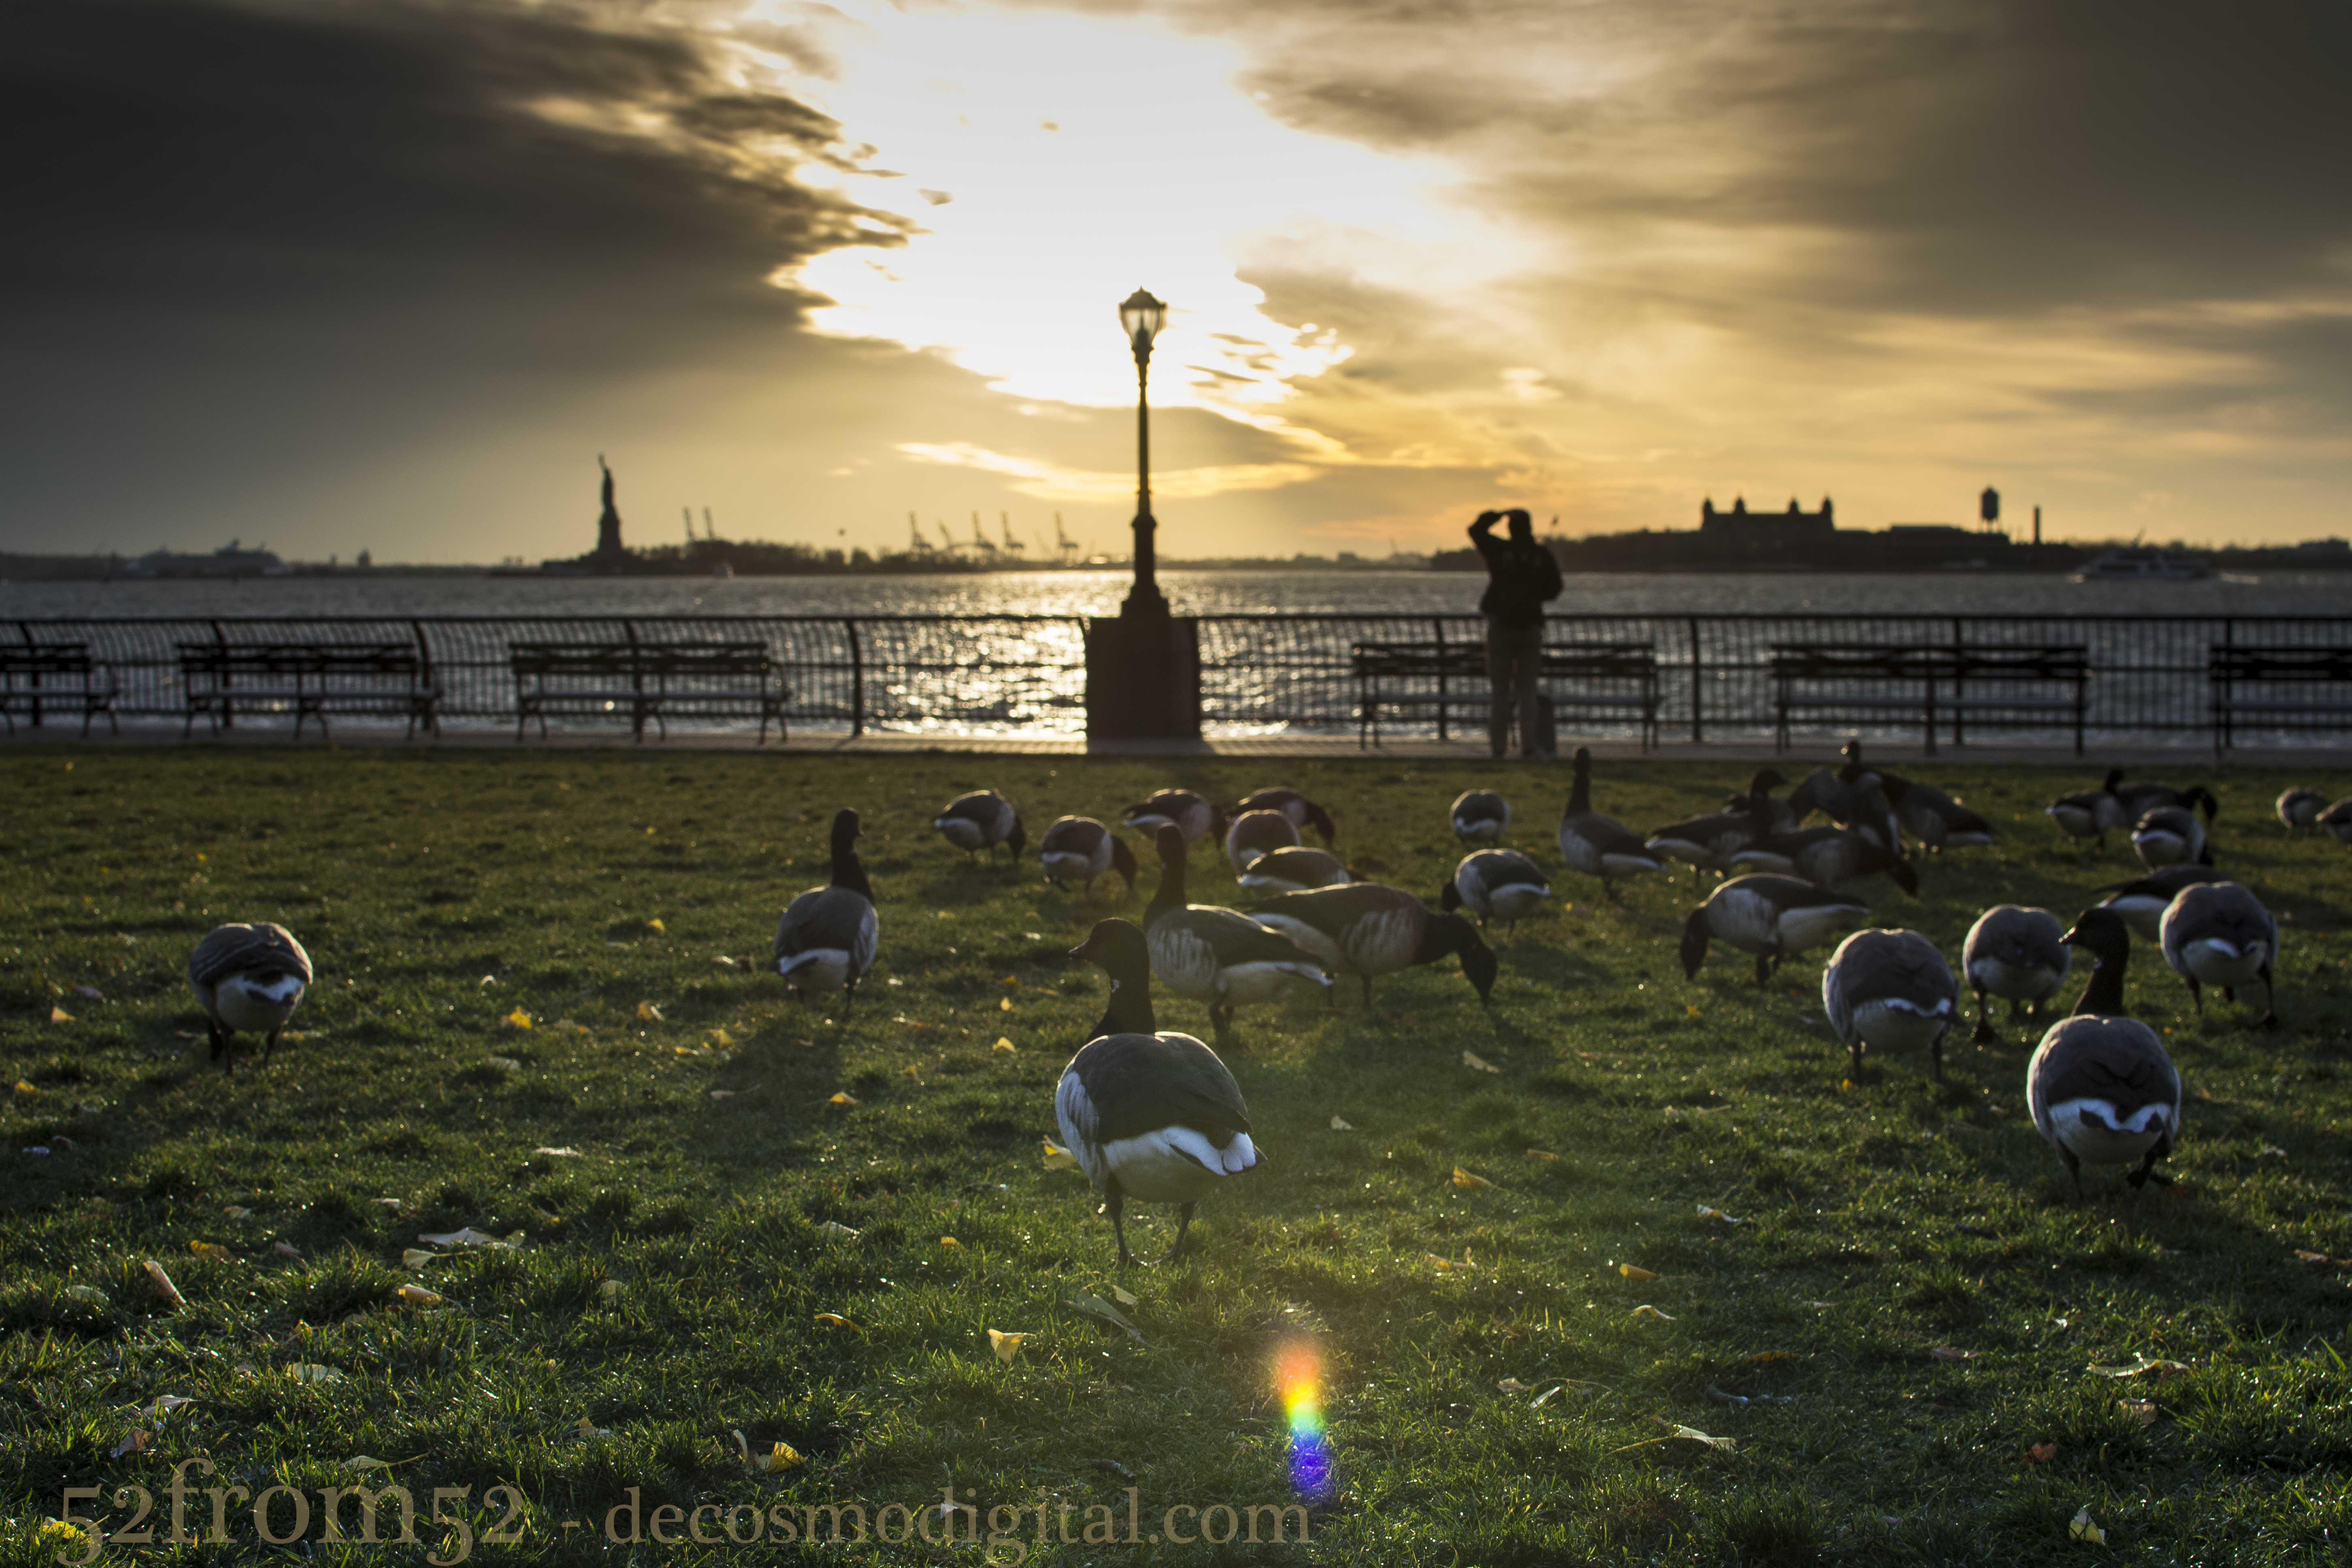
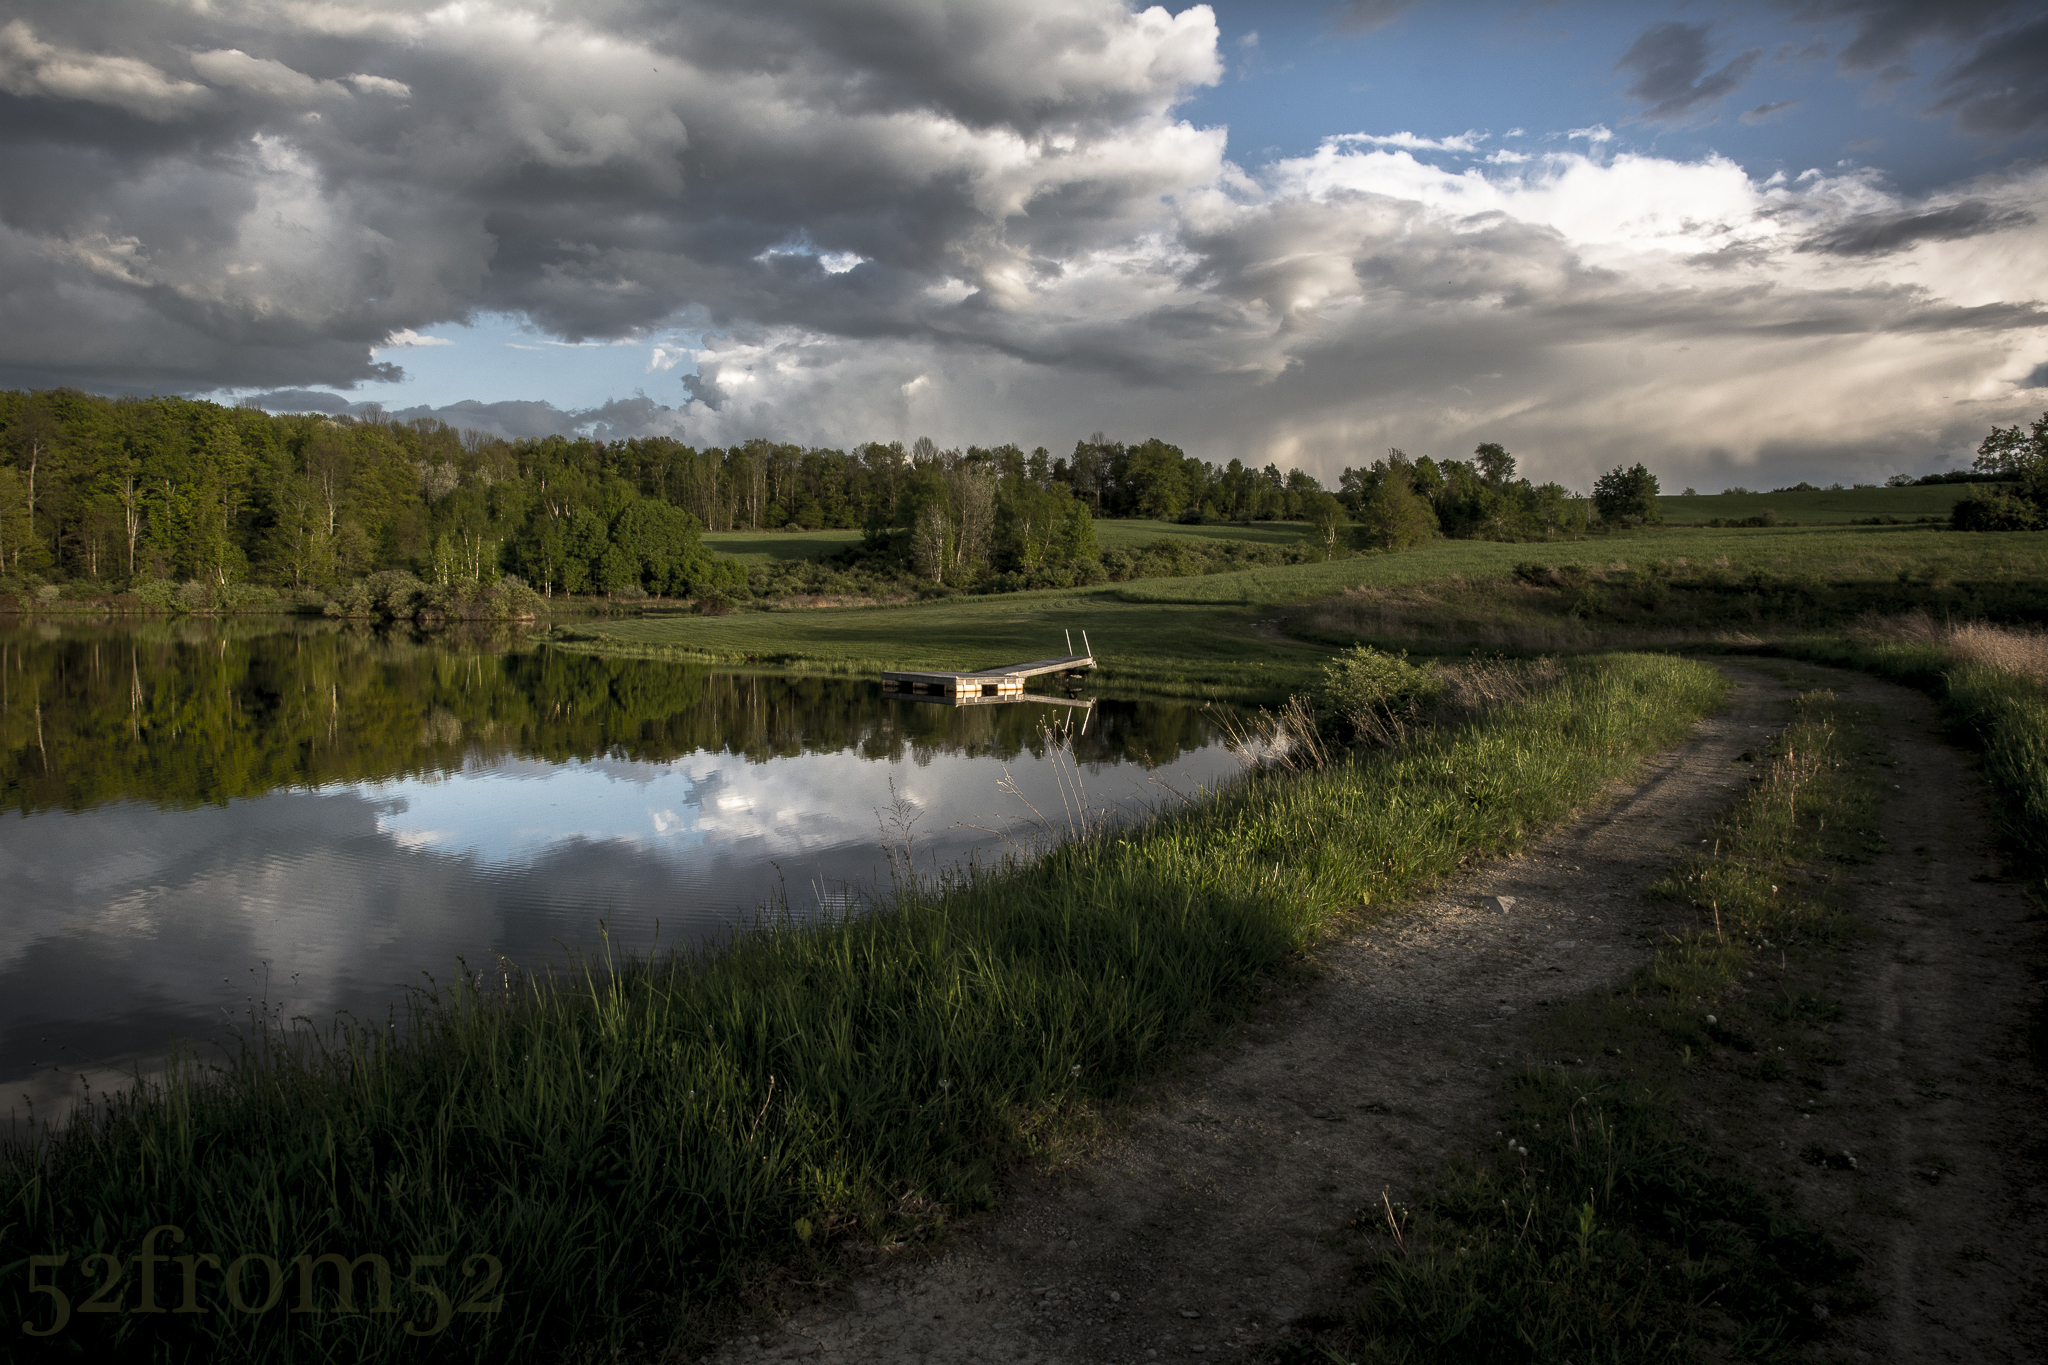
The last night’s sunset
Photography Concepts:
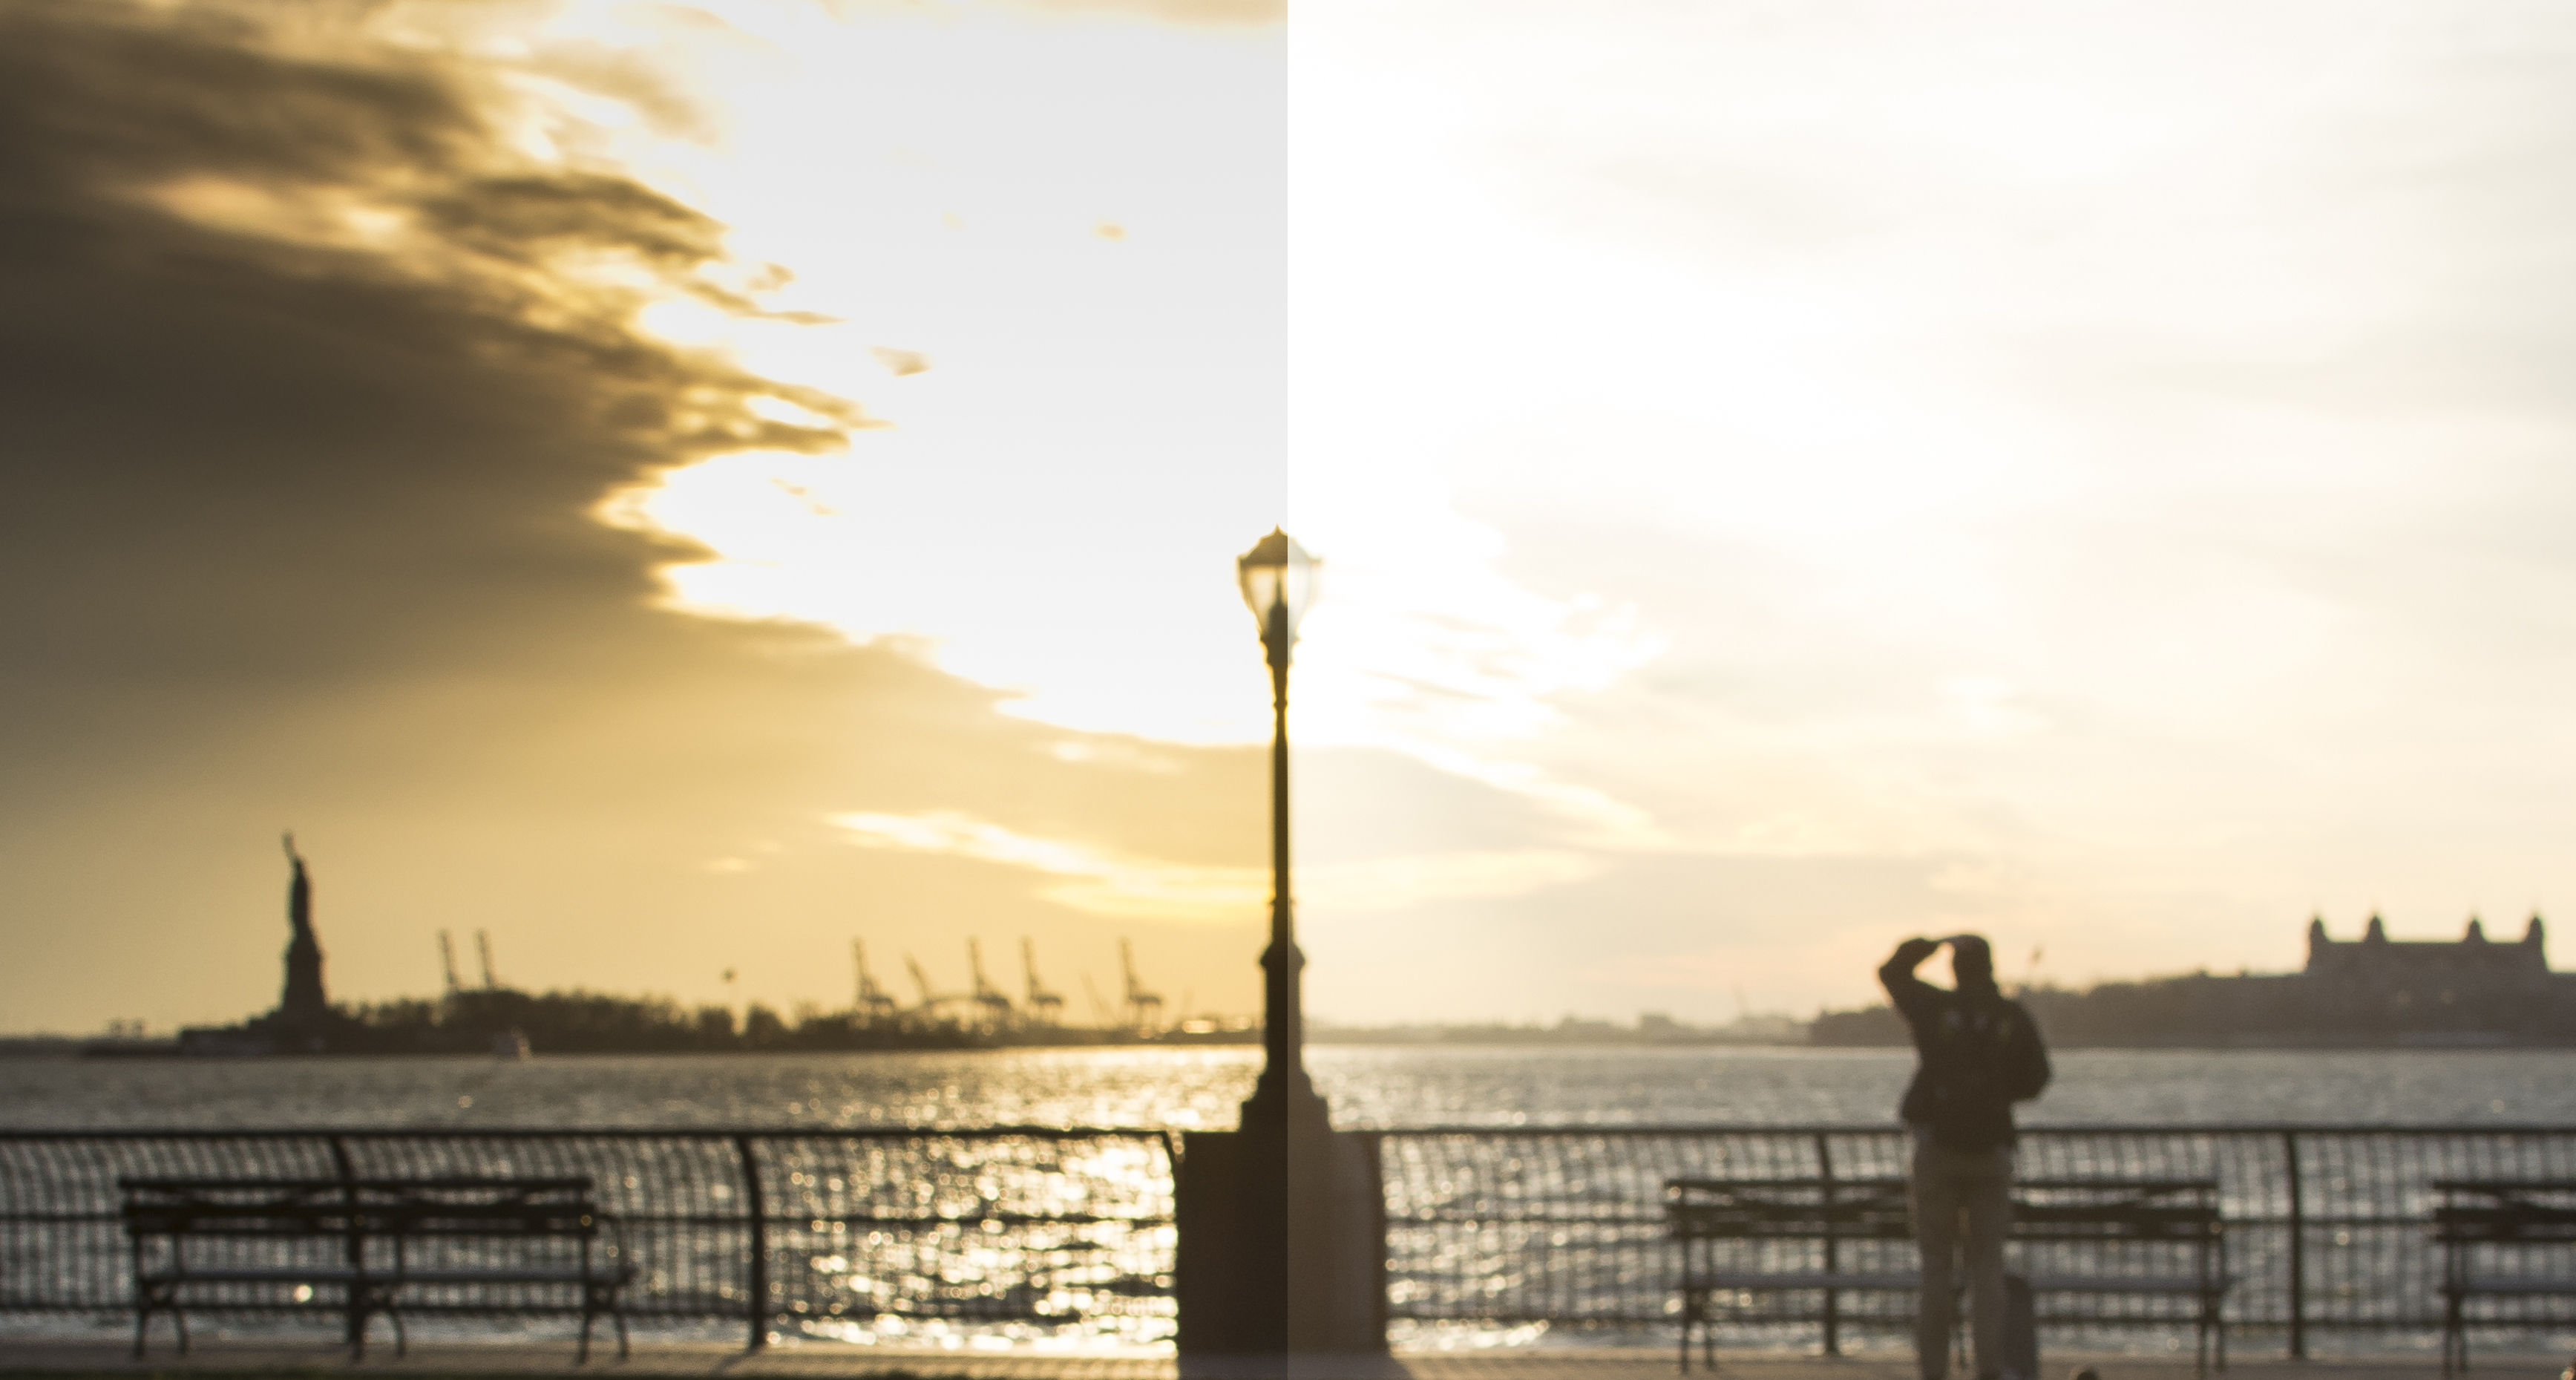
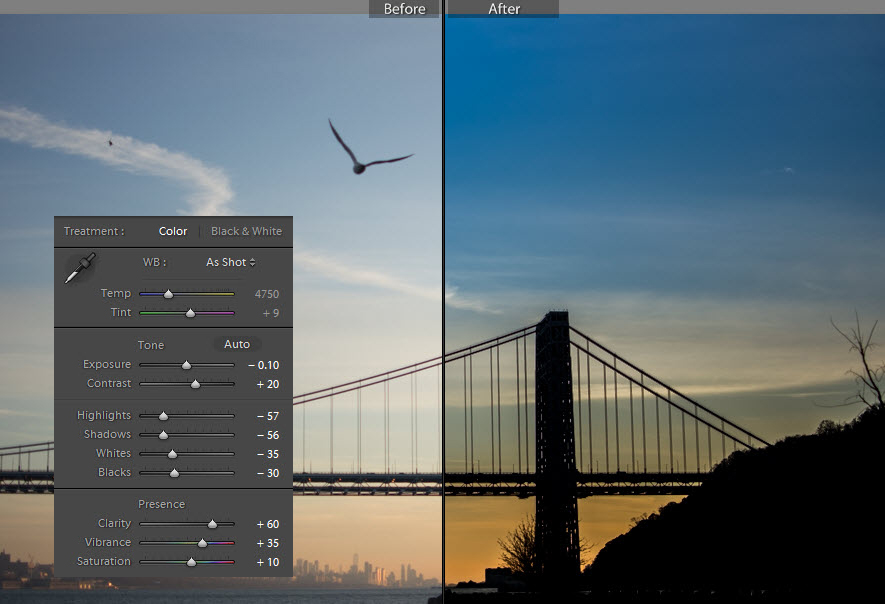
There are three major differences between the way I shoot now, versus how I shot a year ago. First and probably the most important is the picture format that I shoot in. Last year I had no clue about RAW vs. JPEG, so I shot in JPEG to give myself more pictures per SD card. Had I shot this week’s picture in JPEG, I never would have been able to edit it the way I did. This week’s picture was shot in Nikon’s RAW “.NEF” format. While shooting, I purposely underexposed my image by a few stops knowing that it would better retain the detail in the sky, and I would be able to recover the lost detail in the foreground. Simply put, last year I was unaware of the RAW power of shooting in .NEF…pun intended.
The second major difference between last year and now, is that I now mainly shoot in manual mode instead of aperture priority. Manual mode is what enabled me to under expose my image to my desired level. I made the jump to shooting more in manual a few weeks ago and I can tell you it’s been paying off in almost every one of my pictures. Not only do I have more control, but I’m getting quicker at determining what settings are best for specific lighting or subject scenarios. Using this picture as an example, I instantly knew I wanted almost everything in focus so I shot at f/22. Initially I didn’t have my tripod when I show this picture. Last year I might have opened my aperture to f/2.8 so I could shoot with a fast enough shutter. This year I knew f/2.8 wouldn’t let me capture the image I wanted, so I ran back to the house grabbed my tripod and tapped into the power of f/22’s large plane of focus.
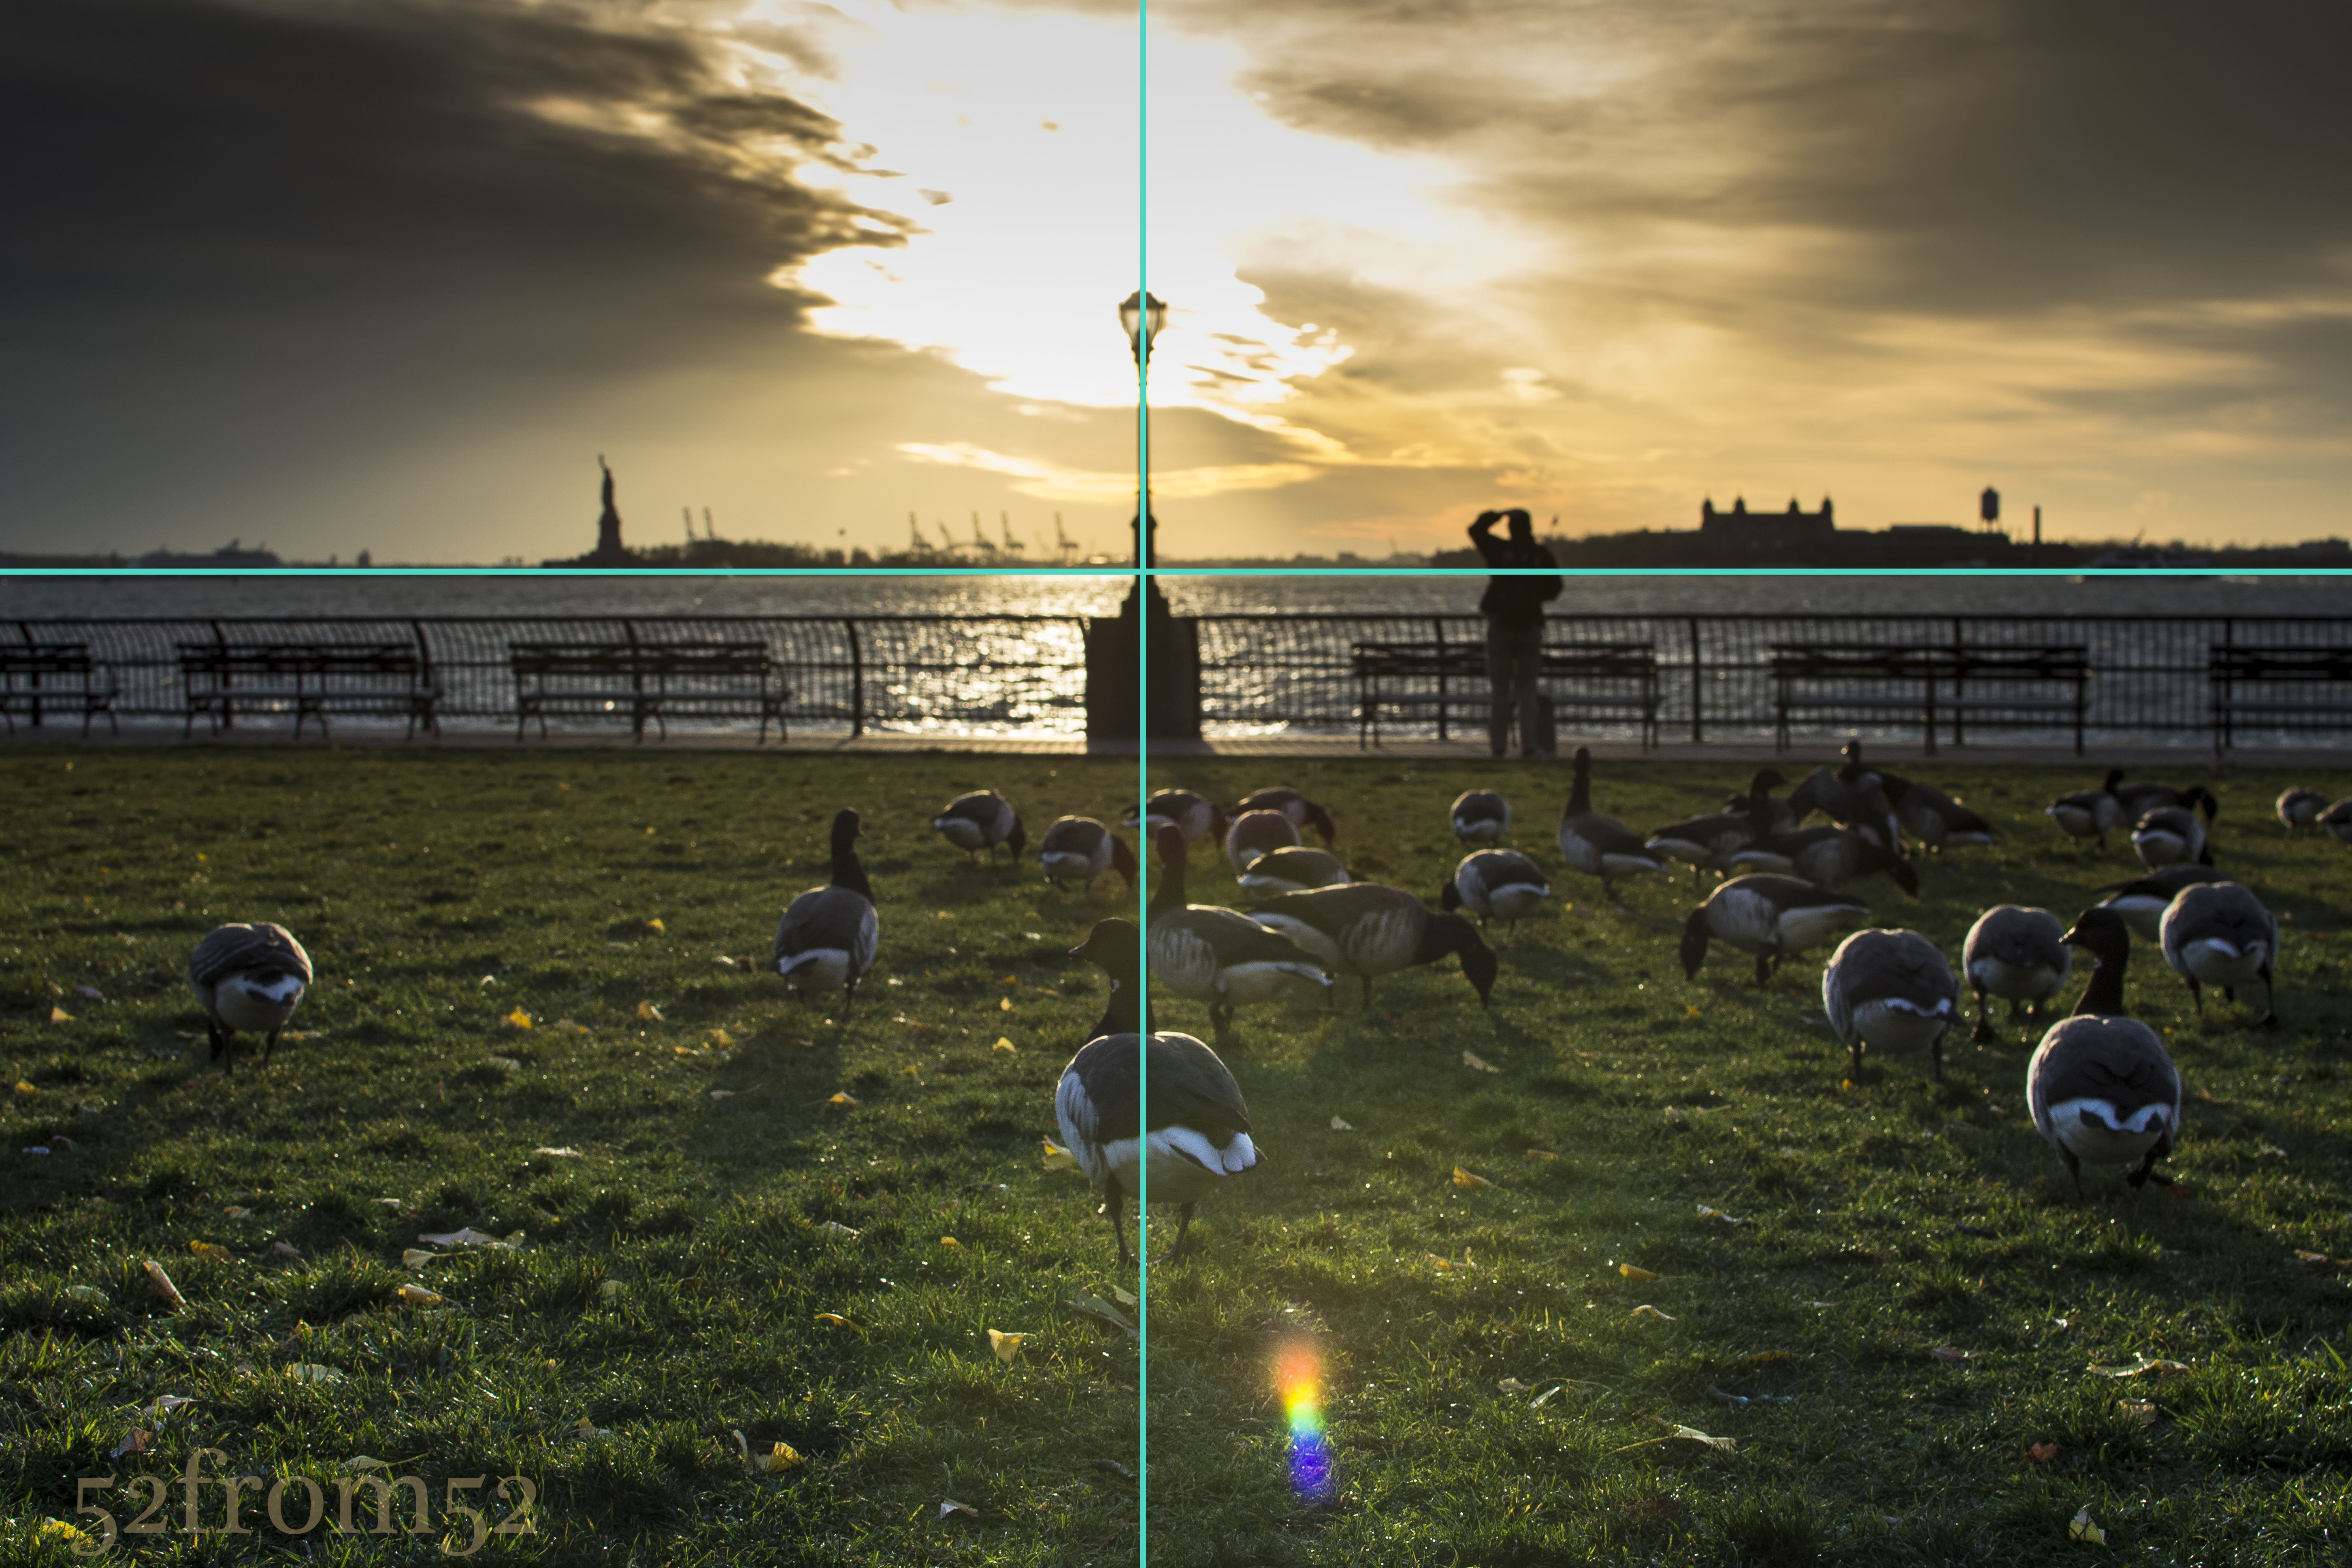
Last but definitely not least is what I touched on in the previous section, composition. Before taking the trip to the Farm this year I reviewed some of my pictures to see how I shot things. What I noticed was that I wasn’t composing my pictures to take advantage of the full scene. This year I focused more on lining things up or positioning myself at a location that gave me the best angle. As often as you can, while out shooting mentally take a step back and think to yourself where is the best angle? On top of that don’t fall in love with one location, move around! Last year I was one of the biggest offenders of getting concrete shoes. I picked a spot and took countless pictures. This year I took 5-10 pictures ranging in aperture from a location, then moved to the next spot. When you get home the last thing you want to see is 200 of the same picture. Variety is good so don’t forget to move.
That about wraps up my review of the differences between this year and last year. There were other things that I noticed, such as how I edit now, but it’s far too much to fit into one post. As I get closer to the end of this blog you can expect more then and now comparisons. Until then, I’m gone for now…
Leading Lines Pt2