Picture info: ISO 100, 35mm, f/22, 6 seconds
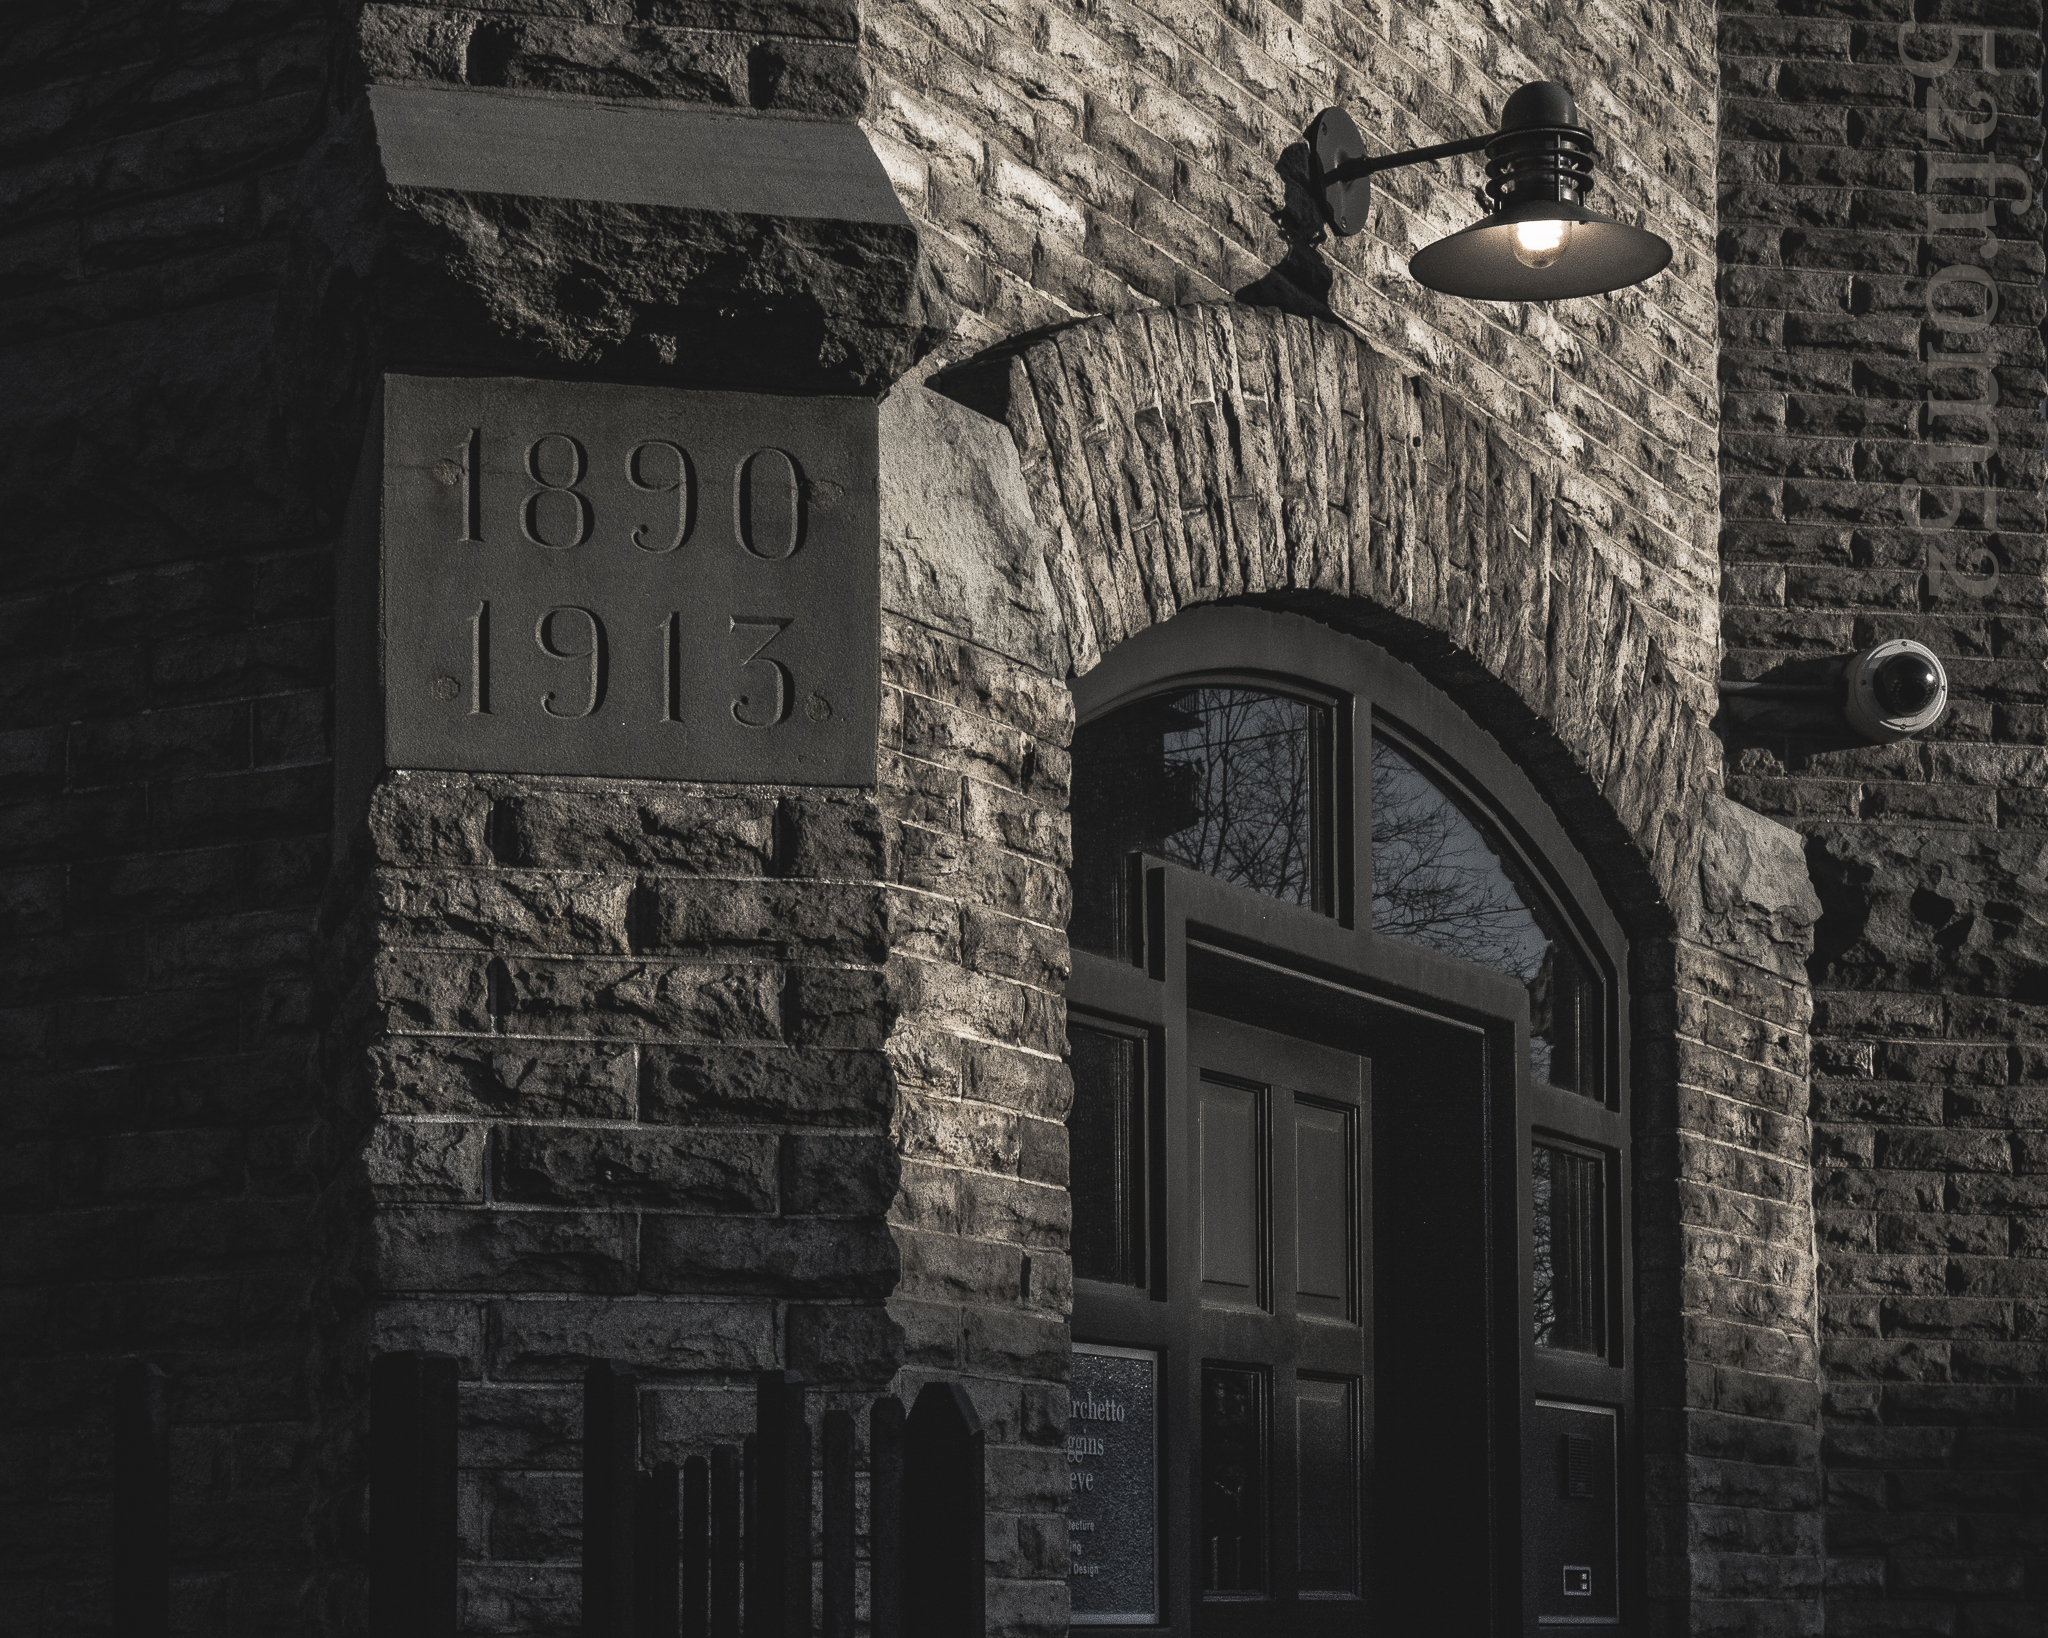
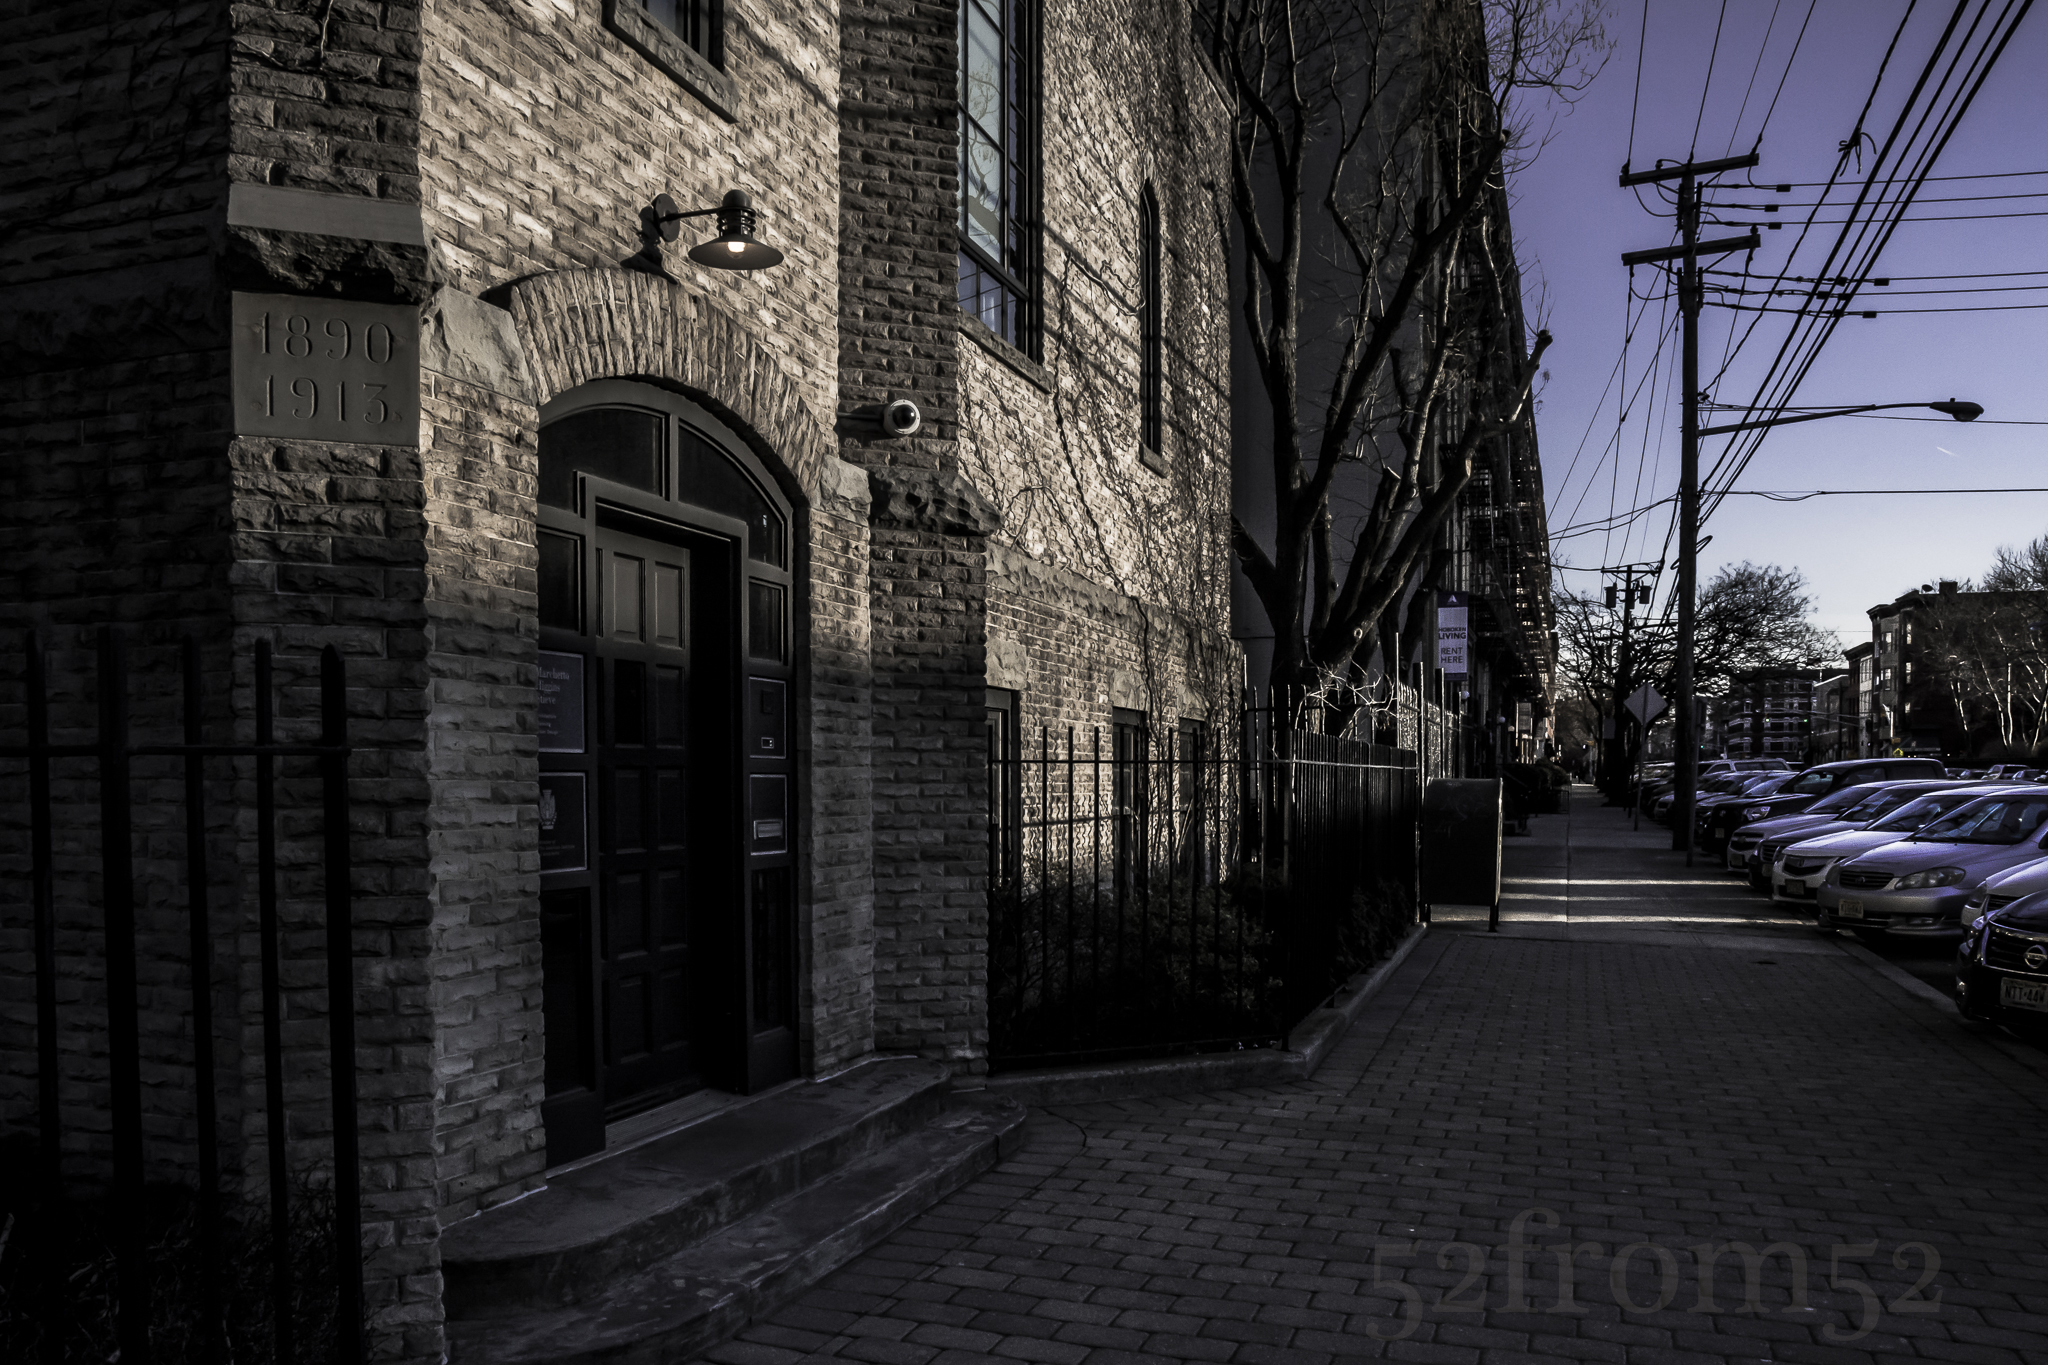
Week 34 (3/24/2014 -3/30/2014): Lincoln Tunnel, NJ Exit
Picture taken on 3/28/2014 at 4:44 PM
Photography description:
Long exposure photography has been a passion of mine since day one of purchasing my Nikon DSLR. Most recently, my favorite subject for long exposures have been tunnels. The effects that result from shooting with slow shutter speeds while driving in a tunnel are truly amazing. My interest in tunnel/driving long exposures started after seeing a stunning picture posted on Instagram. Some photographer wedged his DSLR in the back of his car and triggered it remotely. The final image looked like something out of Star Wars. All of the lights streaked, giving the feeling of motion to the viewer. The concept captured my attention not only because it was visually beautiful, but because I like the idea of portraying a feeling through photography. After seeing the picture on Instagram I knew that I had to try my hand at that type of picture.
Over the past couple of months I’ve had a couple opportunities to try out a tunnel long exposure. Thus far I’ve only experimented in the Lincoln and Battery tunnels, but both have provided great images. I haven’t strapped my camera to the back of the car yet, instead I came up with my own method. I sit in the passenger seat and use a mini tripod to stabilize my camera on the dashboard.
Prior to this week, most of my tunnel pictures were shot using aperture priority, with an exposure time of under one second. As I’ve mentioned over the past few weeks one of my new goals is to shoot in manual more often, so this weeks tunnel picture was shot in manual. I’ll talk more about why I chose specific settings in the photography concepts section.
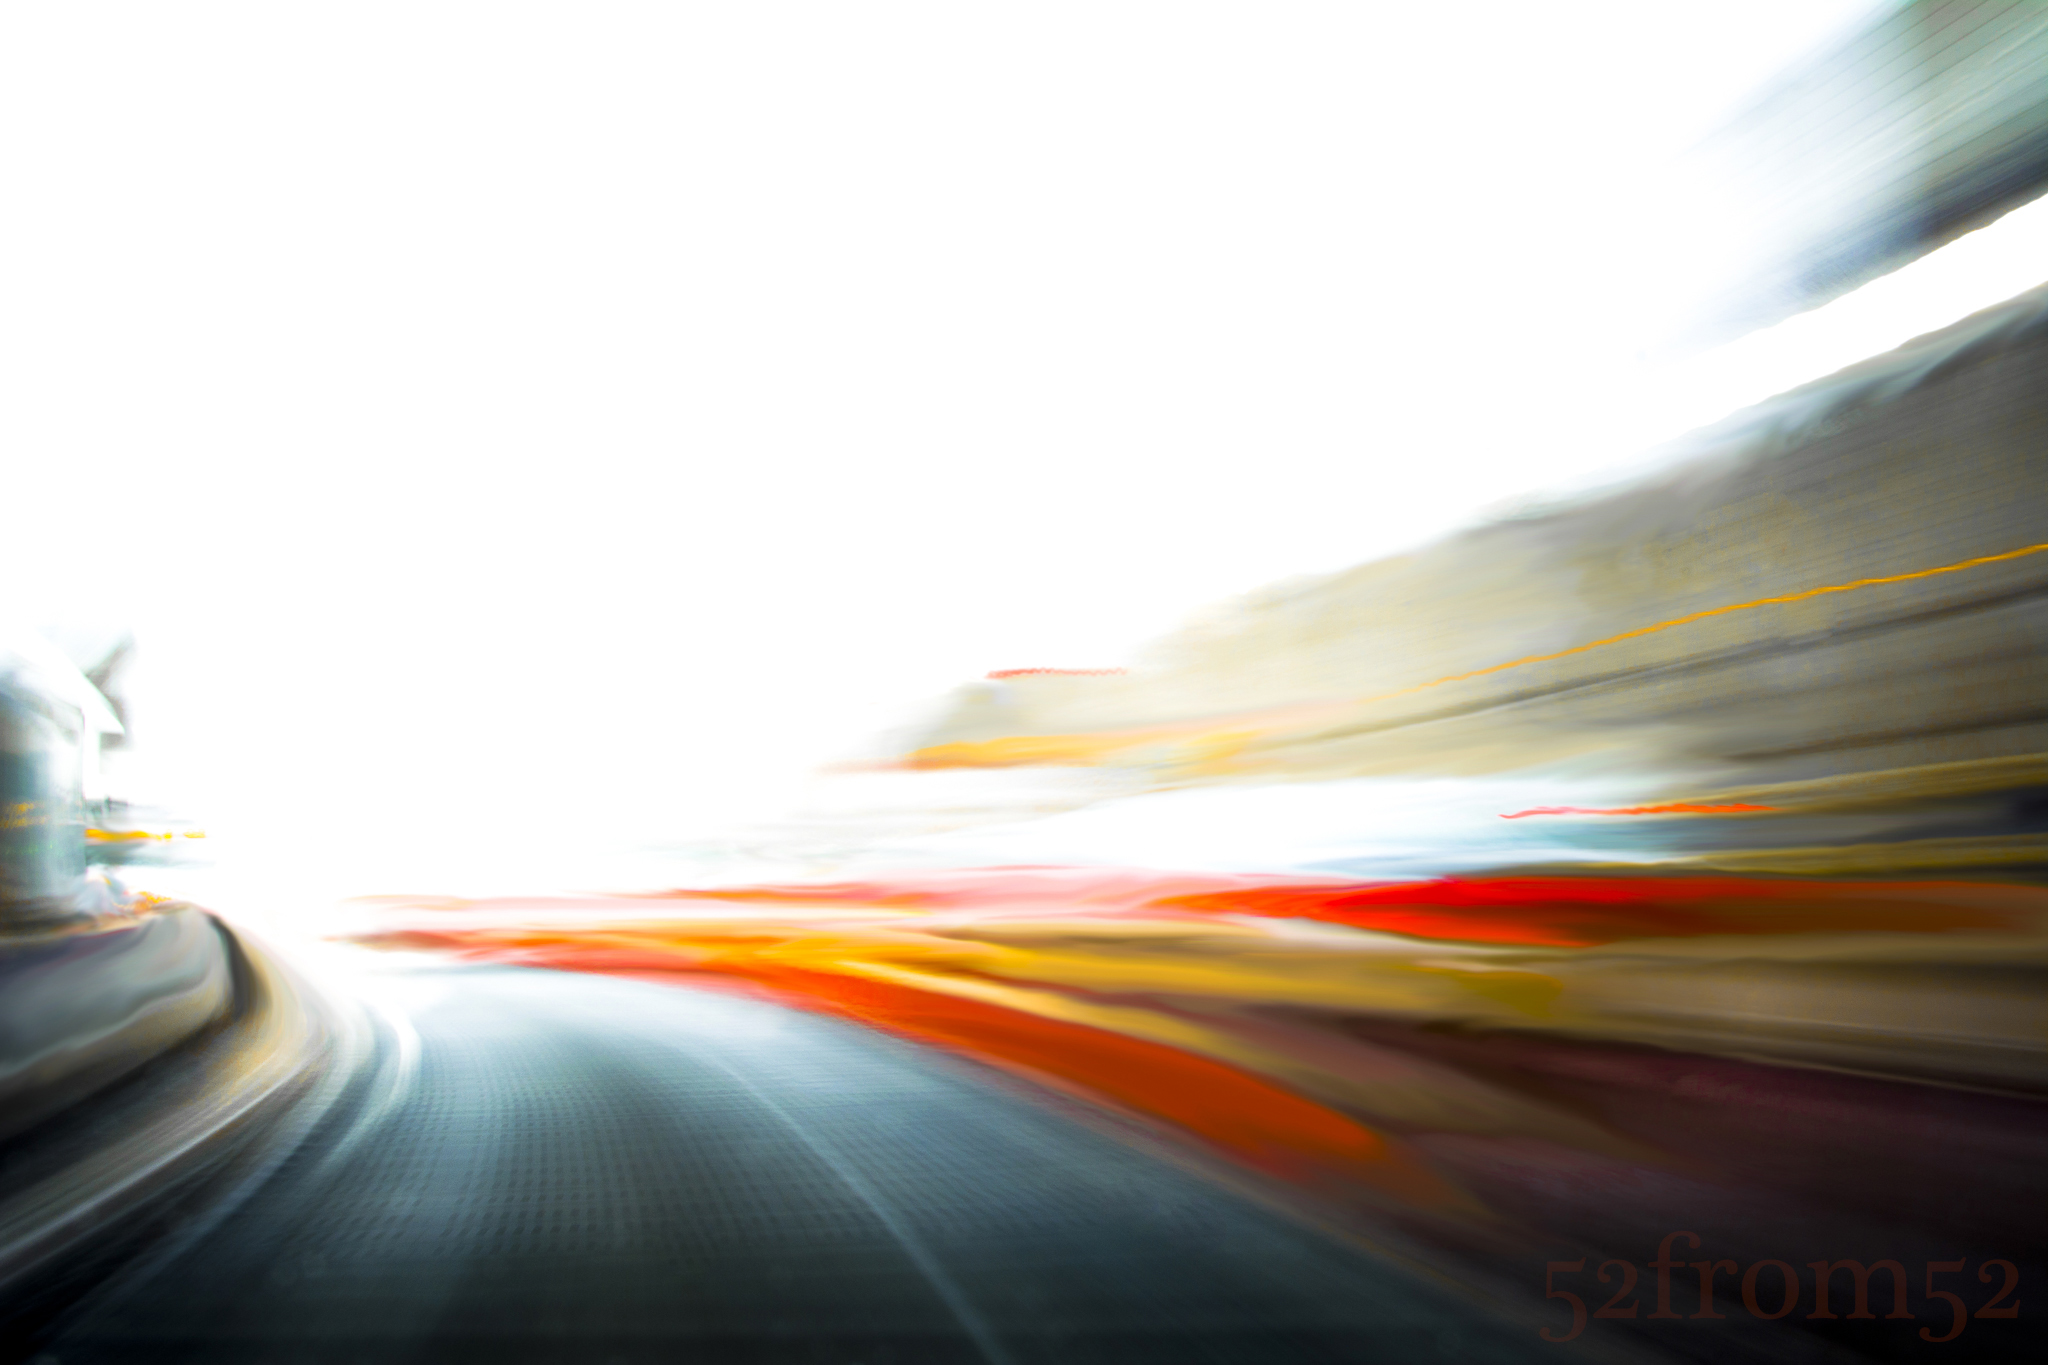
This week’s capture was the last picture I took before exiting the Lincoln tunnel during my Friday commute home. I previously shot a picture that I really liked at the exit of the Battery tunnel, so my goal was to shoot something similar inn the Lincoln. The contrasting or “fighting light” (dark/bright) that exists at a tunnels exit presents the perfect scenario for an interesting photograph.
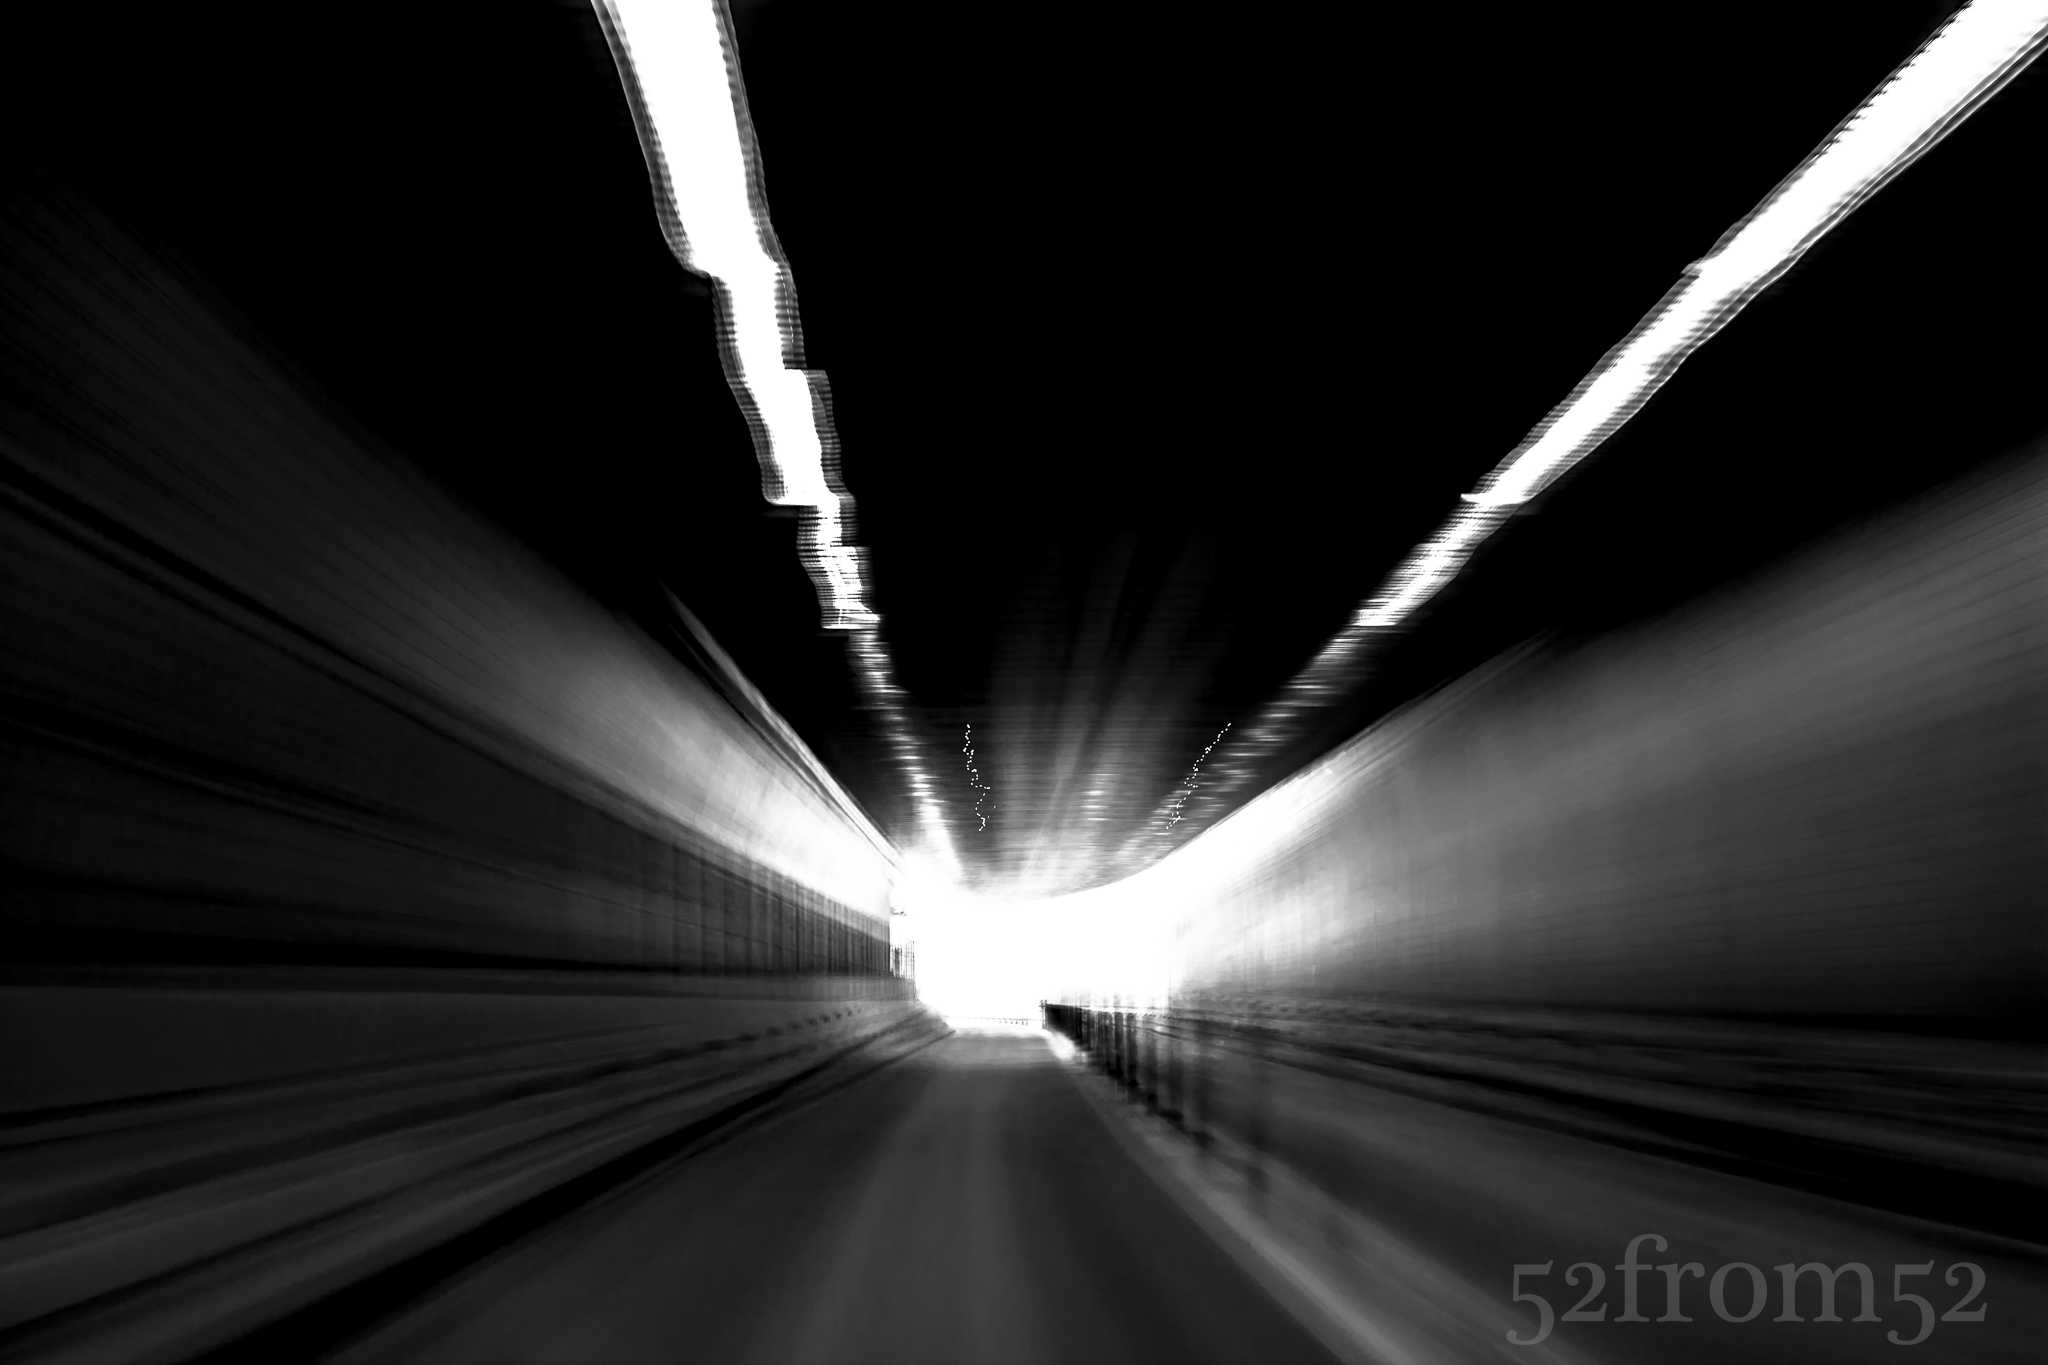
Battery Tunnel Long Exposure
Photography concepts:
As the end of the tunnel approached, it felt like a race to get my camera’s settings right for my photograph. The stress and potential for a mistake that exists while shooting is the main negative about being in manual mode, but the risk is worth the reward. Shooting in manual was the key to this week’s picture because I didn’t want to lose control of my shutter speed. In order to get the picture looking as I imagined, I needed a slow shutter and for it to close right as I exited the tunnel. Had my shutter stayed open too long after exiting, my entire image would have been blown out. The aperture I selected (f/22) was more of an experiment than something I knew would work. Previously I shot most of my tunnel pictures with a wide aperture, the smallest being about f/7. Post picture, I’m happy with the look that f/22 generated. Although mostly everything is blurred, the texture of the road at the tunnel exit is still visible, and that’s due to shooting at f/22. Shooting at such a small aperture also enabled me to hit a slower shutter while maintaining the exposure that I wanted. In my mind I wanted the exit of the tunnel to be completely blown out (white) so I purposely overexposed my image. The result of all these things turned out to be almost exactly what I was looking for.
This week was the first time that my post production led me to doing photoshop manipulation. I’m not a fan of “editing” an image in the way of changing what you originally shot. I don’t mind editing the raw images attributes (contrast, clarity, hue, ect.) to modify an image, but I usually feel changing the structure of an image in photoshop is cheating. In my opinion once you start changing your image, you move out of the photography world, and more into the art realm of painting and or drawing. This week however I made an exception to my rule. As a result of my longer shutter speed, some of the light blur in my image became choppy. The choppiness was due to the car’s vibrations which usually aren’t as obvious with quicker shutters ( < 1 second). What I decided to do was use the smudge and blur tools in photoshop to smoothing things out. The result of my photoshop manipulations left my image looking more like a painting than an actual photograph. As I said I’m usually not a big fan of doing this, but I’m really happy with the way this image came out this week. I’m not planning on making a habit of manipulating my photo’s like this, but it’s nice knowing that I can with some sort of success.