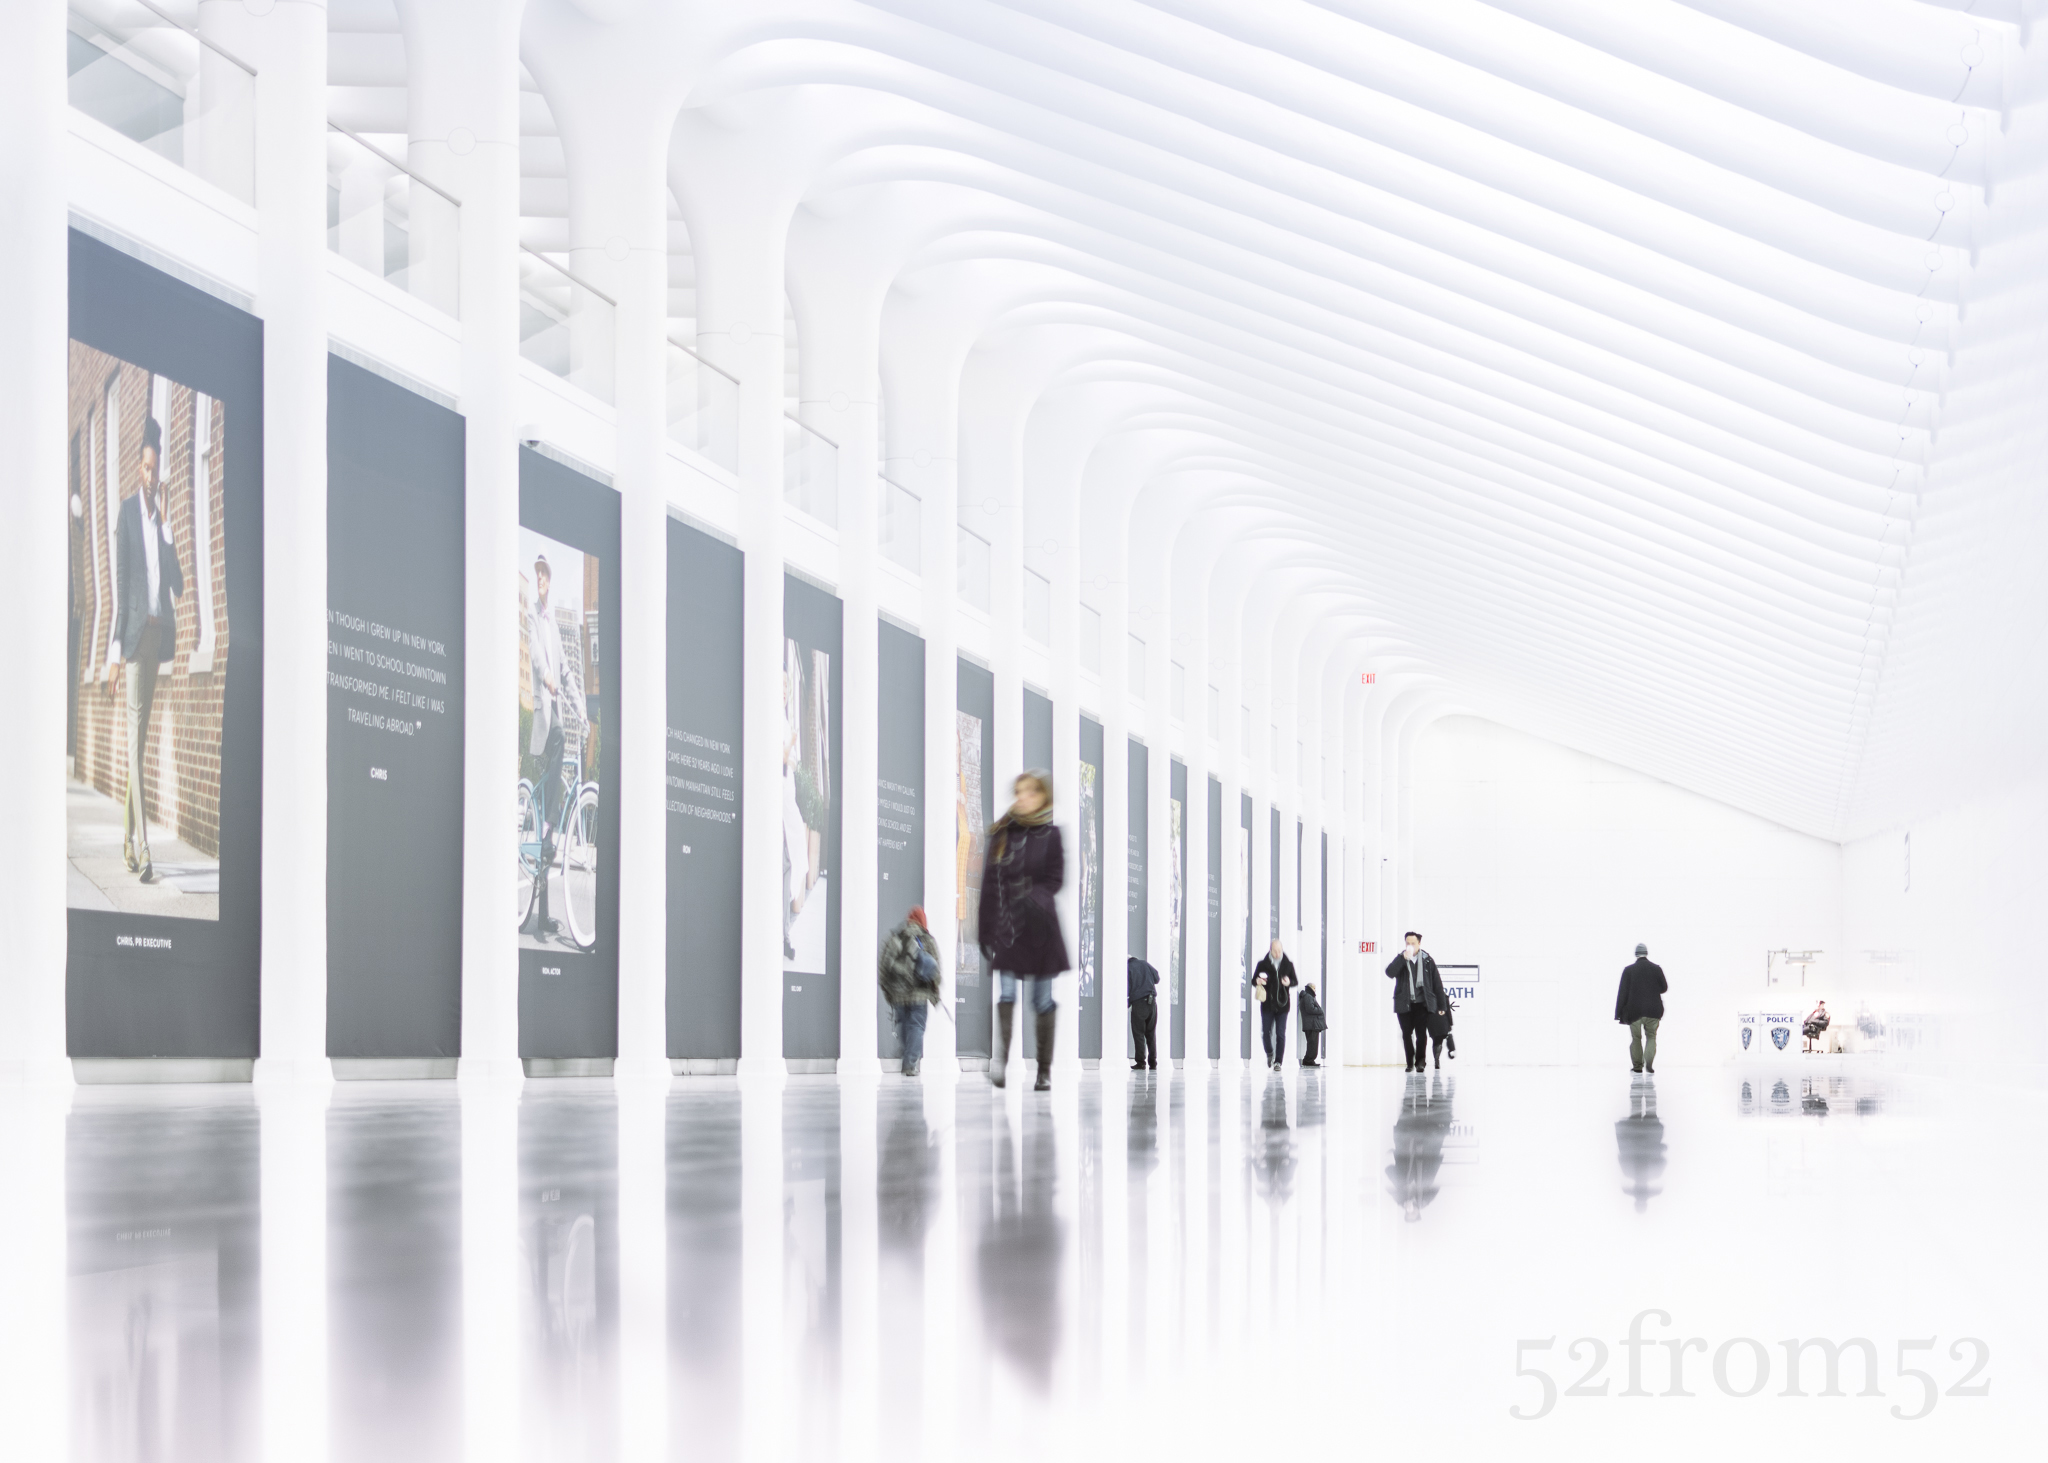
Picture Info: ISO 100, 35mm, f/2.2, 1/5 sec, -.6 ND filter
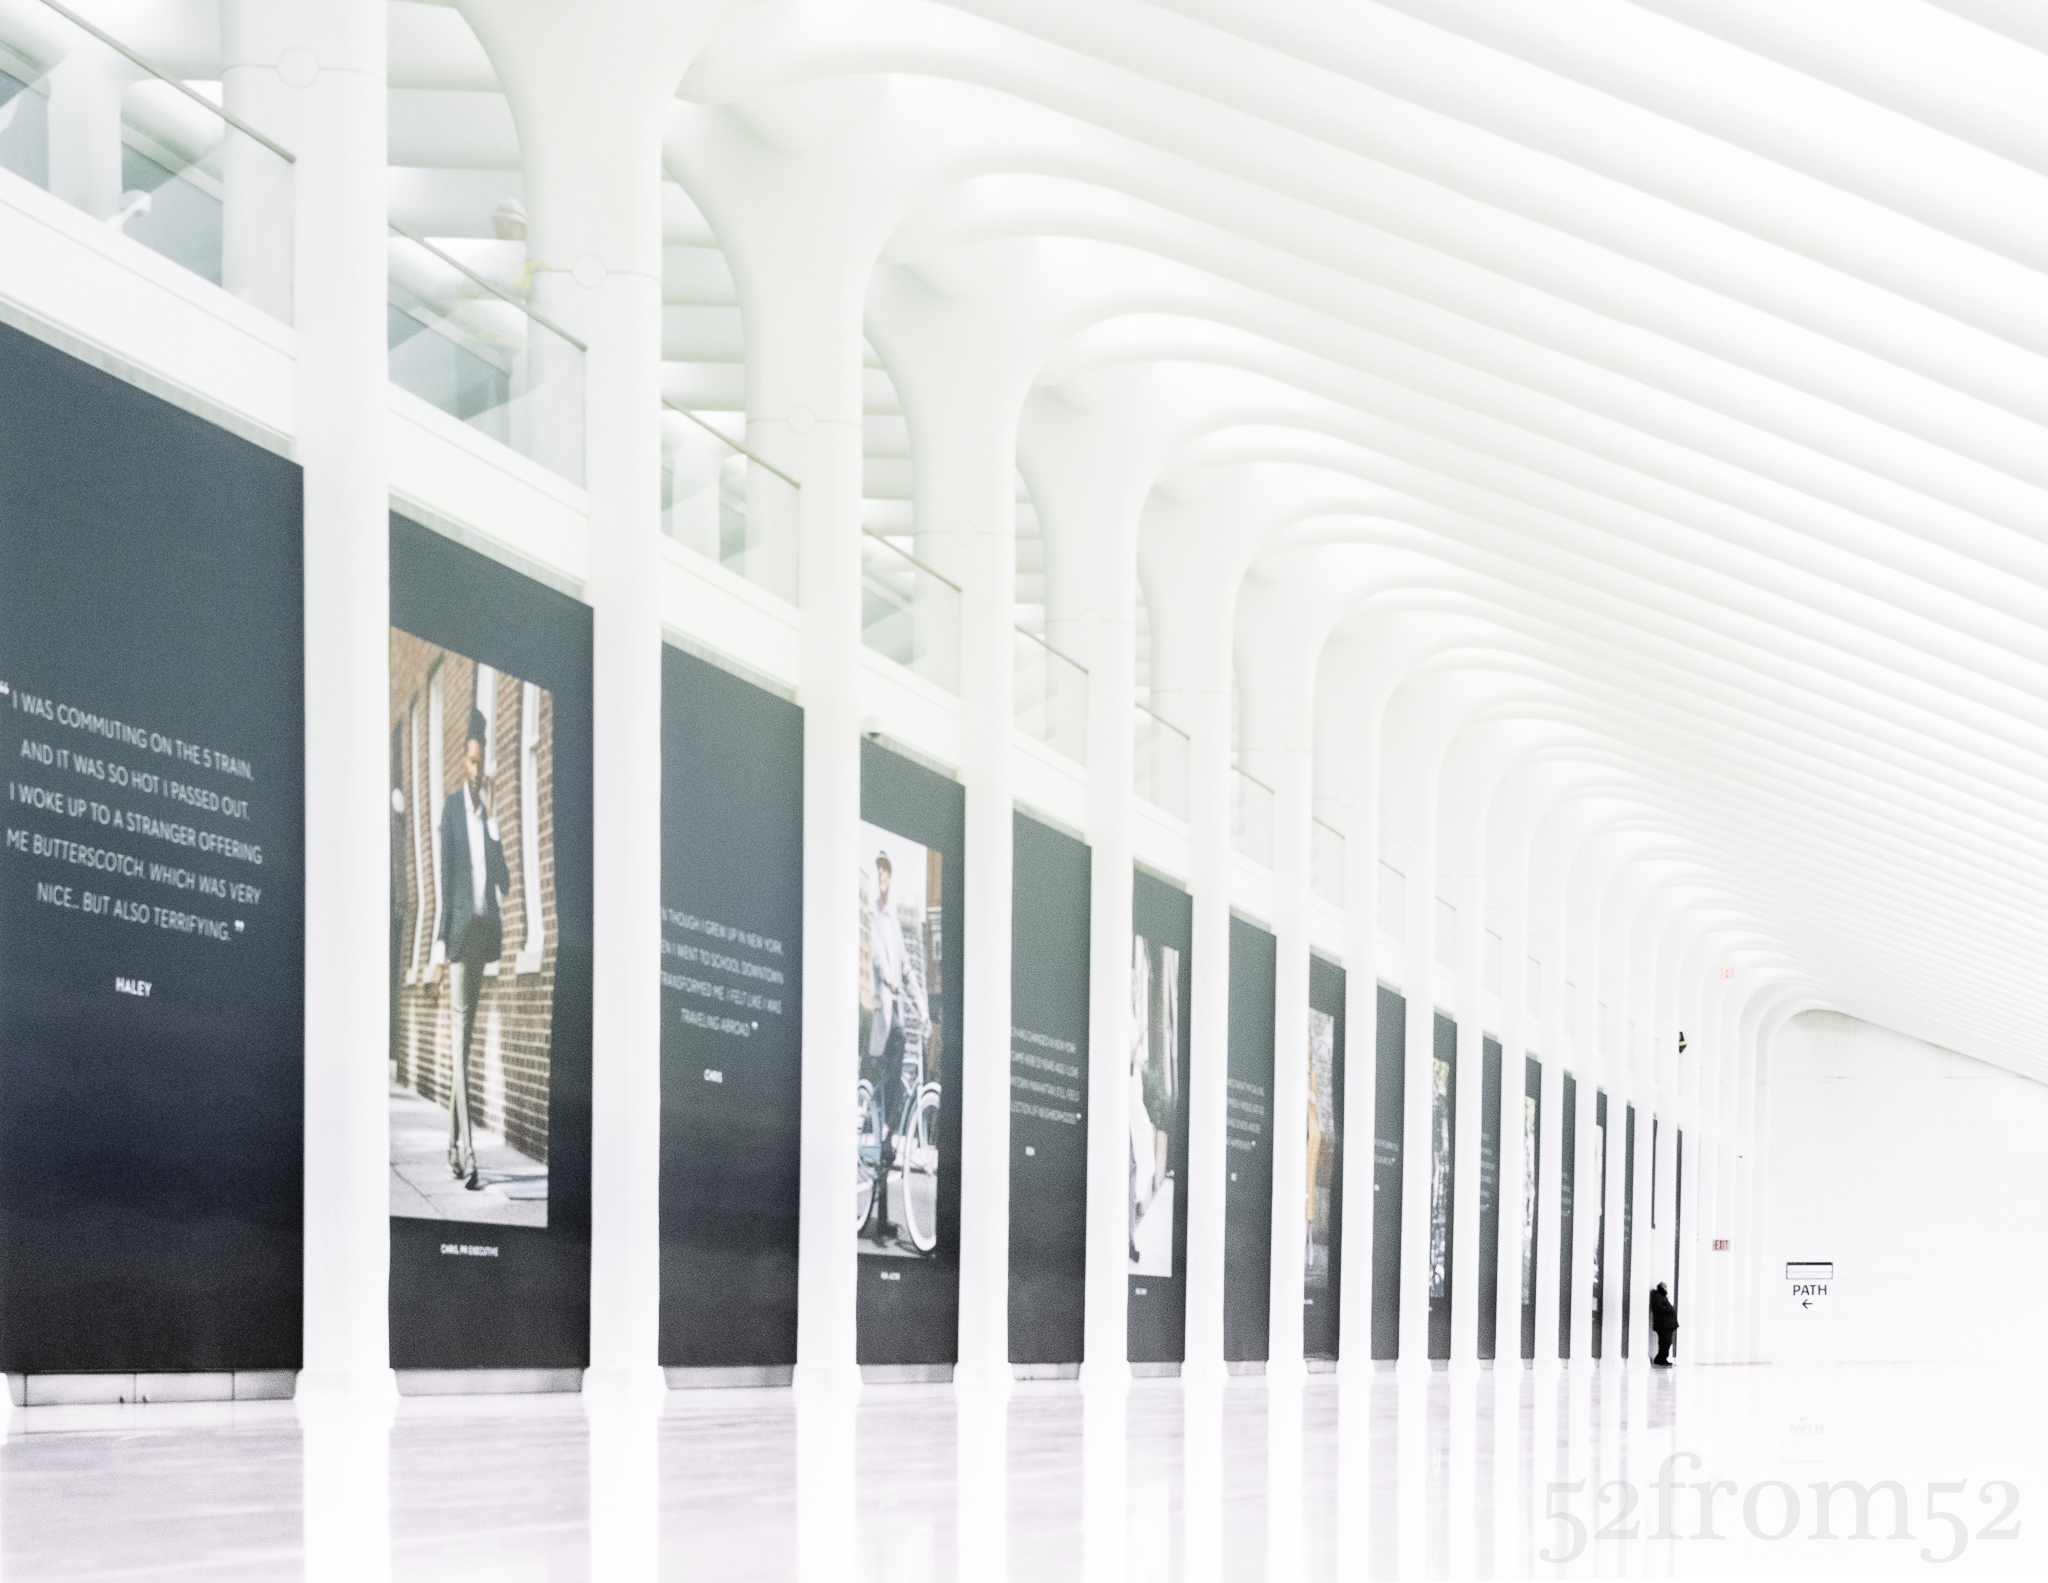
Week 32 (3/10/2014 -3/16/2014): World Trade Center PATH station
Picture taken on 3/13/2014 at 12:33 PM
Picture Description:
Architecture has been an interest of mine for almost as far back as I can remember. As a kid I dreamt of becoming an architect, but life had other plans. Why and how I didn’t fulfill my childhood dream is a story for another time. I don’t regret not becoming an architect, I’m very happy with where I’m at professionally, but there are days I find myself daydreaming about a good blueprint or 3D model. Since I don’t practice architecture professionally I can only seek out nice locations to appreciate the work of others.
This past Thursday was one of those days where I decided to set out to see some local modern architecture. My destination was the new World Trade Center (WTC) PATH station. I’ve been admiring the WTC PATH station via online posts (mainly instagram) for a while, so it was nice to finally see it in person. Of course beyond just admiring the architecture, I wanted to photograph the location. As I said, I’ve seen lots of posts online of the station and sadly all of them seemed almost identical. Prior to arriving I planned out some shots in my head that might provide a more unique view.
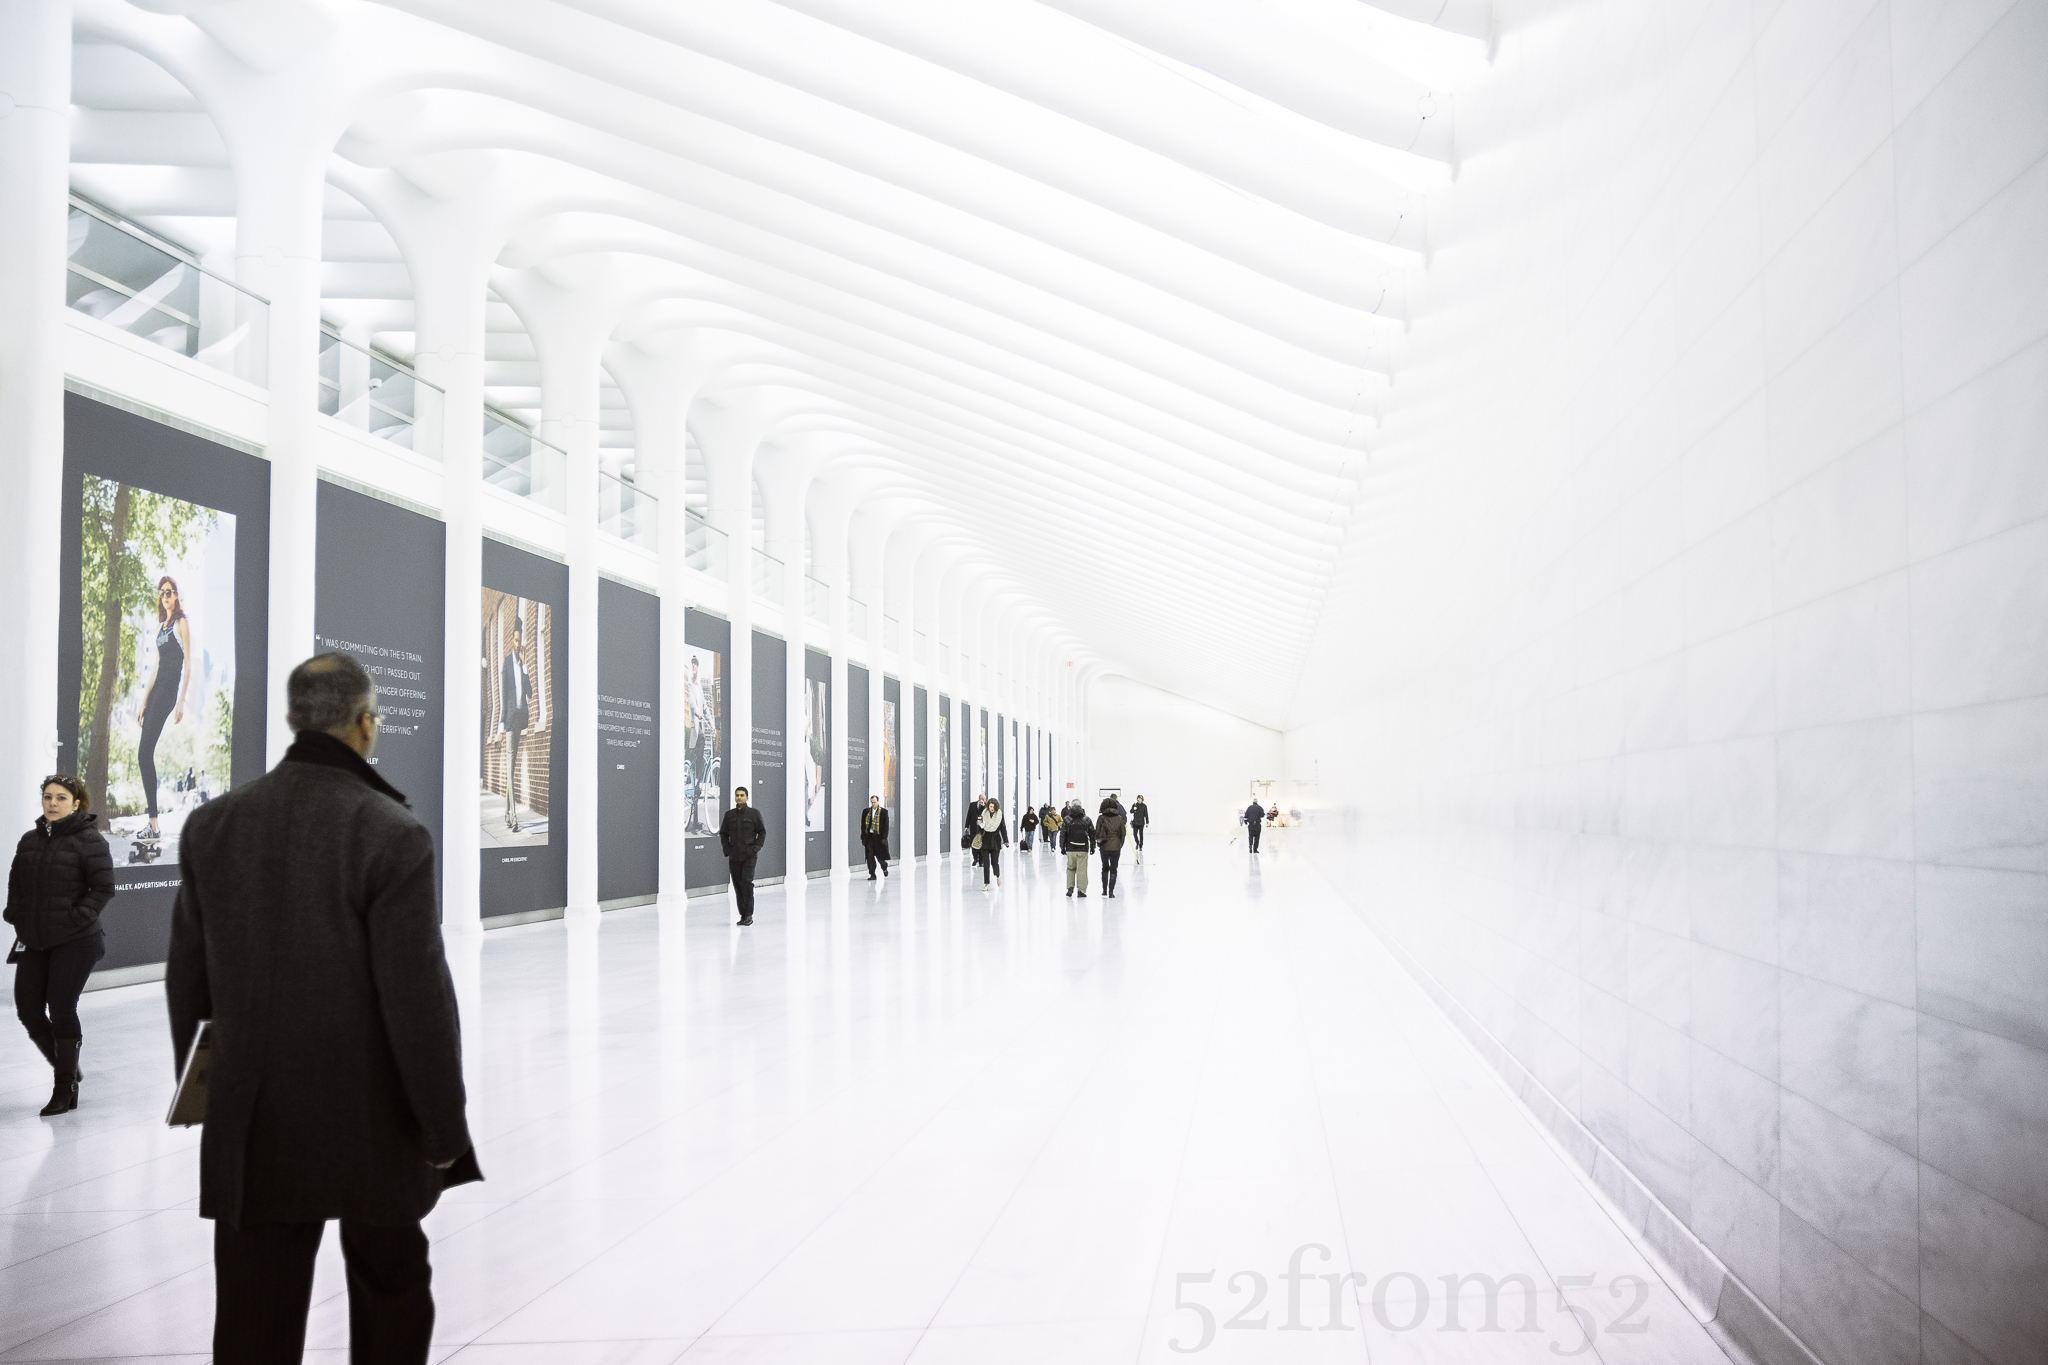
Usual eye level shot (taken at 18mm)
As the train pulled into the station I was nearly blinded by all the bright white marble that made up the platform. Getting off the train felt like walking into a dream or train station from the future. I spent the next 20-30 minutes touring the area and eventually met up with my younger brother. After linking up, my brother and I went to the main hallway that everyone has been photographing. Most of the pictures that I’ve seen were taken at eye level, so naturally one way to get a more unique view was to shoot from low to the ground. My plan was to set my camera up few inches off the ground using my mini tripod. One advantage about using my mini tripod in a public location is most people don’t realize I’m taking a picture. From a distance it could almost look like I’m tying my shoe. While at WTC this ‘stealthy’ feature proved to be a big advantage because once one of the staff members realized I wasn’t playing with my shoe strings he told me “no tripods are allowed.” The staff member then said my alternative was to put my camera on the ground. This really made no sense considering shooting with my camera on the ground or with the little tripod takes up the same amount of space. Although I didn’t agree with the rule, I had already gotten my shot so I saw no reason in arguing and took that as my cue to leave.
Photography Concepts:
There were two main lessons that I took away from shooting this week’s picture. The first lesson was that with so much white my camera tried to underexpose the image. In order to get the image the way I wanted, I had to override my camera’s judgement and overexpose the image via exposure compensation. I could have shot in manual which would have given me more control over exposure, but I was trying to shoot quick before I got told to move (which did eventually happen). Lately I’ve been finding that I am hardly ever using the even exposure my camera calculates. Thus far I’ve mainly used exposure compensation (+/- 3 stops) to adjust my image, but I think it’s time for me to just start shooting in manual. It’s a big step shooting all manual but when it comes to shooting an image such as this week’s, it’s the better way to go.
The second lesson learned was the ideal shutter speed to shoot to give a slight blur to people walking. My original idea was to shoot with a long shutter (10+ seconds) to get ghost like blurs of people walking. Unfortunately since there weren’t many people in the hall, when I shot a 15 second exposure there was hardly a hint of people, except one guy that was standing still. From that point I began winding my camera’s dial to increase my shutter speed, eventually settling at 1/5 of a second. I didn’t know at the time, but I had luckily stumbled upon the ideal shutter speed for blurring people walking. Below is a link to a guide I found after Thursday which provides the ideal shutter speeds for capturing certain effects.
15 second exposure
The last thing I want to mention is something I learned from watching Lightroom Tutorial video. There is a feature in lightroom that allows you to correct perspective. Let me tell you, this is absolutely awesome. For me it’s always difficult to get my camera’s lens oriented correctly to capture perfectly straight vertical or horizontal lines. Lightroom’s perspective correction is something I always knew I needed but never knew existed. Watch the video (link below) and you will understand the features capabilities better.
In the coming weeks when I’m not forced to shoot under a time restraint I’m going to try to shoot in manual mode. My guess is this will open a whole new world of opportunities and image quality for me. Only time will tell…
Links:
Shutter Speed Cheat Sheet
http://www.digitalcameraworld.com/2012/06/26/best-shutter-speeds-for-every-situation/
Lightroom Perspective Correction:
https://www.youtube.com/watch?v=bU_r5hS4fpE&list=PLmXfFxjdp3CH8D2p_Rm5RKtOUmGGzpnFj