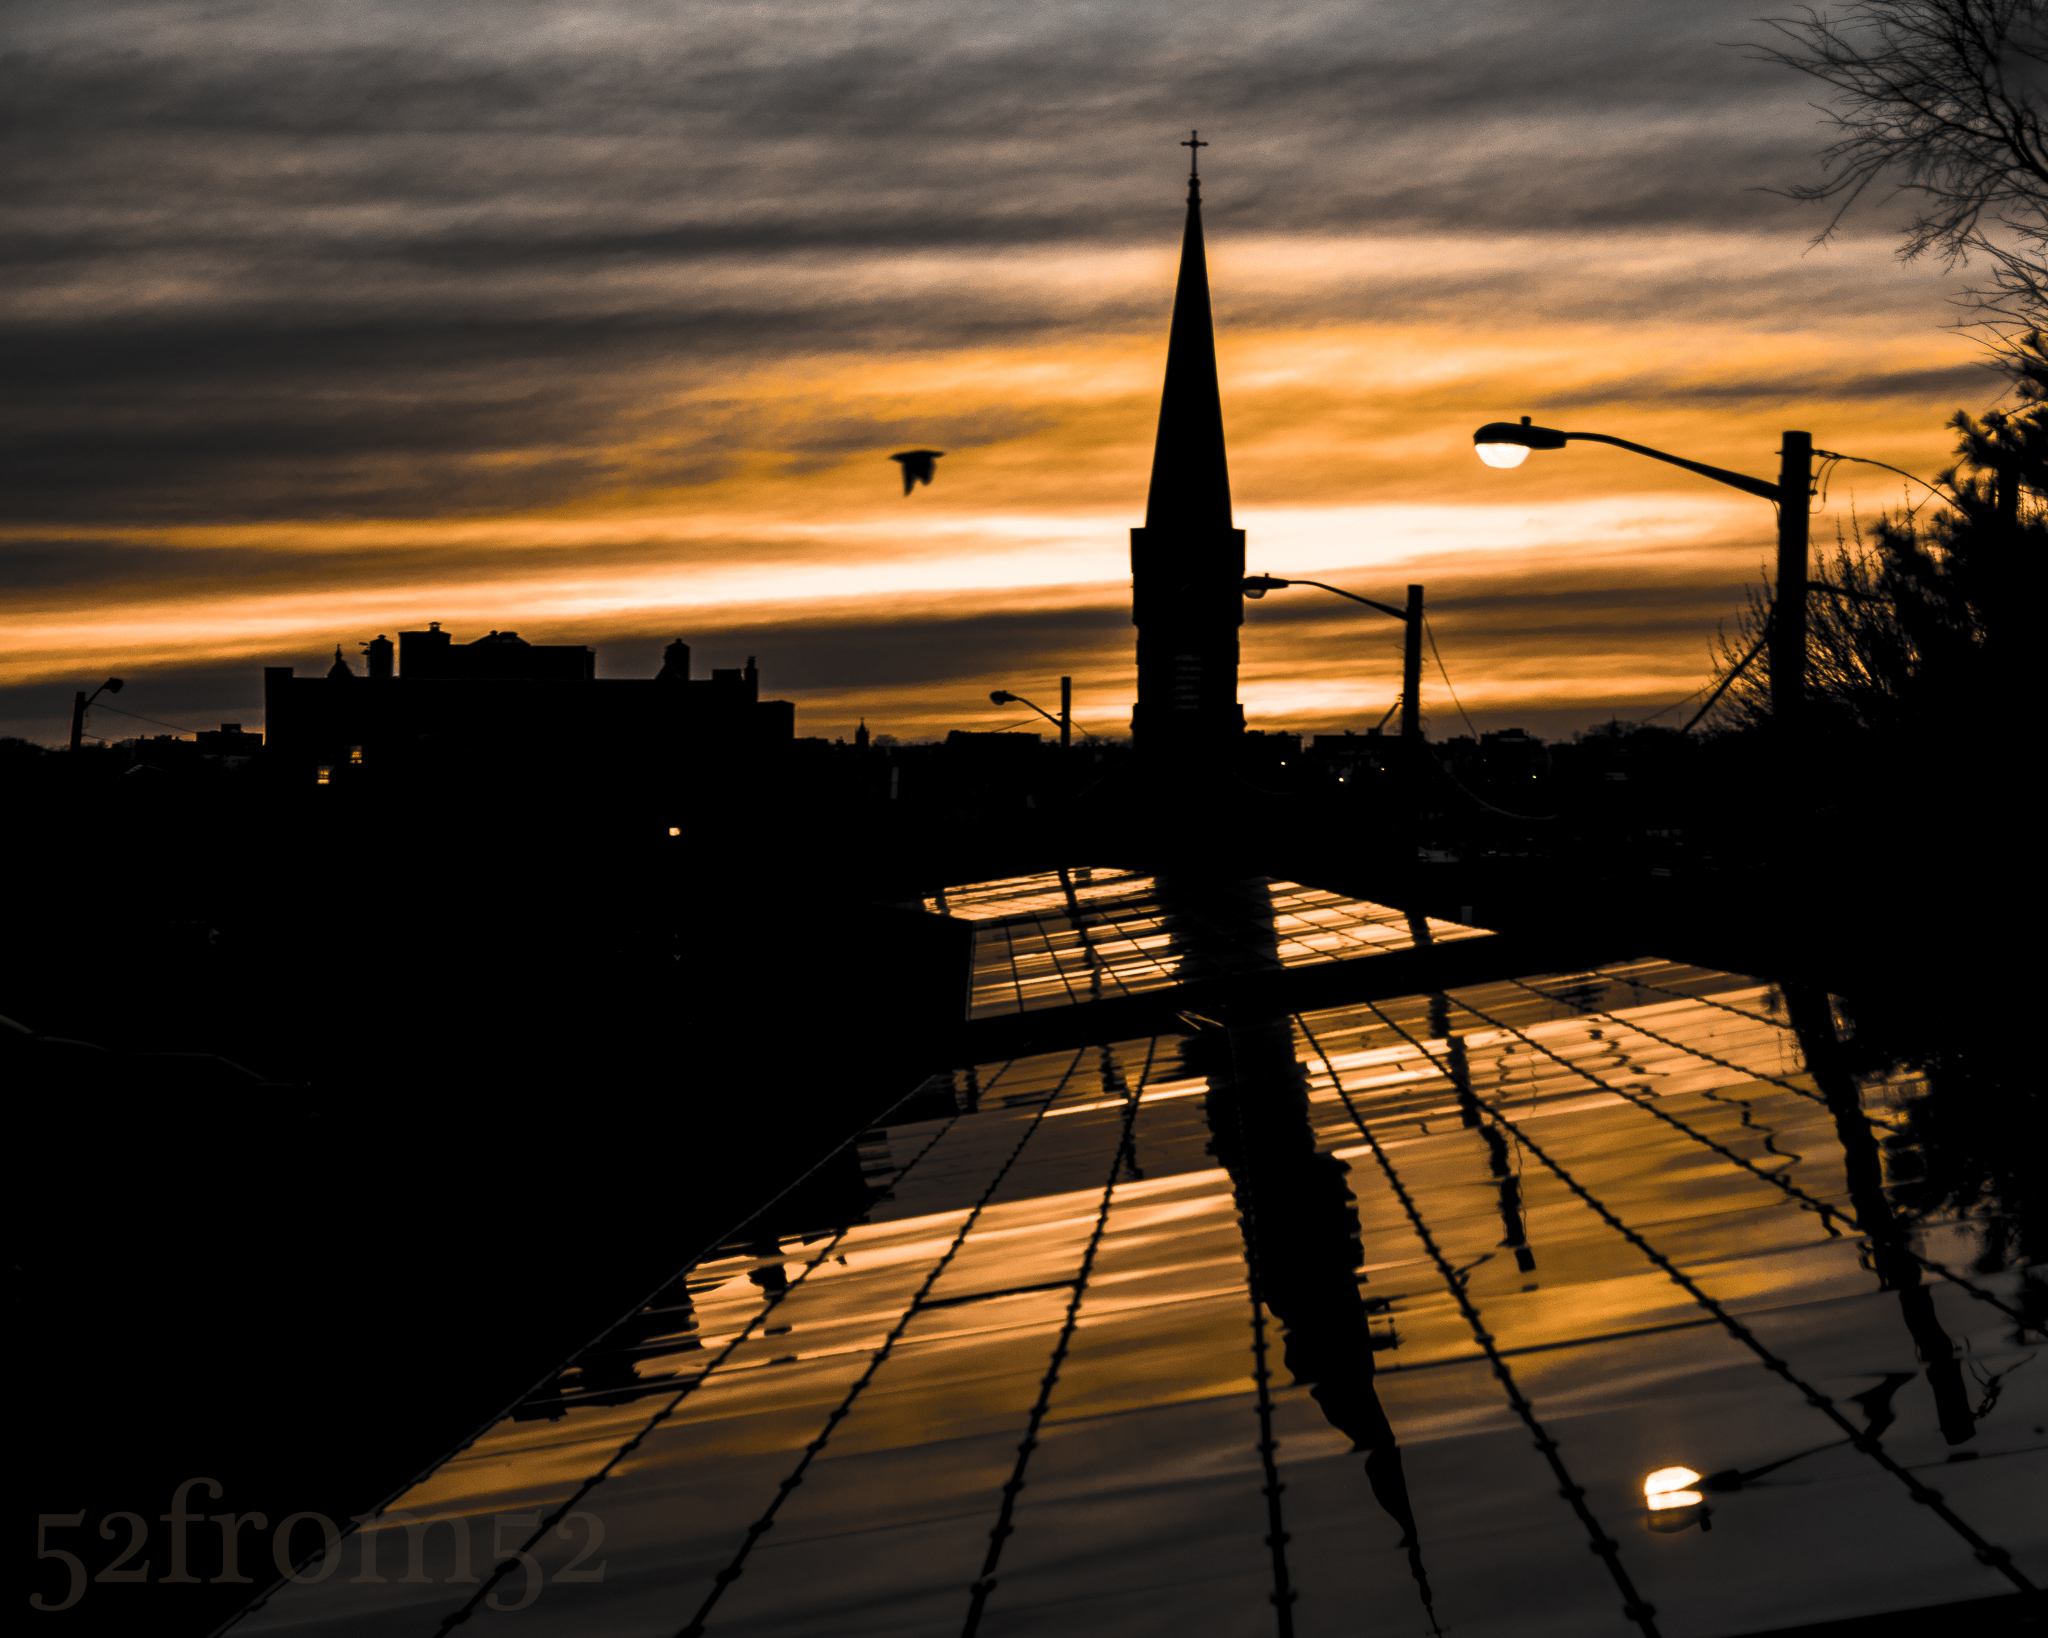
Picture info: ISO 100, 34mm, f/2.8, 1/500sec
Week 37 (4/14/2014 -4/20/2014): 8th Street, Hoboken
Picture taken on 4/19/2014 at 7:33 PM
Picture description:
What do I want to accomplish? This is a question that often keeps me awake at night. I’m all about setting goals and doing whatever it takes to complete them. Step one of having a goal oriented mindset is obvious, set some kind of goal. If you don’t know what you want to accomplish, how can you achieve it? This “goal oriented process” is the concept I applied after purchasing my camera, my goal was to learn photography. After setting my goal, step two was figuring out a way to achieve my goal, which led me to create this photoblog. With the end of this photoblog quickly approaching, I’ve been spending time thinking about what will be my next step in achieving my overall goal of learning photography. Learning photography is hard to measure though, one can argue that you can never fully learn photography. There will always be some new camera, some new technique or just something new to learn. Knowing that I’ll never be able to measure my original goal has made me think, perhaps it’s time I expand my goal and decide what I’d like to do with my newly found photography knowledge? I’m now asking myself, what do I want to use my photography to accomplish? Is my passion for photography just a hobby, or do I want to take it further?
This past weekend I set aside some time to think about the questions I’ve raised about my next steps. While kicking around ideas I decided to throw on a YouTube video from one of my favorite photography resources, “CamerRec Toby.” Toby is a photography pro out in Vermont with his own YouTube channel devoted to reviews and tips about photography gear and techniques . I’ve cited Toby’s videos before but this week one of his videos really caught my attention. In the video (link below) Toby and his co-host Christina discussed an article “7 Reasons why most Photographers and Videographers don’t Reach their Goals” (link below). The article was so relevant to what I was currently thinking about it almost seemed like it was targeted directly at me. In the article the author talks about photographers setting too general of goals (e.g. Learning photography), and how it’s important to have measurable goals. The article helped put things in perspective and made me realize it’s time for me to set some measurable goals. The article and Toby’s video also motivated me to push forward on one of the smaller goals that I’ve been toying with. As of this past weekend, I’ve decided that I’m going to participate in the next Hoboken Art & Music festival in September. My main goal isn’t to make money (though that’s always a bonus), my main goal is to meet lots of people and seeing who and what might help me decide where to take my photography next.
With a new goal (participate in the Art & Music Festival) set, step two was to figure out a way to accomplish it. There are many things that will go into preparing for the festival, but one of the most basic things is having plenty of pictures. As a result, this weekend I also decided to start a new project called “Hoboken Streets.” Since the festival is held in Hoboken, it seems logical to think many of the attendees will be Hoboken residents. Having a geographically targeted audience means I should have geographically targeted pictures, hence my “Hoboken Street” idea.
If you’re still with me, you’re probably asking, “how in the world does all this related to this week’s picture?” Well, even before officially deciding on the idea of doing a “Hoboken Streets” project, I wanted to explore more of Hoboken. Over the past few weeks I’ve changed up my nightly running route and began zig zagging around town looking for pictures. This past week one of my runs led me up 8th street towards Stevens around sunset, where I found this location. It might come as a surprise but I don’t run with my camera, so a few days later I circled back with my Nikon and got the shot.
Photography concepts:
I wrote a little too much in the previous section, and the article I referenced could somewhat fall into this section so this week I’ll keep this section short. Two keys to this picture were composition and editing. In terms of composition, I wanted to have an equal balance between the sky/silhouette and the solar panels which were reflecting the sky/silhouettes. Instead of following the usual rule of thirds guidelines I split my image in two halves horizontally (top/bottom). The bottom half was focused on the reflection which was meant to lead your eyes down the path to the top half, which was meant to feature the sky and silhouettes.
Editing was key for this image because I wanted to emphasize the contrast between the dark silhouettes and light from the sunset. In order to do create a nice contrast, I dropped the overall vibrancy of the image while boosting the saturation of specific colors. After my color adjustments, I was left with the contrasting image that I was looking for. Of course there were some other adjustments (e.g spot adjustments, highlights, clarity, ect.) but nothing more than I’ve talked about in previous weeks. If you haven’t already, circle back and read some of my earlier weeks posts to get some more in depth tips on editing and composition.
Article:
http://theslantedlens.com/2014/7-reasons-photographers-videographers-dont-reach-goals/
CameraRec Toby Video:
https://www.youtube.com/watch?v=IhGUyD2g7Eo