Picture info: ISO 100, 35mm, f/11, 1/80sec
Week 27 (2/3/2014 -2/9/2014): Hoboken, Maxwell Park
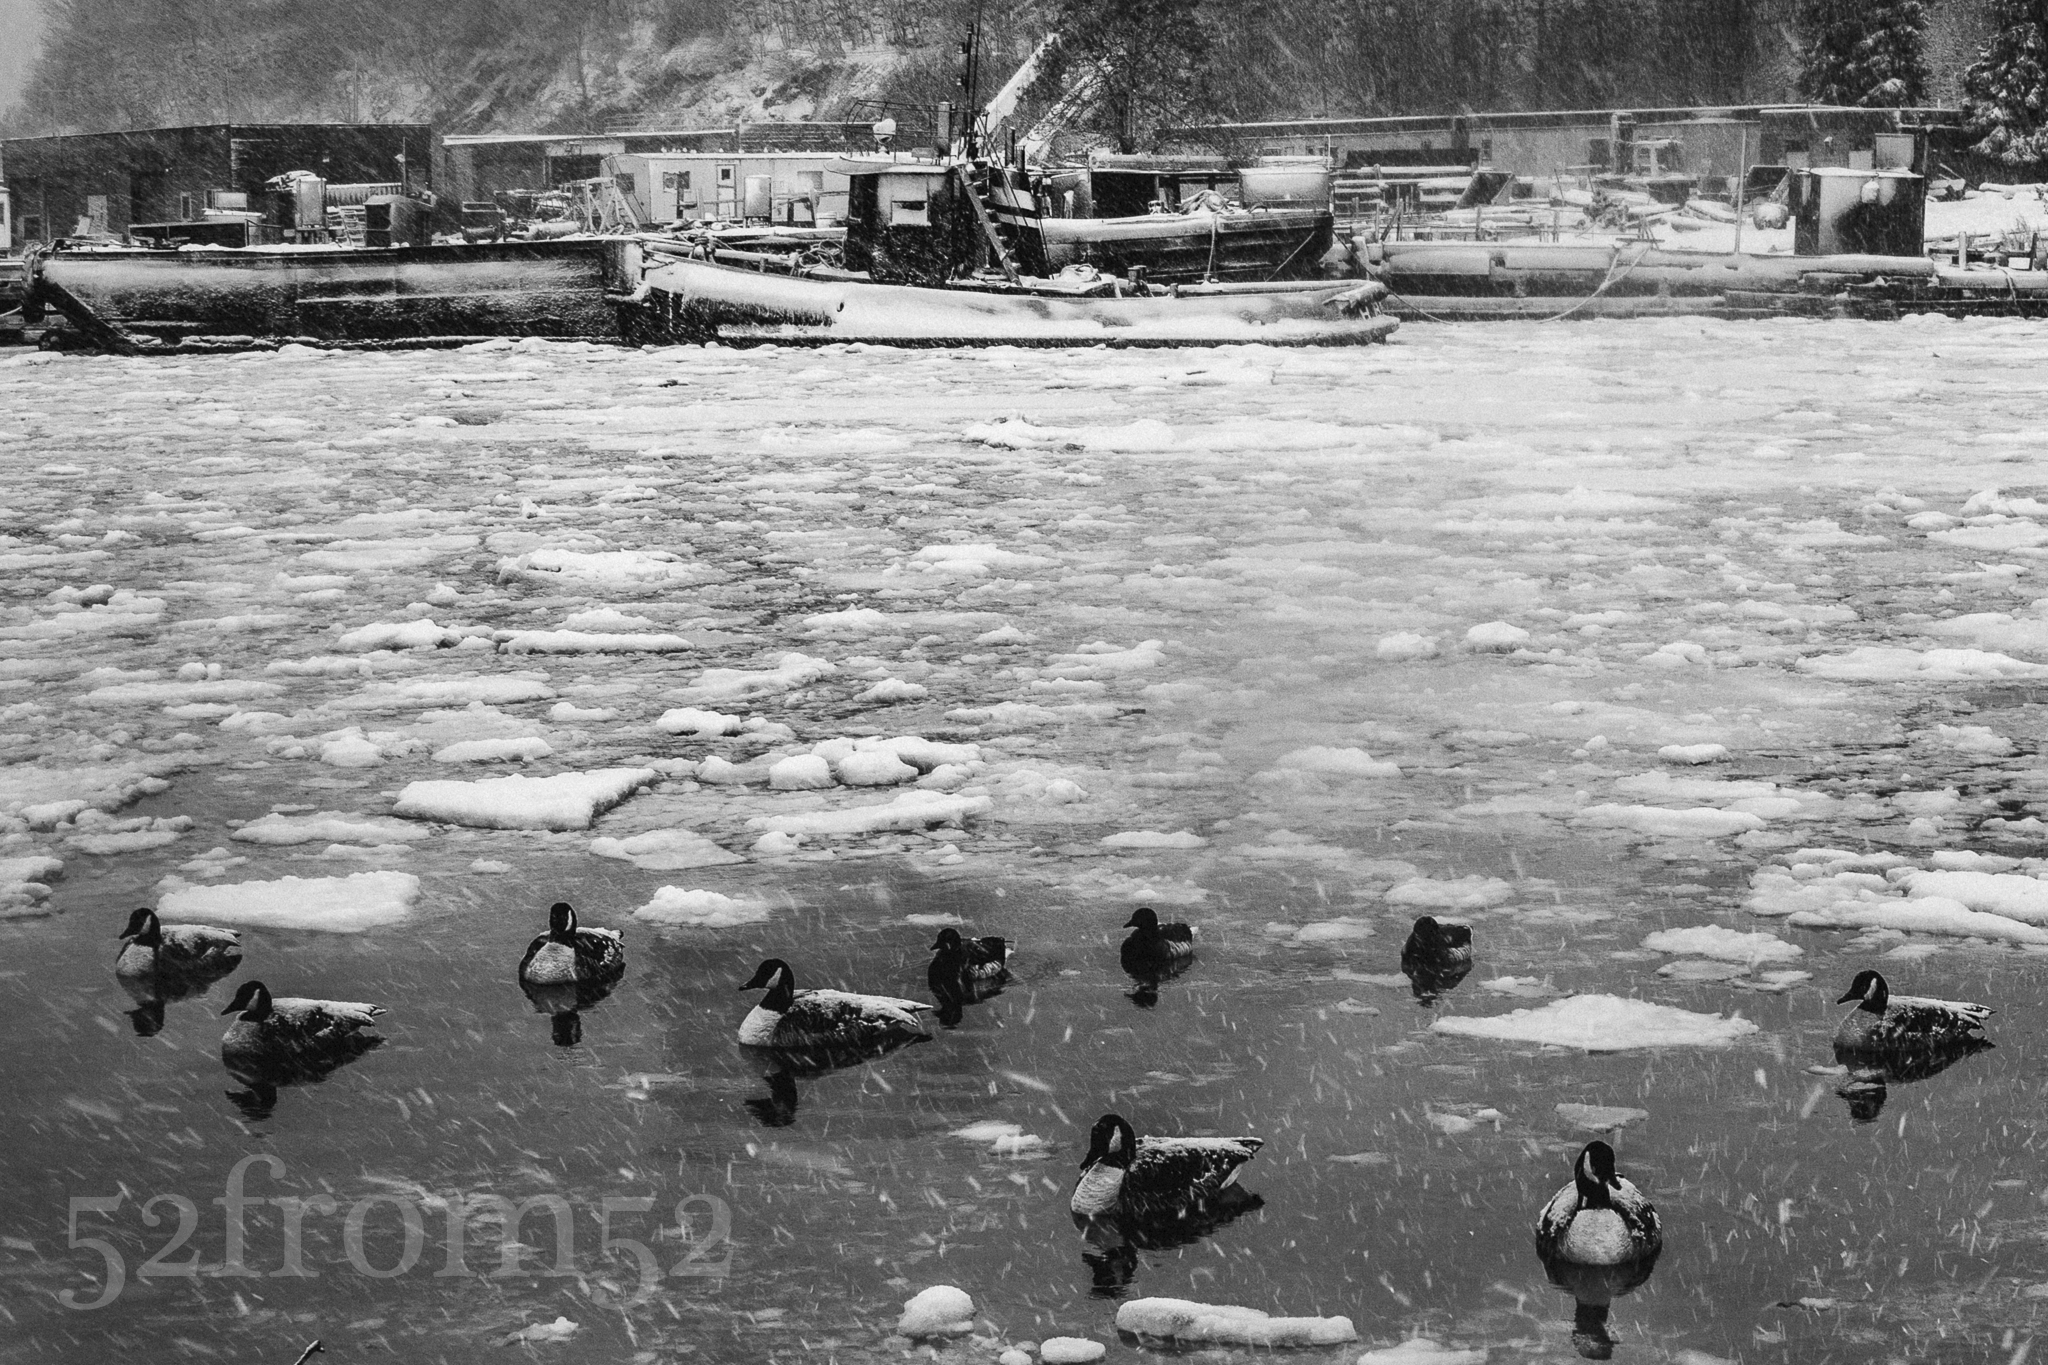
Picture taken on 2/3/2014 at 1:09 PM
Picture description
It’s said that the day after the Superbowl is one of the highest call out of work days of the year. This year I was smart and decided to preemptively schedule myself for a day off on the dreaded Monday after the big game. As it turned out I couldn’t have chosen a better day to take off, not because of a big game hangover, but because of a huge snowstorm that hit our area. While most people were fighting both their hangovers and the weather I was relaxing comfortably in my apartment. Even though I could spend the day sheltered from the storm, I decided it would be fun to head out into the snow with my Nikon in hand. The only problem I faced was how to protect my camera from the wintery elements. The solution that I came up with was simple, rubberband a ziplock bag around my camera and I was good to go, or so I thought.
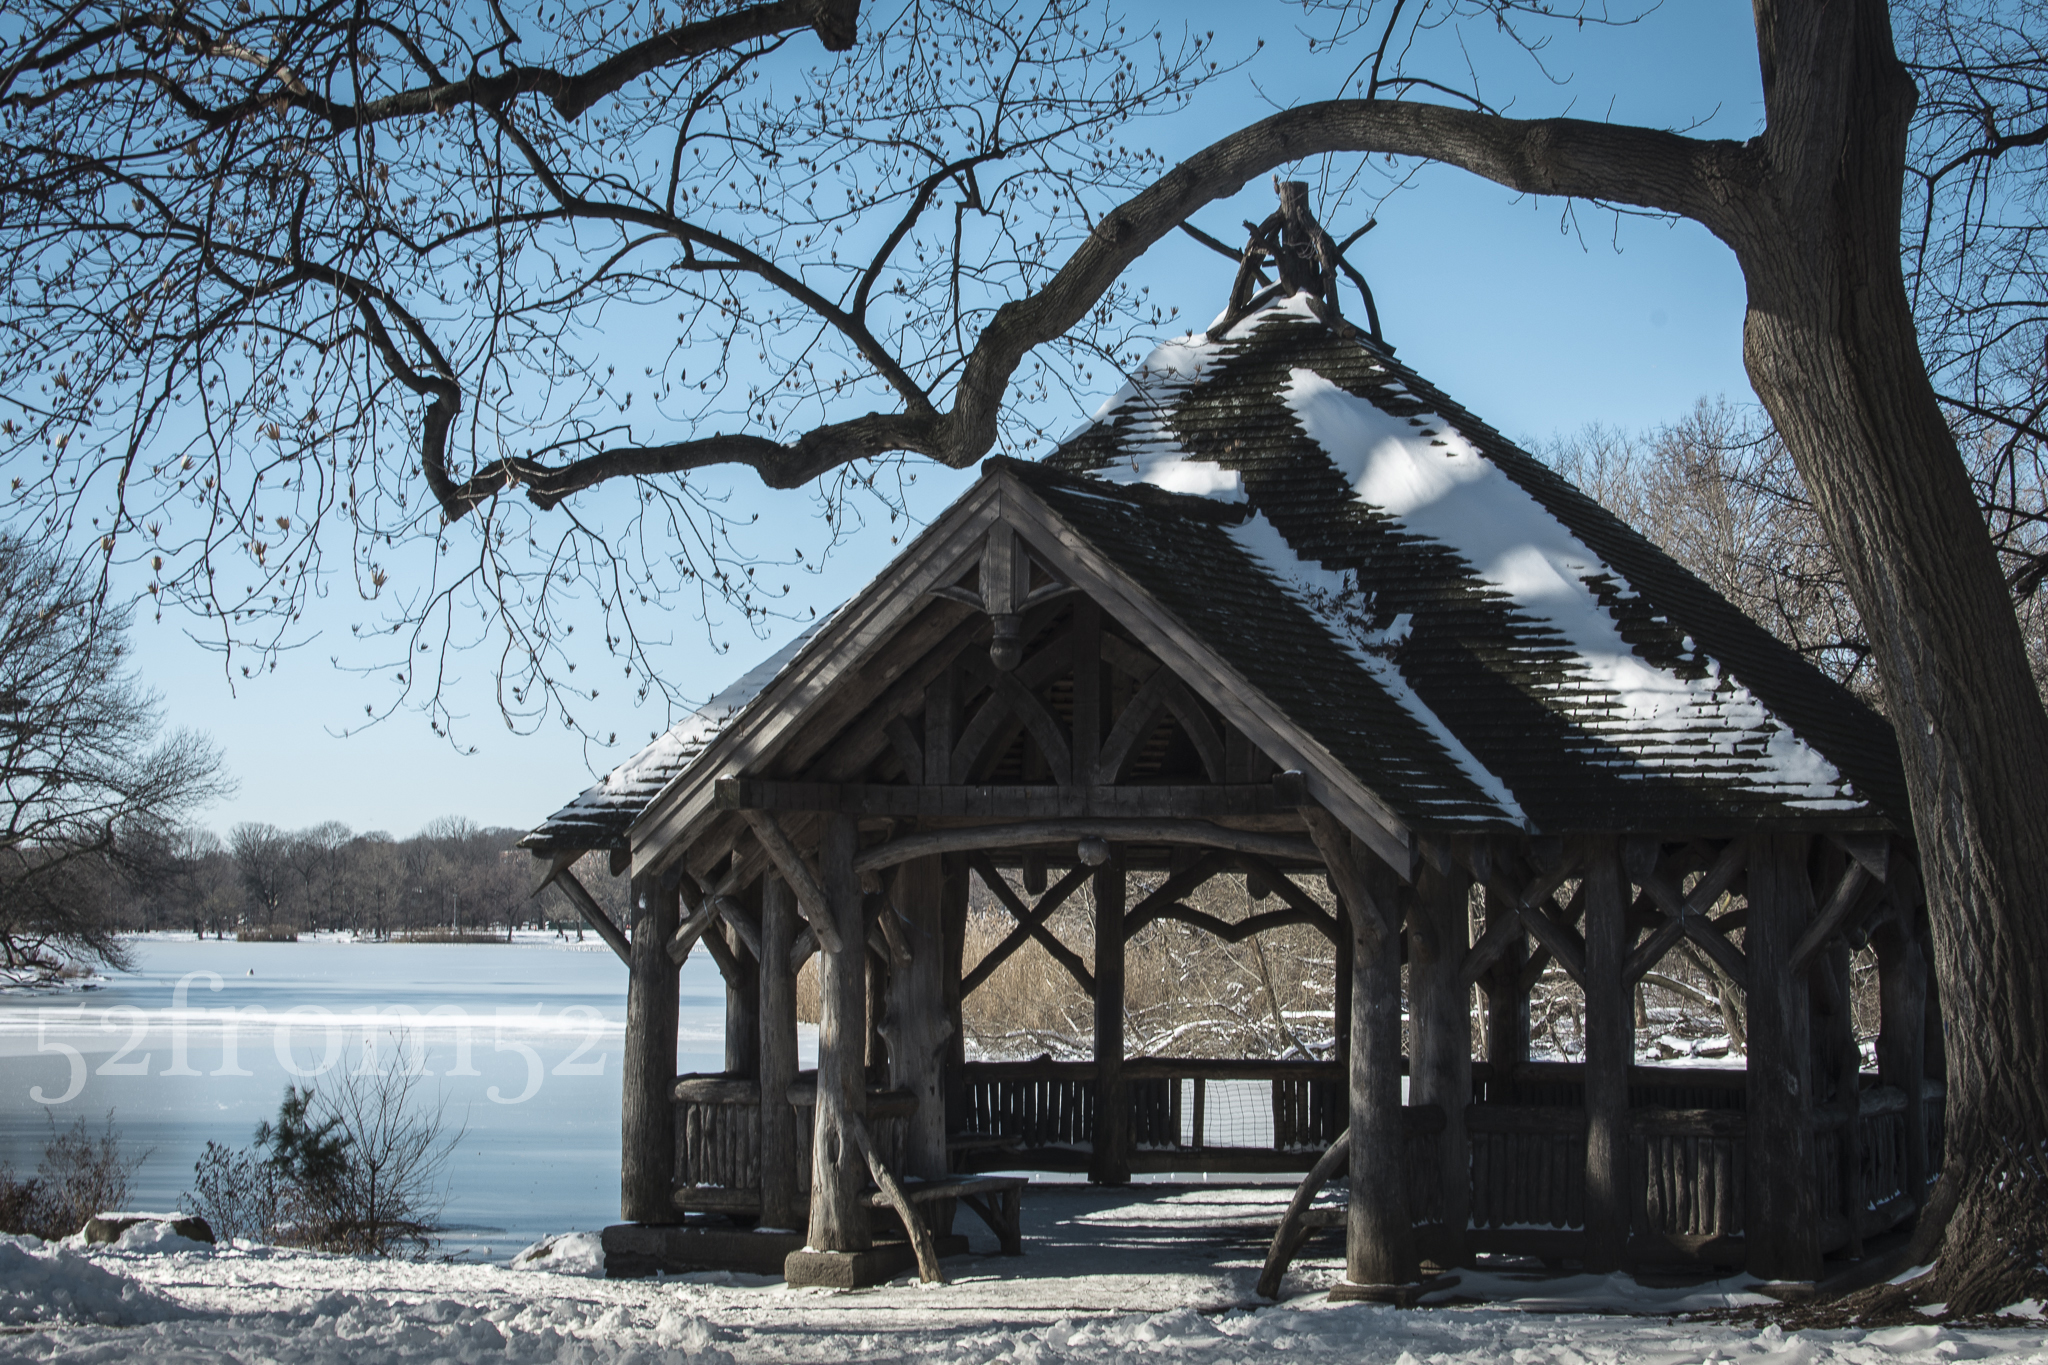
Once out in the storm my ziplock plan seemed to work in terms of protecting my camera, but it made taking photos extremely difficult. I was able to make the best of the situation by shielding my camera within my coat until I spotted a potential picture. Knowing that I couldn’t preserve my camera’s dryness for long, I decided to hit two nearby Hoboken locations. First I went to my usual spot, the uptown pier at Maxwell Park. To my surprise I spotted a family of geese trying to take refuge in the cove of the pier’s “beach area.” They were surrounded by ice and almost seemed to be frozen themselves. I moved around trying to shoot the geese from the best angle possible without falling into the water myself. Next I moved to the pier on Sinatra drive by the skatepark. Since the snow was creating a nice white out I wanted to take a picture of the gazebo on the water with nothing but a white background. Usually the New York City skyline is the backdrop so I thought this would make for a unique picture of the area.
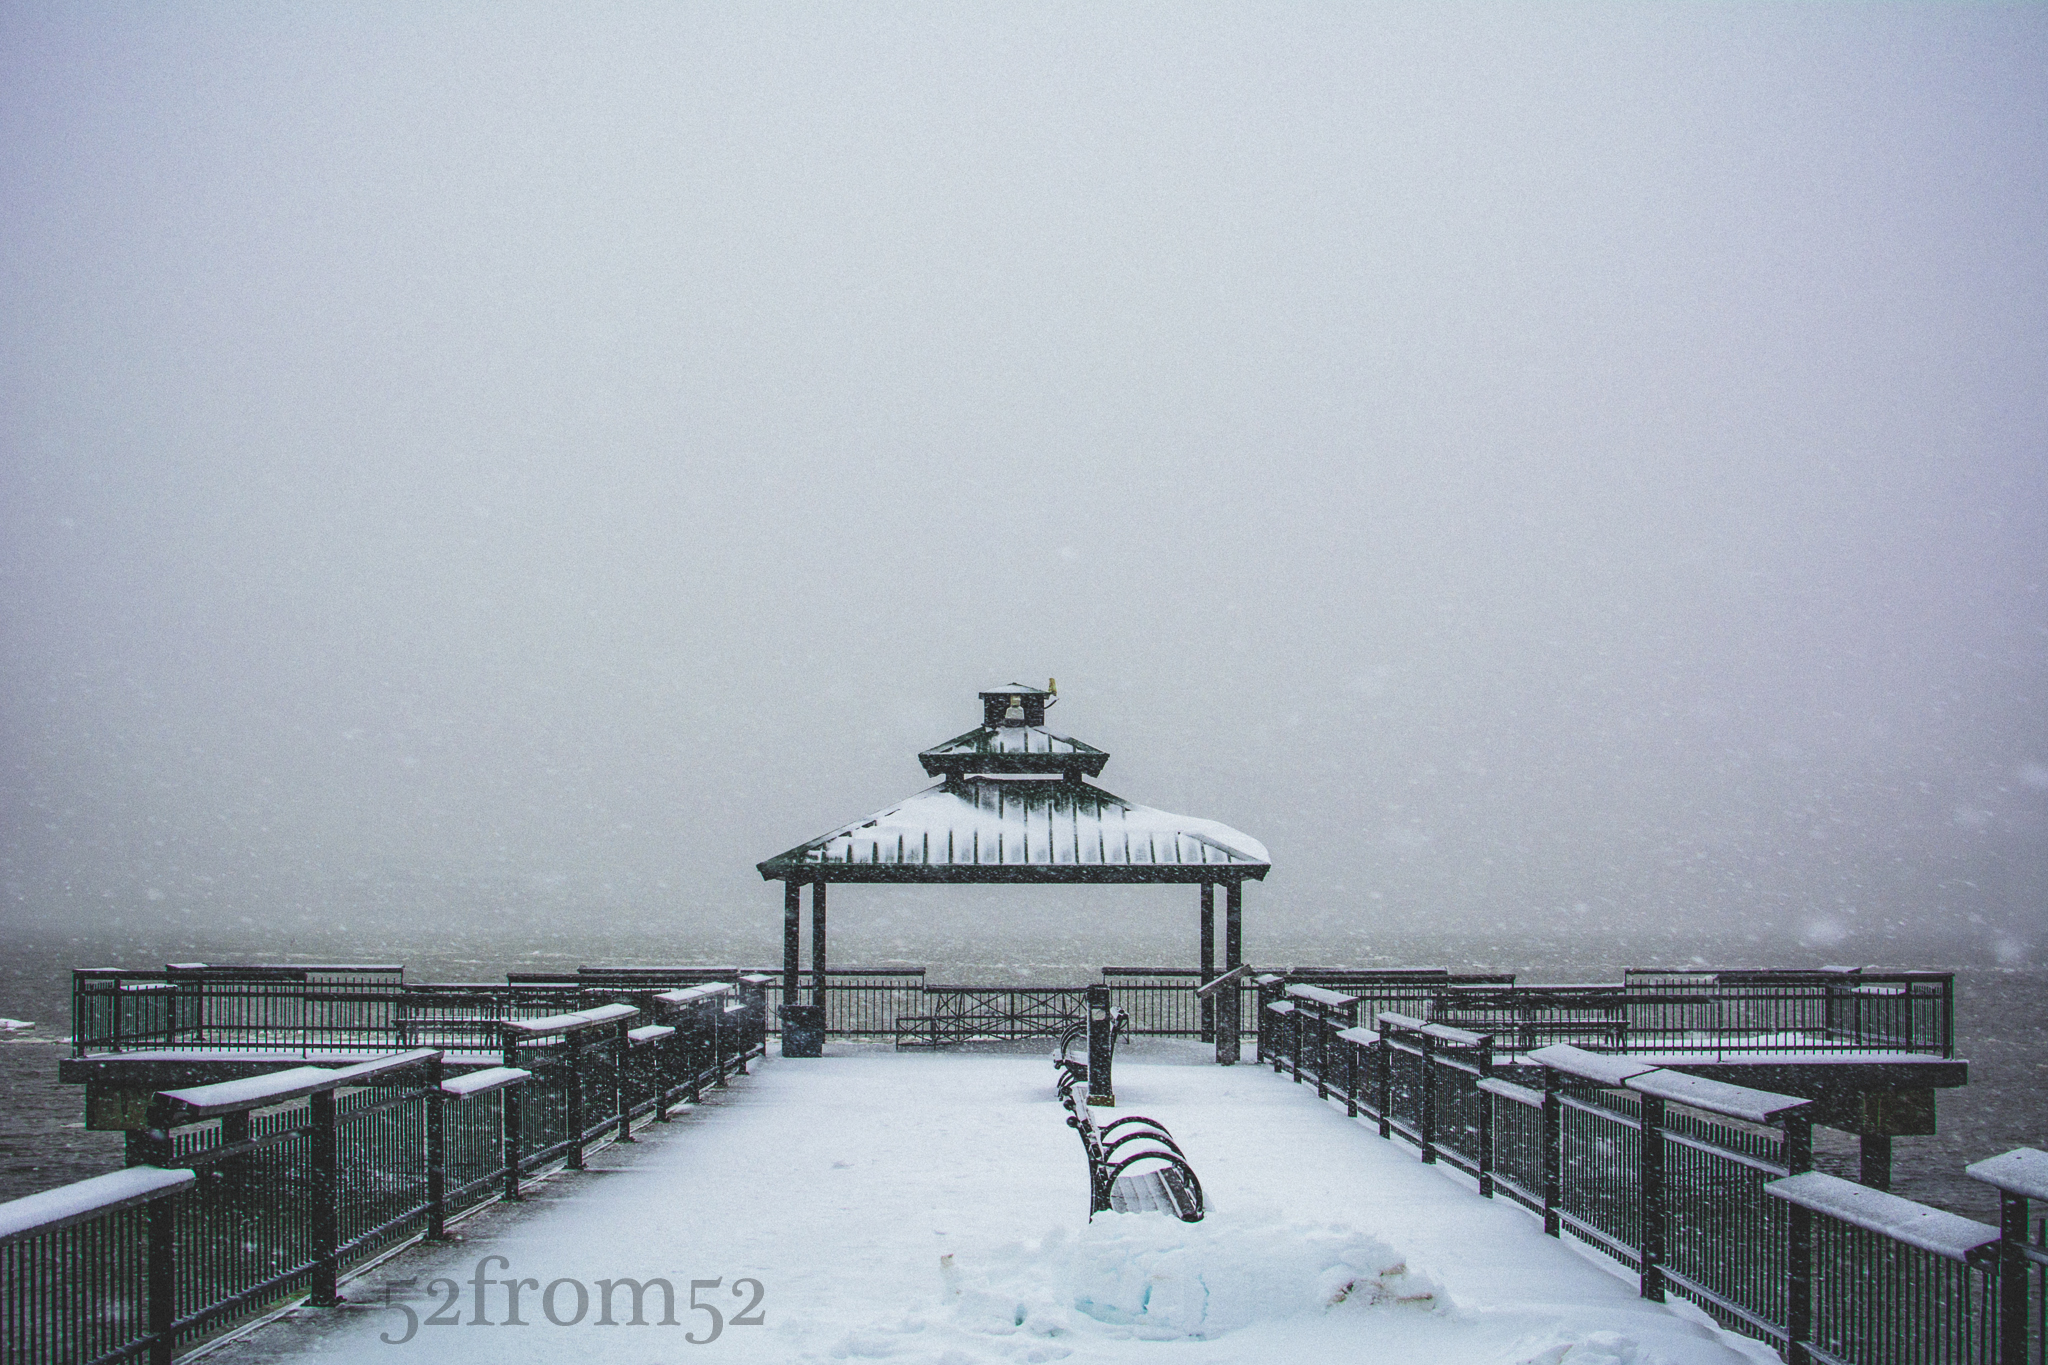
Gazebo picture
After getting the gazebo picture I decided to head back in for the day. I had been outside for about an hour and it seemed that my ziplock bag was close to losing it’s ability to protect my camera. As I fought my way through the snow back to my apartment, I said to myself next time I’ll be better prepared for the elements.
Photography concepts:
The first time out in the snow with my Nikon taught me some valuable lessons. The first and most obvious is that you need to keep your camera dry. Although the ziplock bag was able to protect my camera for the hour that I was out, it would have been a stretch to sustain it’s usefulness for any longer period of time. As a result my first purchase after Monday’s snow storm was a rain cover or “rain sleeve” for my camera (link below). They essentially work just like the ziplock bag but they’re longer and hug my arm so shooting with them is a lot less clumsy. I was hoping for another snow storm this weekend so I could test the sleeves, but of course you never get the weather you wish for. Expect a follow up review of the rain sleeves usefulness in a future post.
The second lesson I learned is that you absolutely need something dry to wipe off your lens. This seems pretty obvious as well, yet I totally forgot to bring a cloth while I was out in the snow. I had to use some of my inner layers to wipe off my lense. Luckily I always keep a UV filter on my camera’s lens so there was no chance of damaging the actual lens. Using a UV filter is nothing new for me but absolutely essential when you’re out in the elements. It’s much smarter to scratch a $10 filter than the lens of your hundred plus dollar lens.
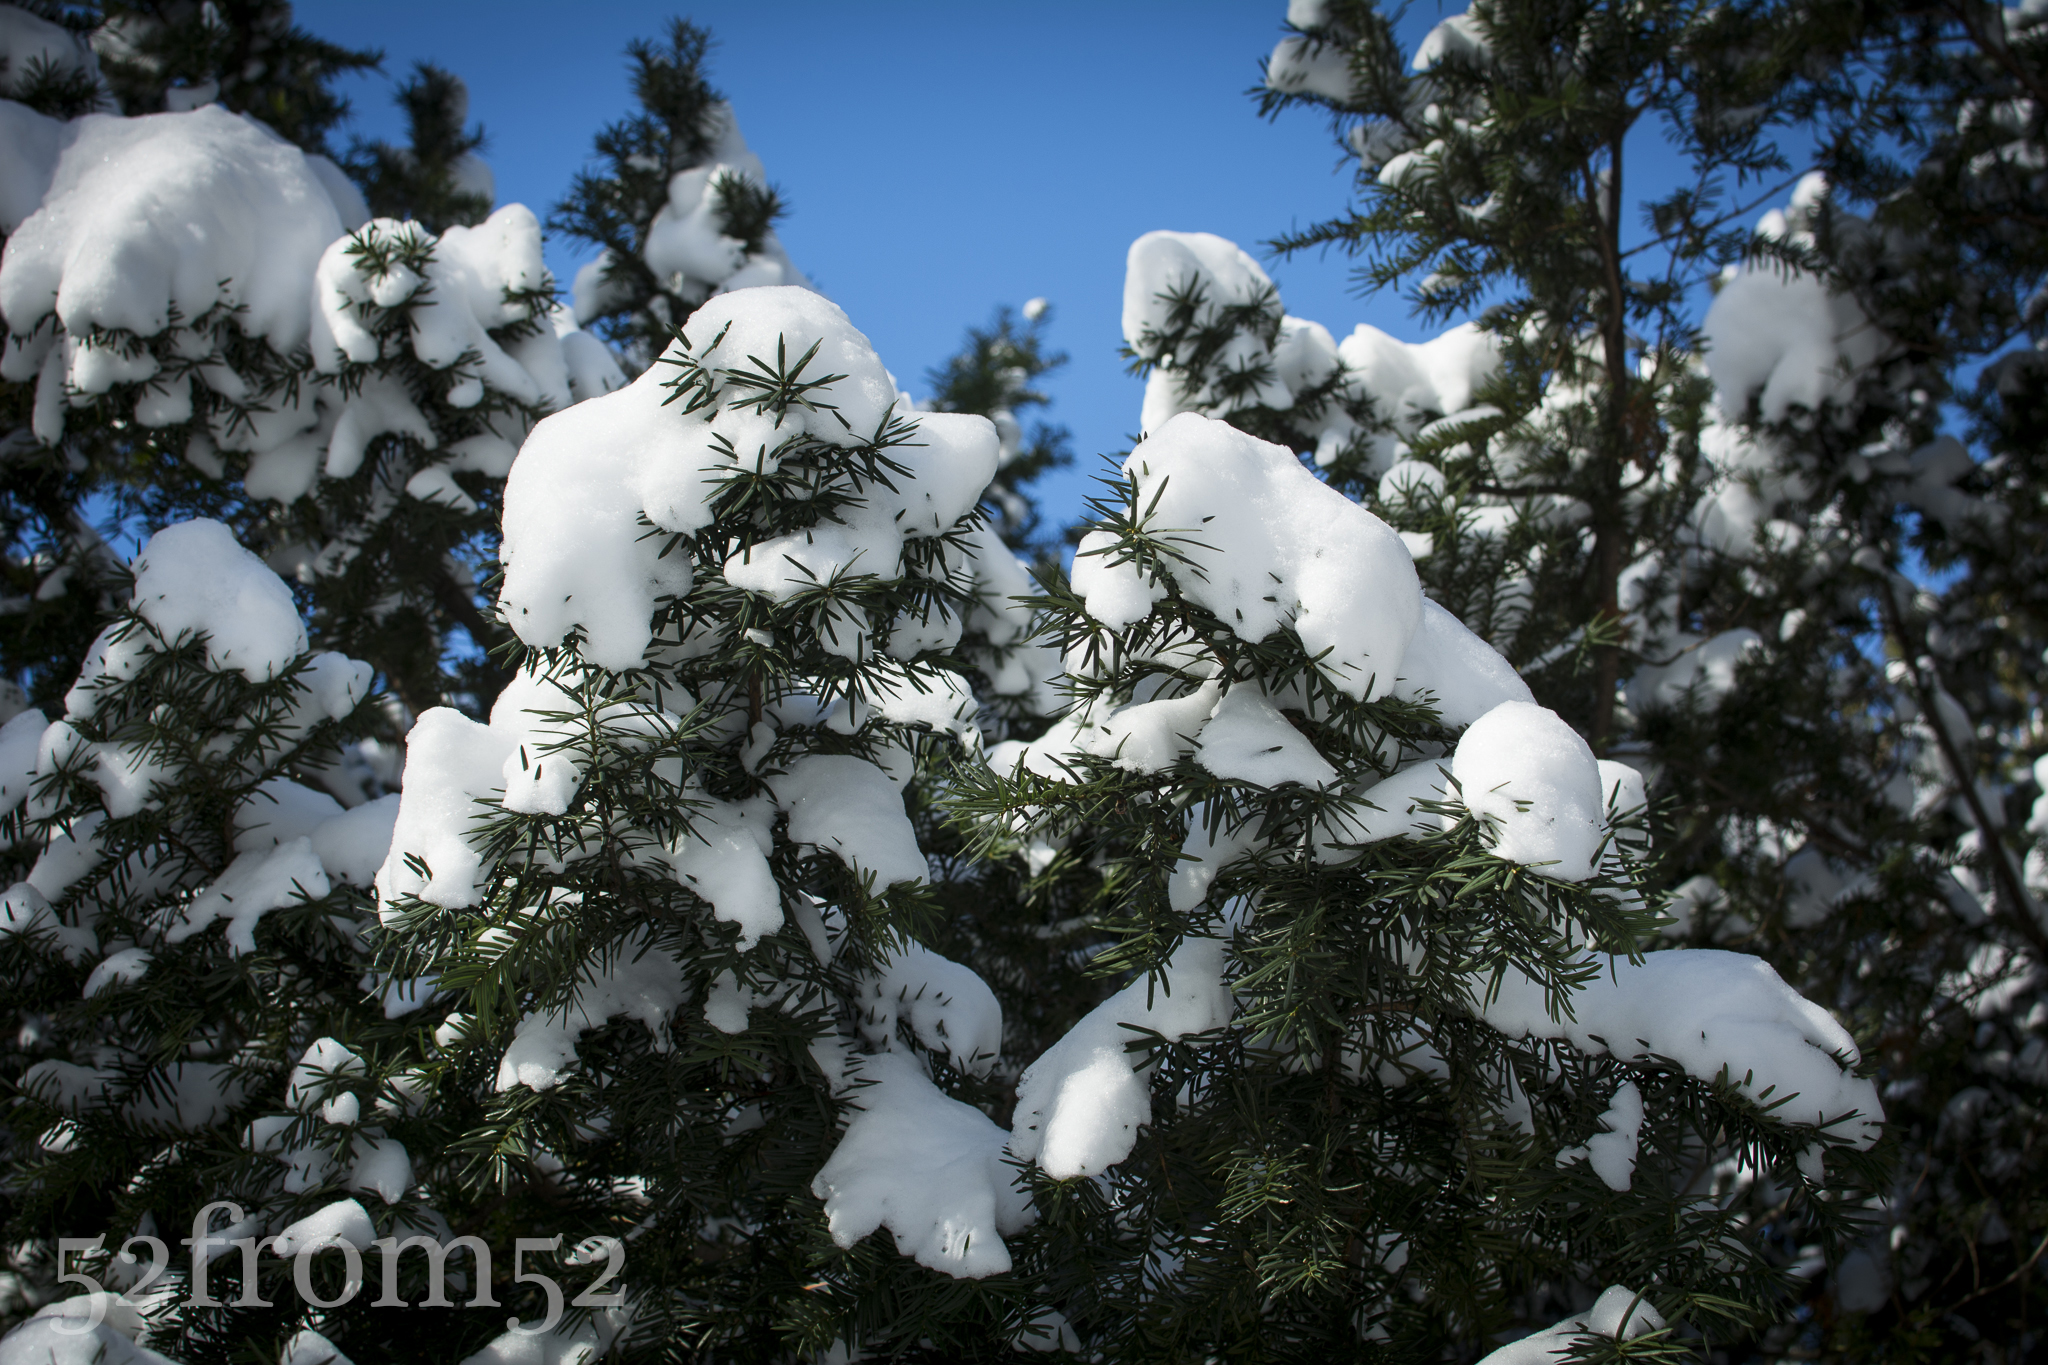
The last lesson that’s worth noting is what I learned in post (editing). While reviewing my pictures I noticed that I didn’t take advantage of a key feature my DSLR. Most DSLR’s, including my Nikon, give you the ability to shoot with very fast shutter speeds. This is a great tool to have when it’s snowing (or raining) because it allows to you seemingly freeze time and capture snow flakes or rain drops midair. I unfortunately didn’t shoot many pictures with fast shutter speeds. From the pictures that I so happened to have a fast shutter, it seemed that 1/1000 – 1/2000 seconds was the ideal speed to freeze the snowflakes. My guess is the best lens speed probably varies depending on the wind and size of the snowflakes. Lesson learned, my shutter speed will absolutely be on the forefront of my mind next time I go out in the snow or rain.
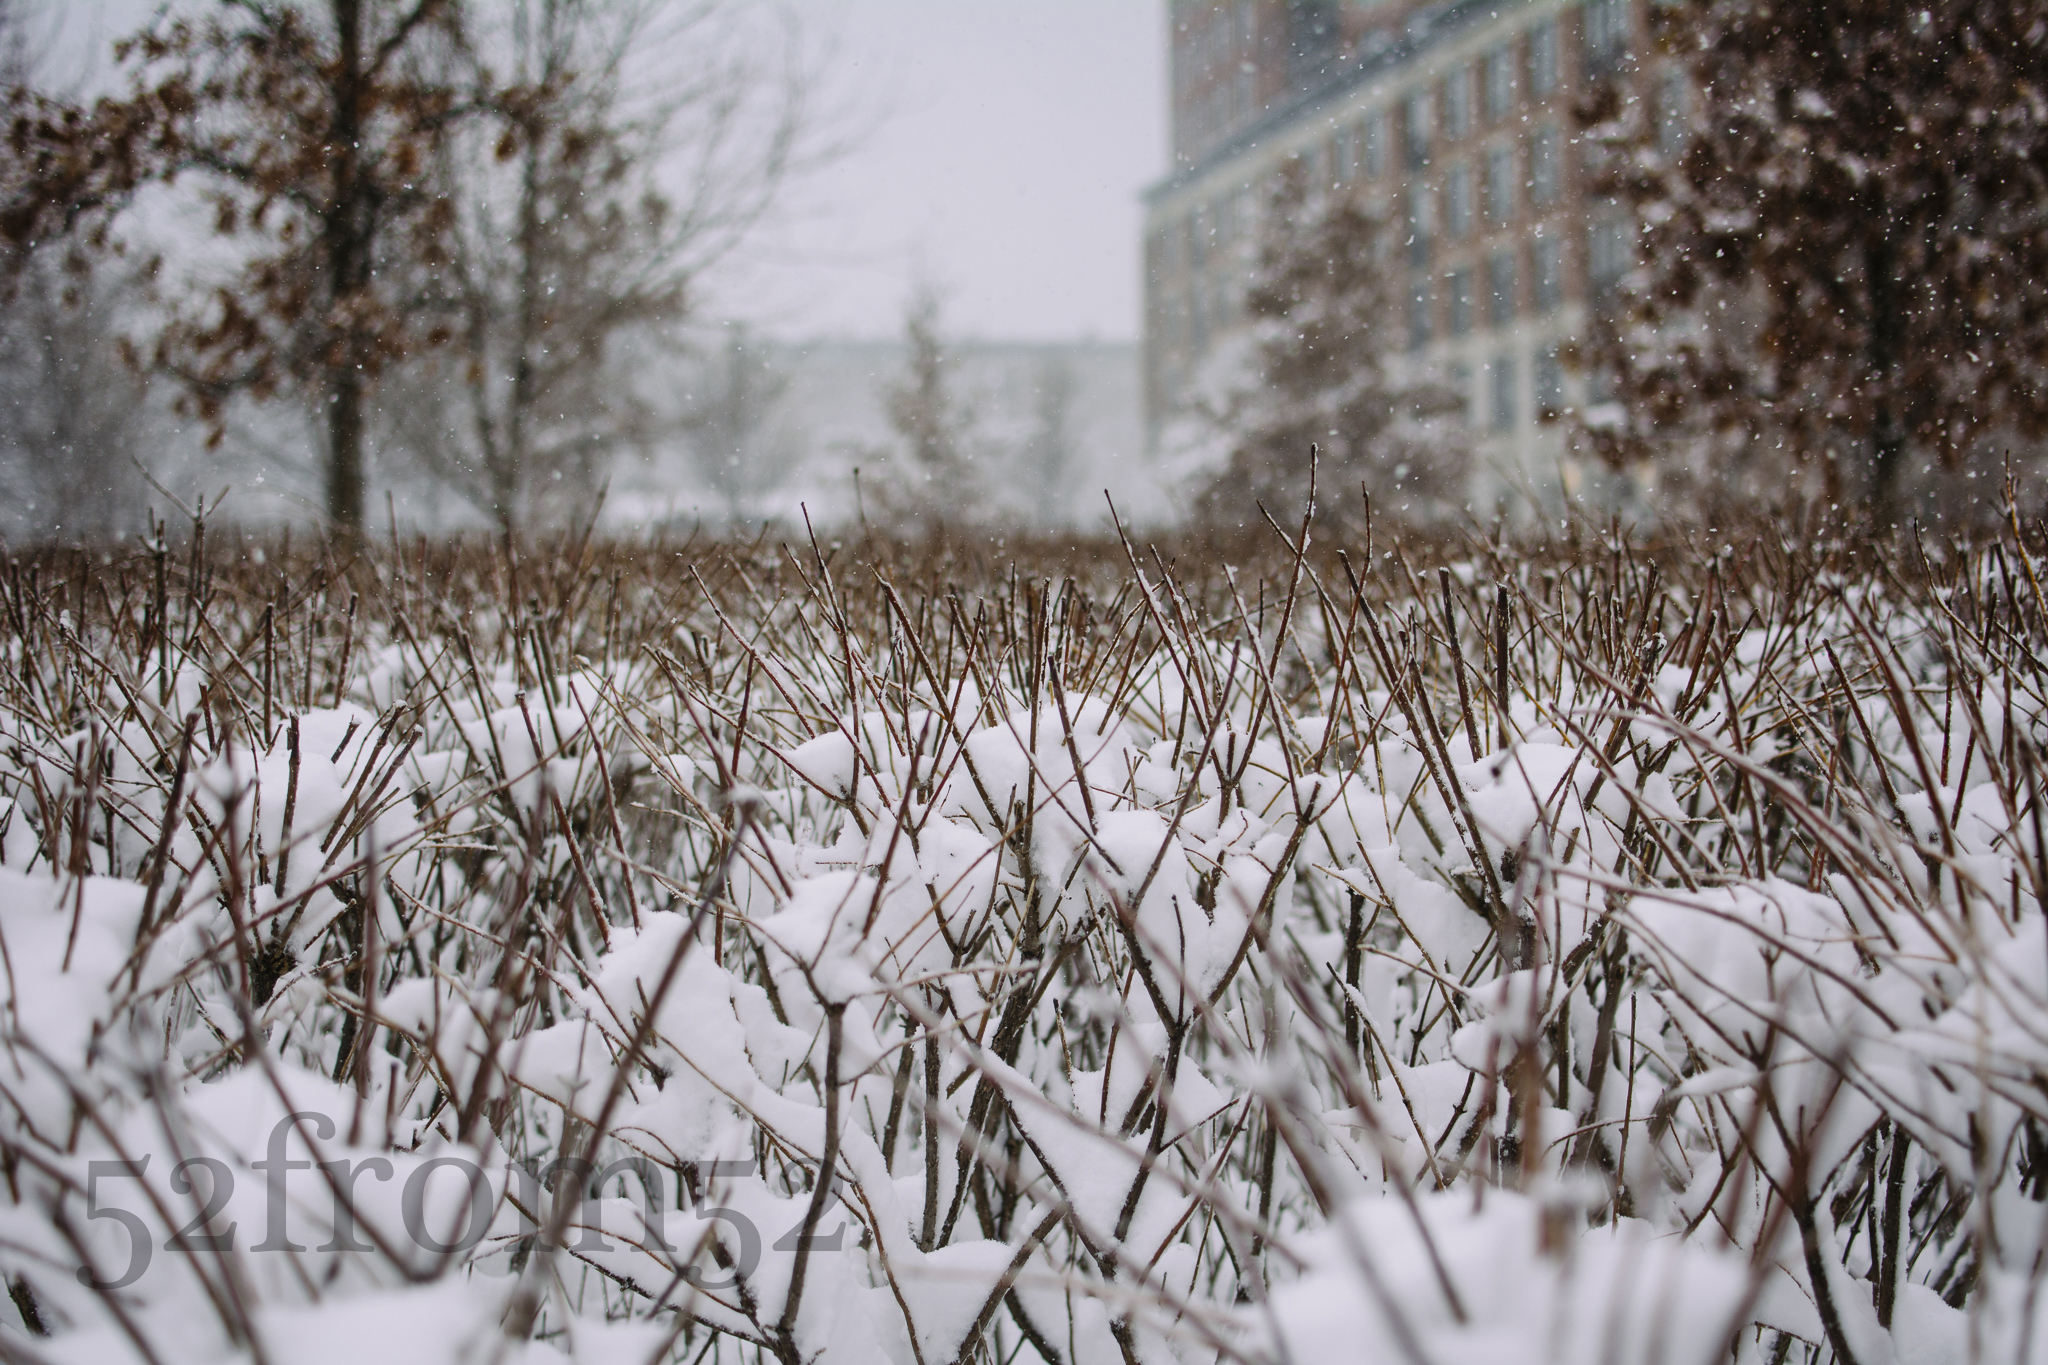
Taken with shutter speed 1/1000 sec
Rain sleeve option 1
http://www.bhphotovideo.com/c/product/469774-REG/OP_TECH_USA_9001132_18_Rainsleeve_Set_of.html
Rain sleeve option 2
http://www.bhphotovideo.com/c/product/891383-REG/ruggard_rc_p18_18_plastic_rain_cover.html