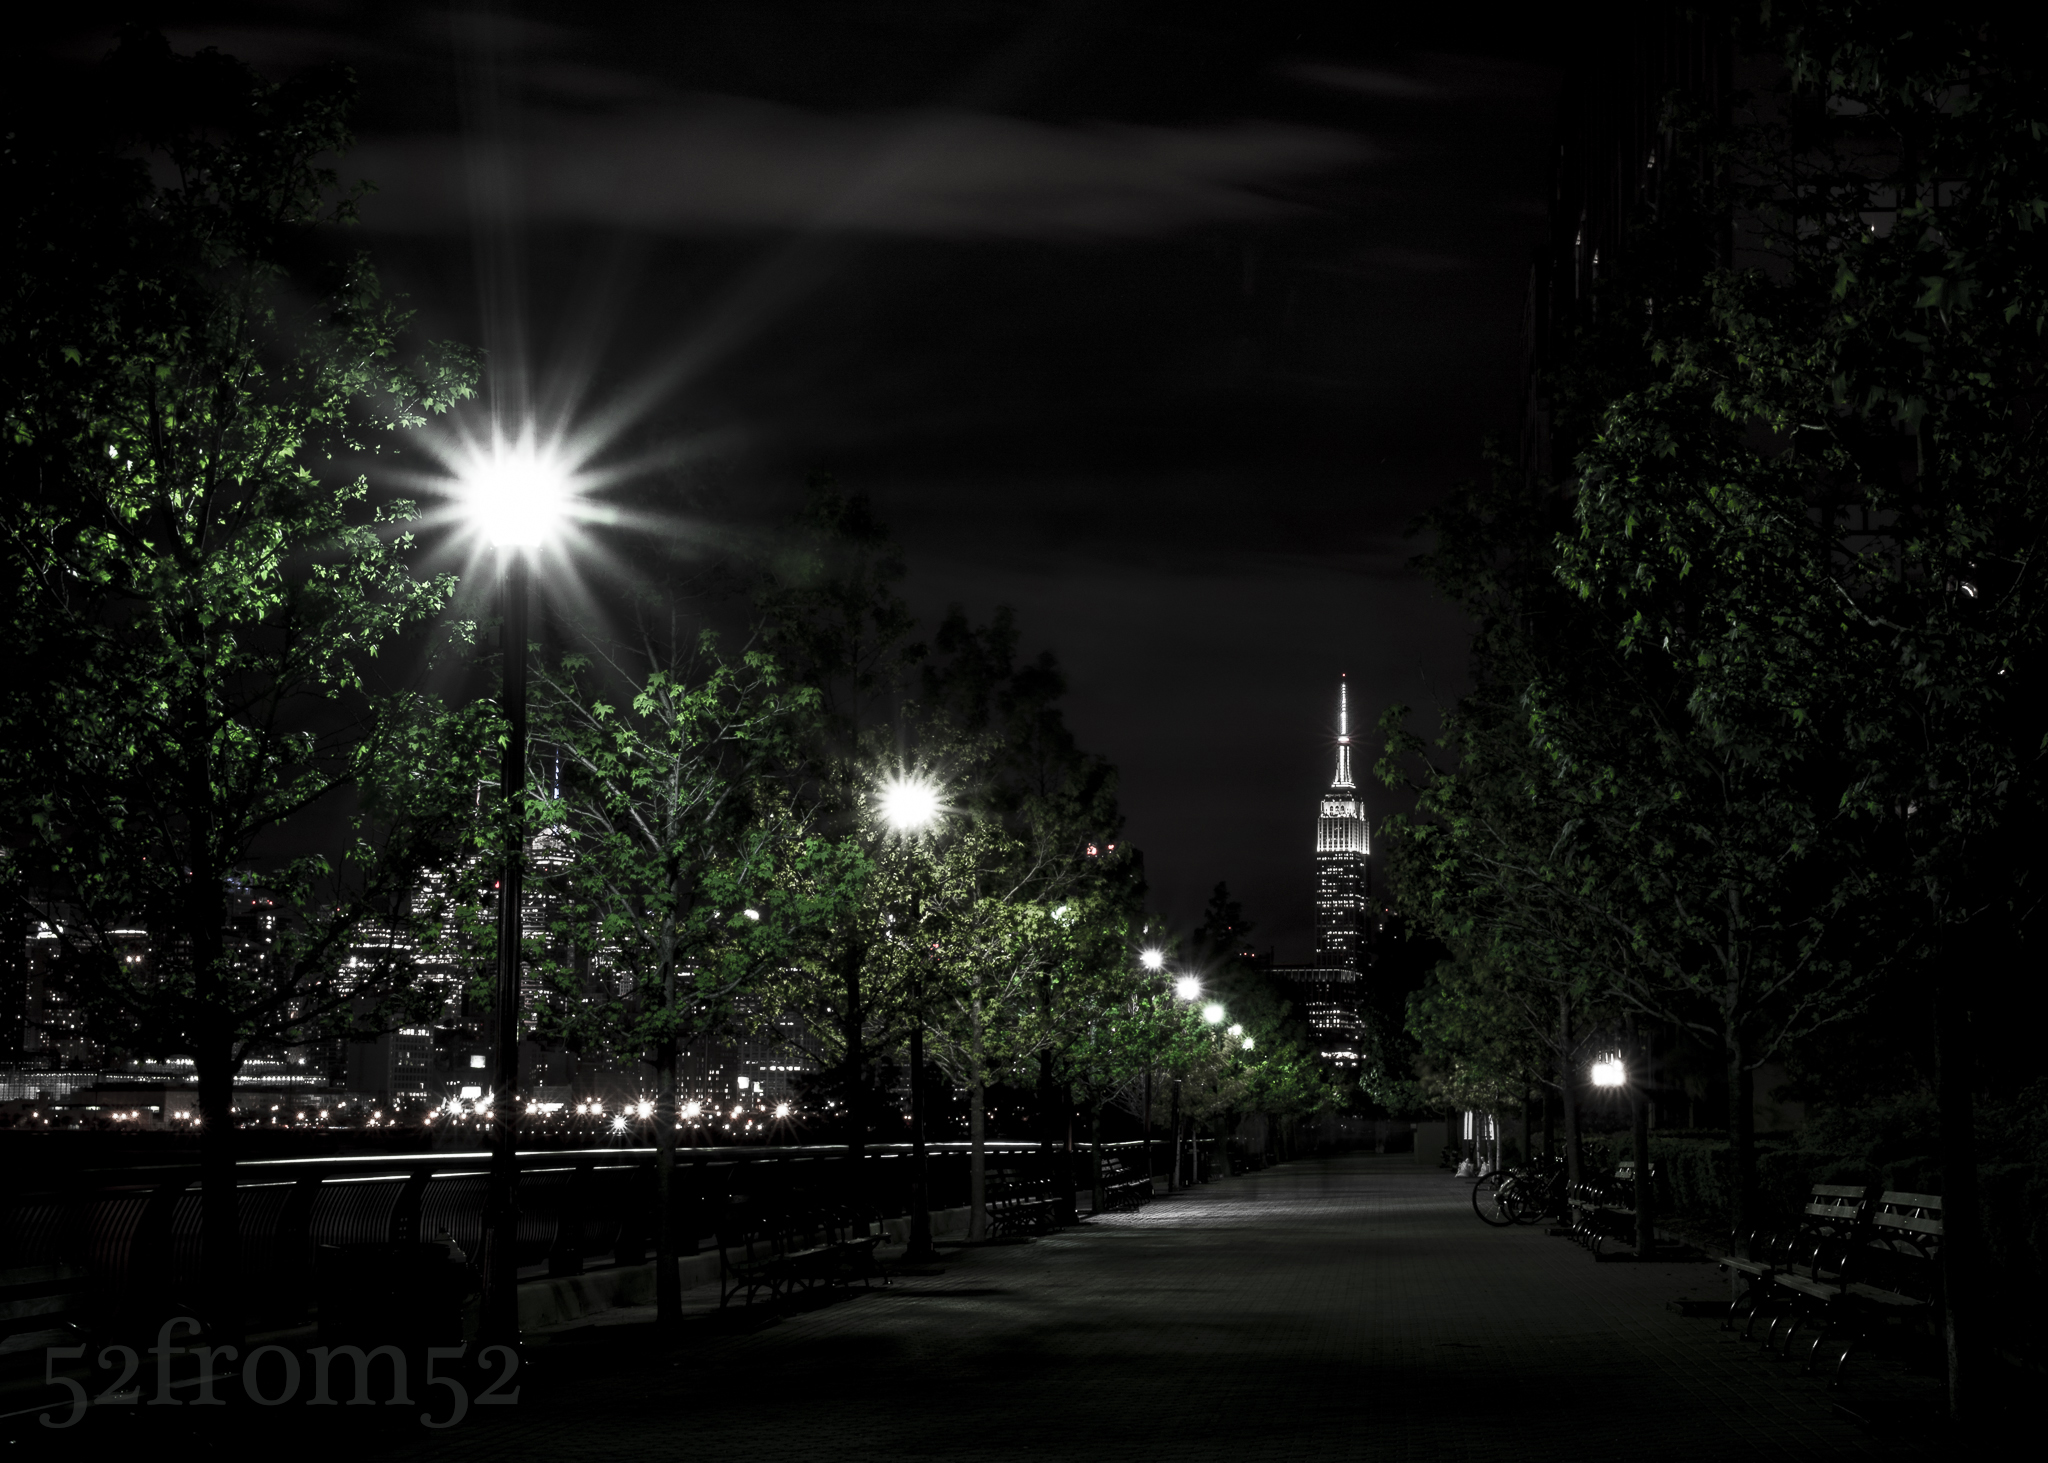
Picture Info: ISO 100, 36mm, f/20, 20 Second
Week 43 (5/26/2014 -6/1/2014): Uptown Hoboken
Picture taken on 5/30/2014 at 9:49 PM
Photograph description:
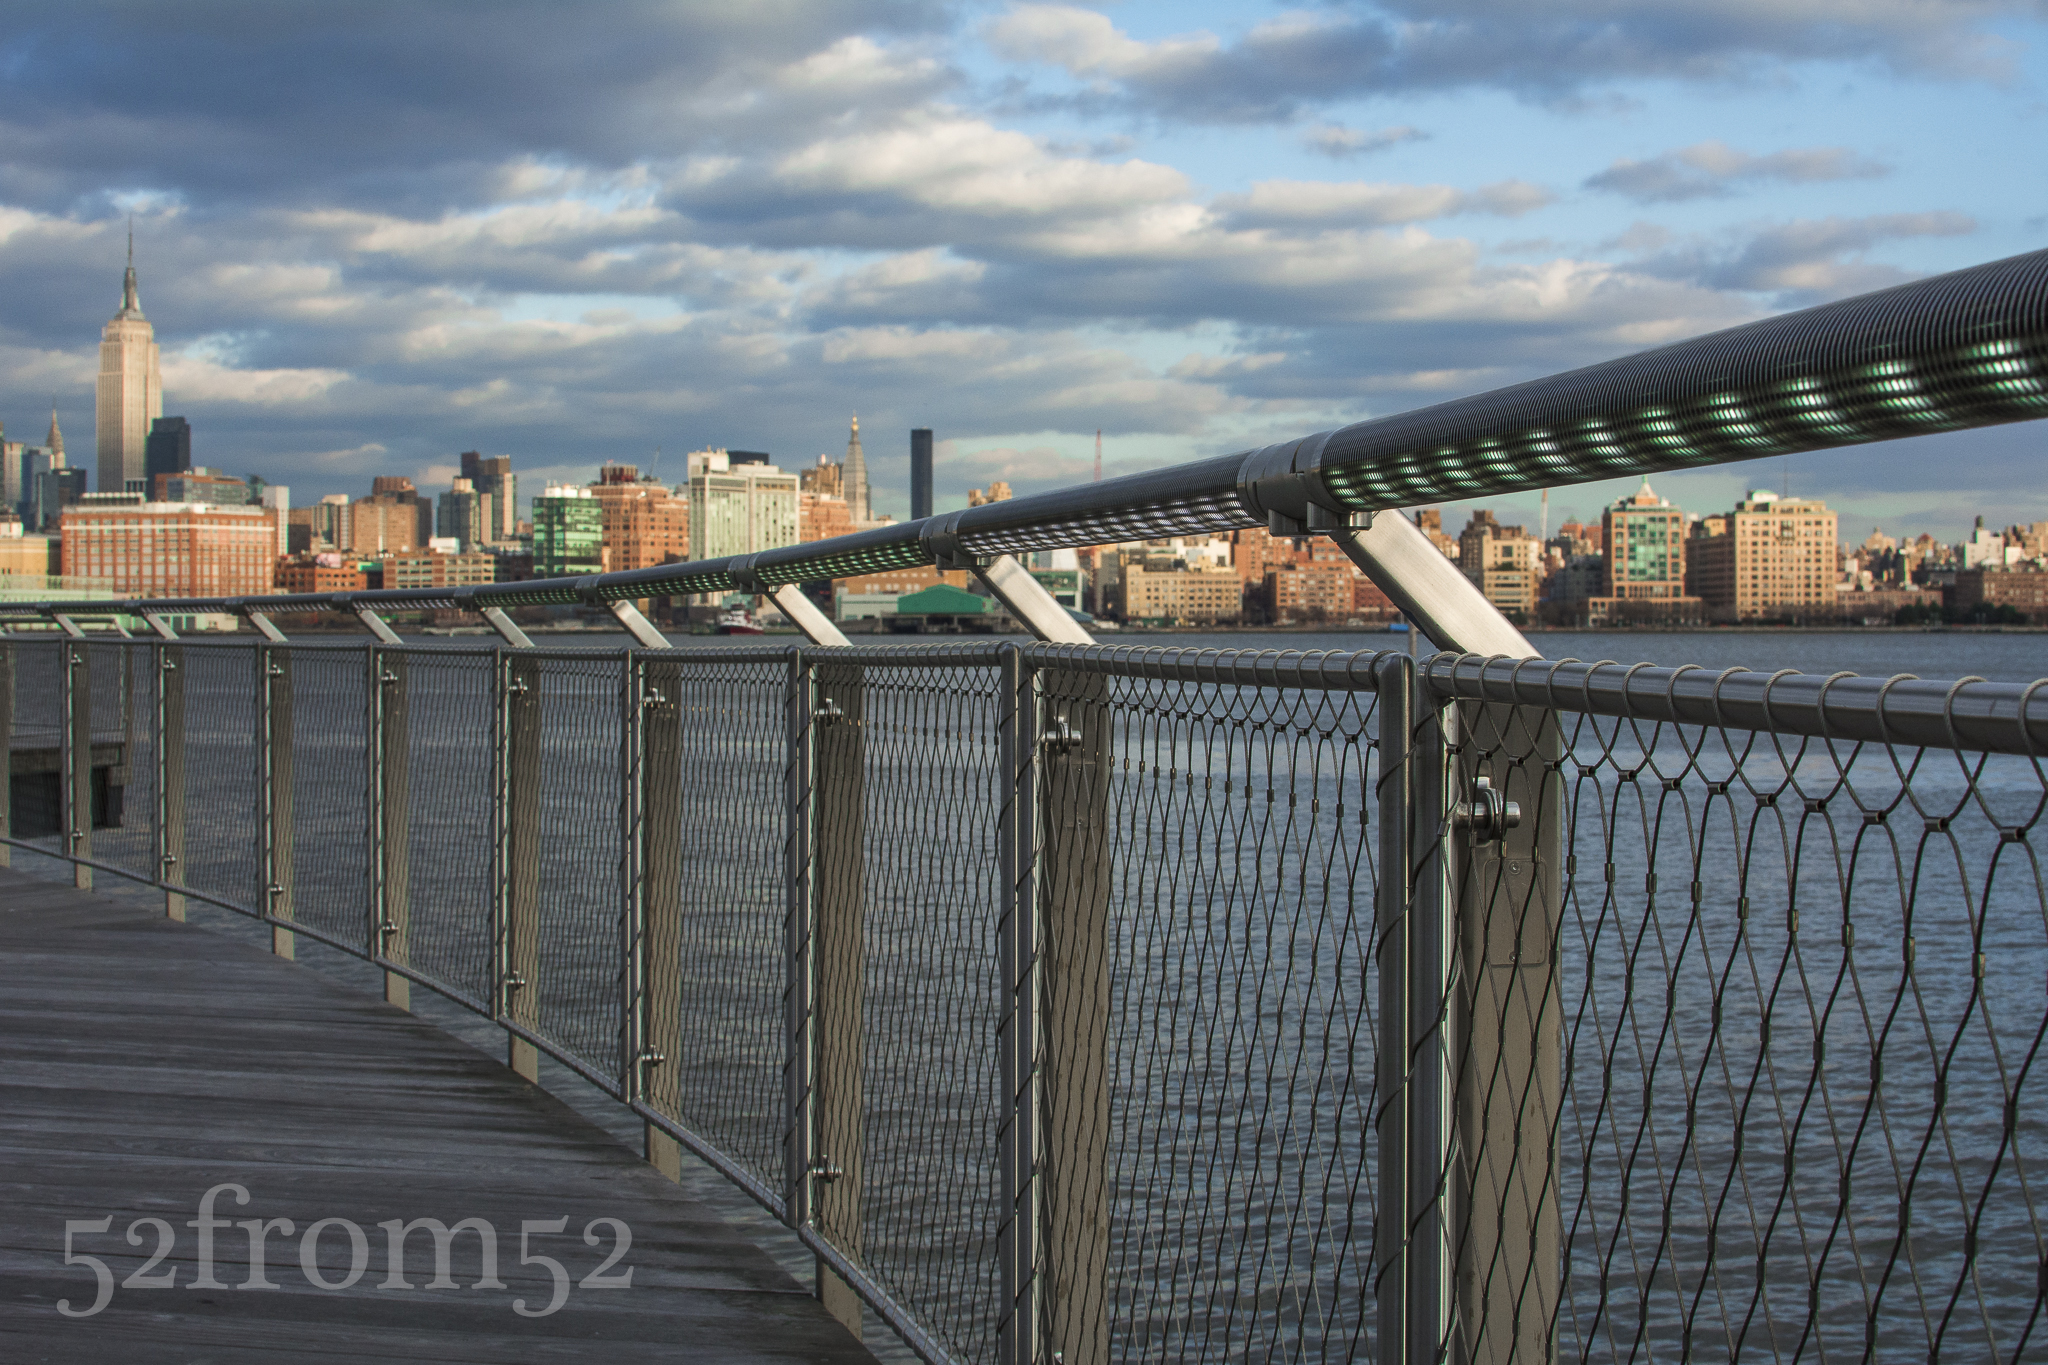
Hoboken is a great place to live if you enjoy running. Hoboken has countless running routes to choose from, most of which are accompanied by an amazing view. Since moving to Hoboken over a year ago I’ve mapped out a few of my own running routes. Each route presents a different physical challenge along with the constant mental challenge of fighting the urge to stop and take pictures every few steps. Out of all the routes I run, my favorite is what I refer to as my “uptown route.” My uptown route starts at Maxwell Park and hugs the water line all the way into Weehawken. Eventually I circle back to Hoboken the same way I came, with my finish line being the path featured in this picture. The reason this route is my favorite is because typically there aren’t many other joggers to get in my way and of course having this view as my finish line is a nice perk.
I run a few times per week so I’ve seen this view countless times and countless times I’ve said to myself that would make for a great picture. Not only is this a beautiful site, it also reminds me to always finish what I start. Each time I get to this point of my run I’m usually tired and ready to stop, but instead of slowing down I usually kick up the intensity for this last straight away. Typically I wait until some other runner makes it about halfway then I chase them down and try to finish ahead of them. I believe that the more you train yourself to push through hard situations, the more it becomes second nature and the stronger you’ll be both physically and mentally. This is the code that I live by and this picture reminds me to practice this each and every day. Always finish and always finish strong!
Photography concepts:
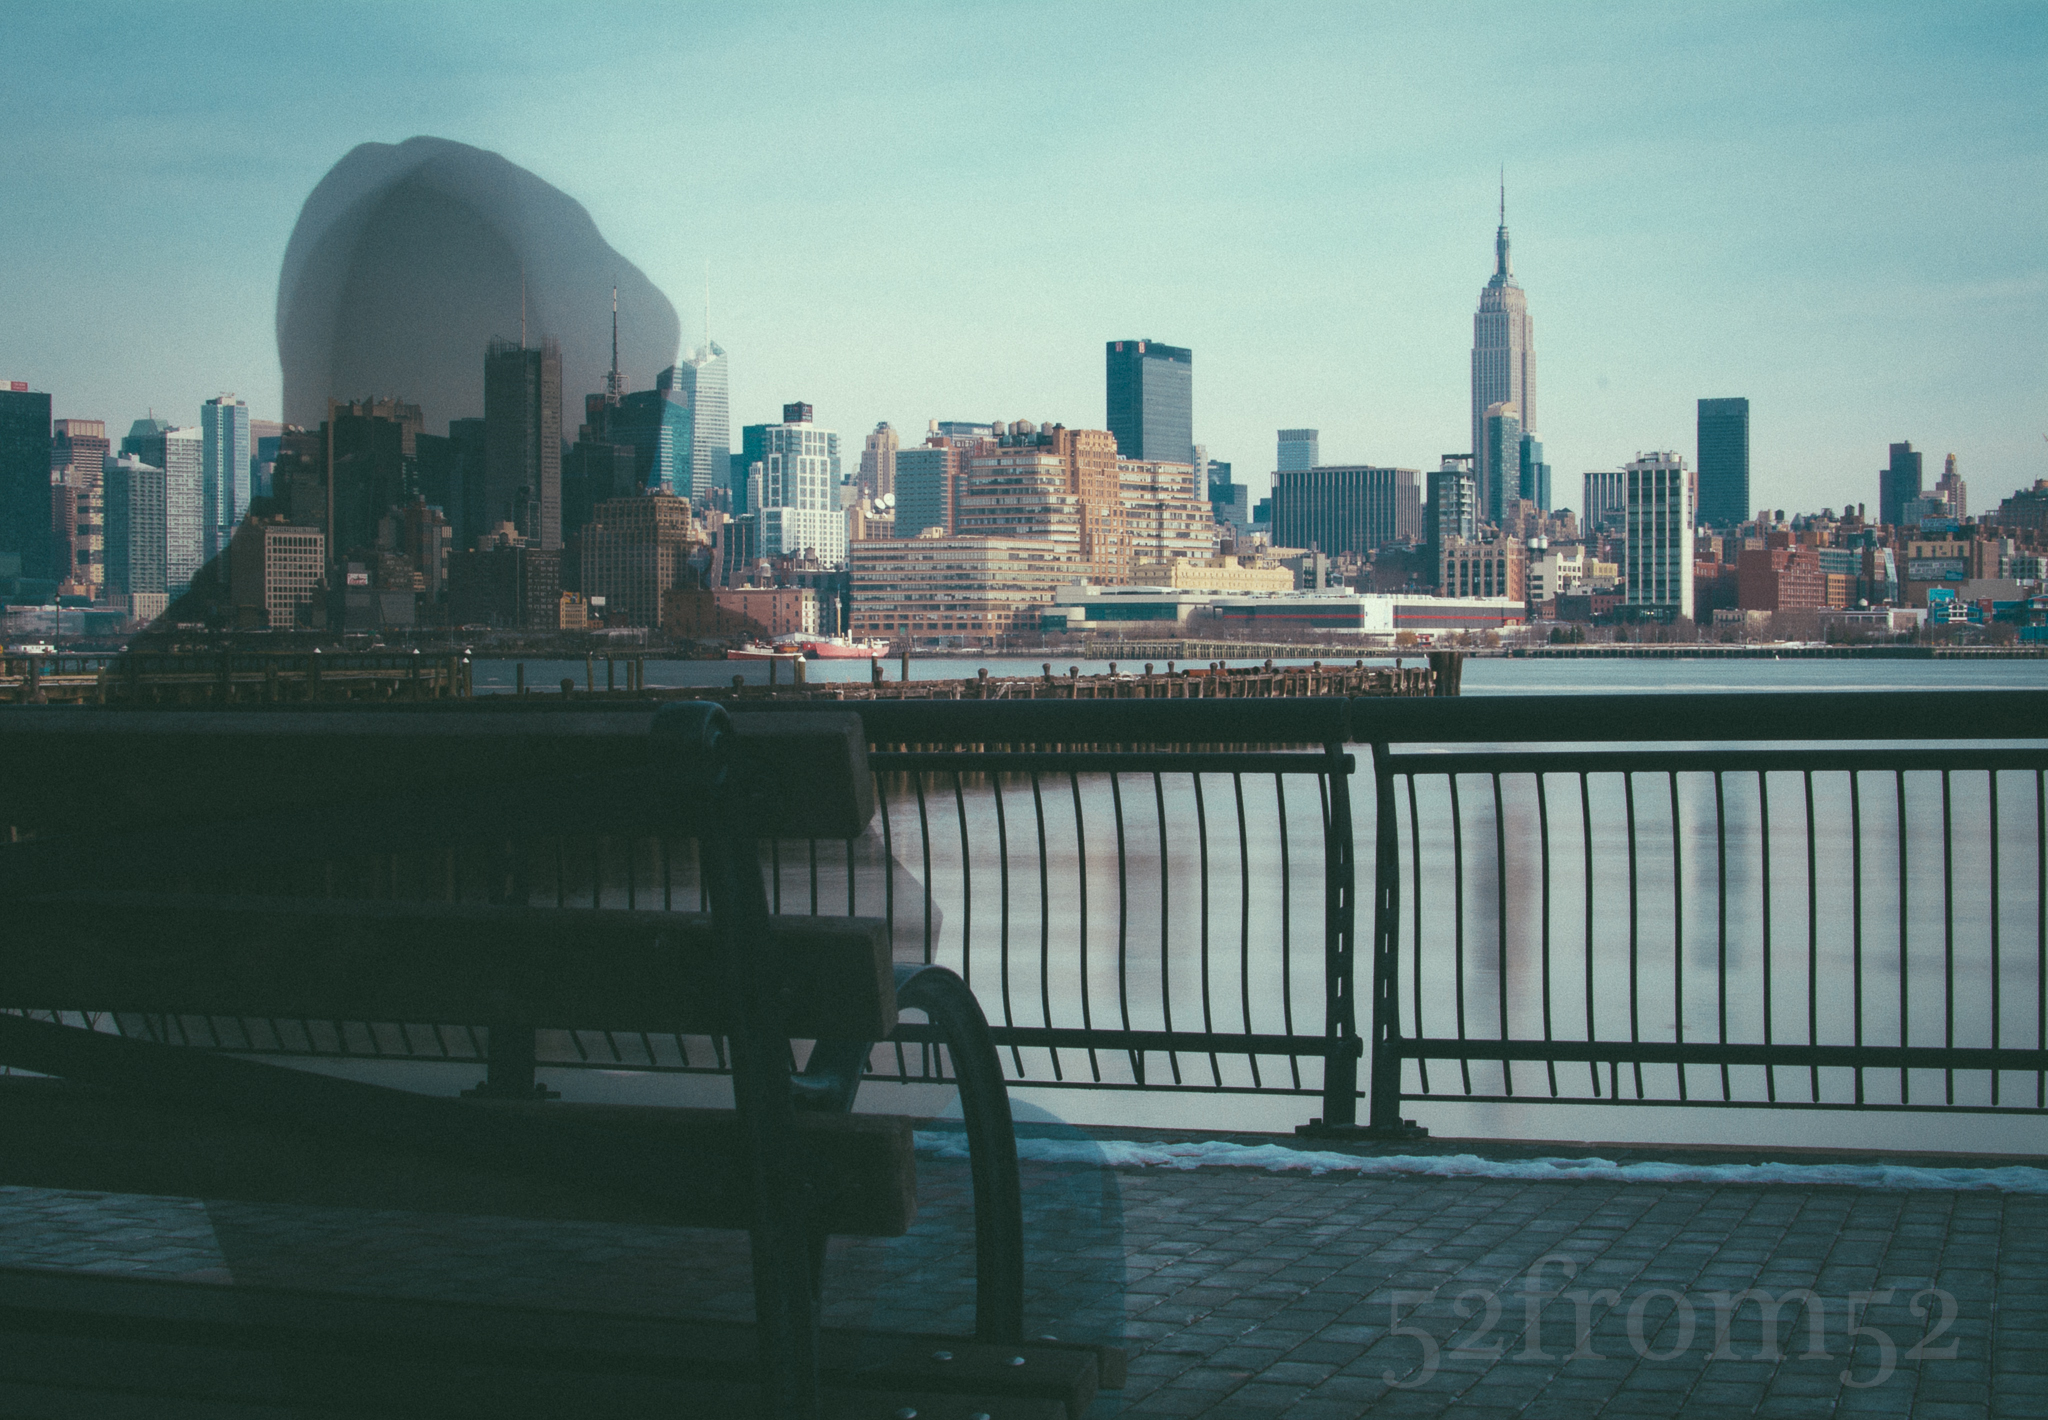
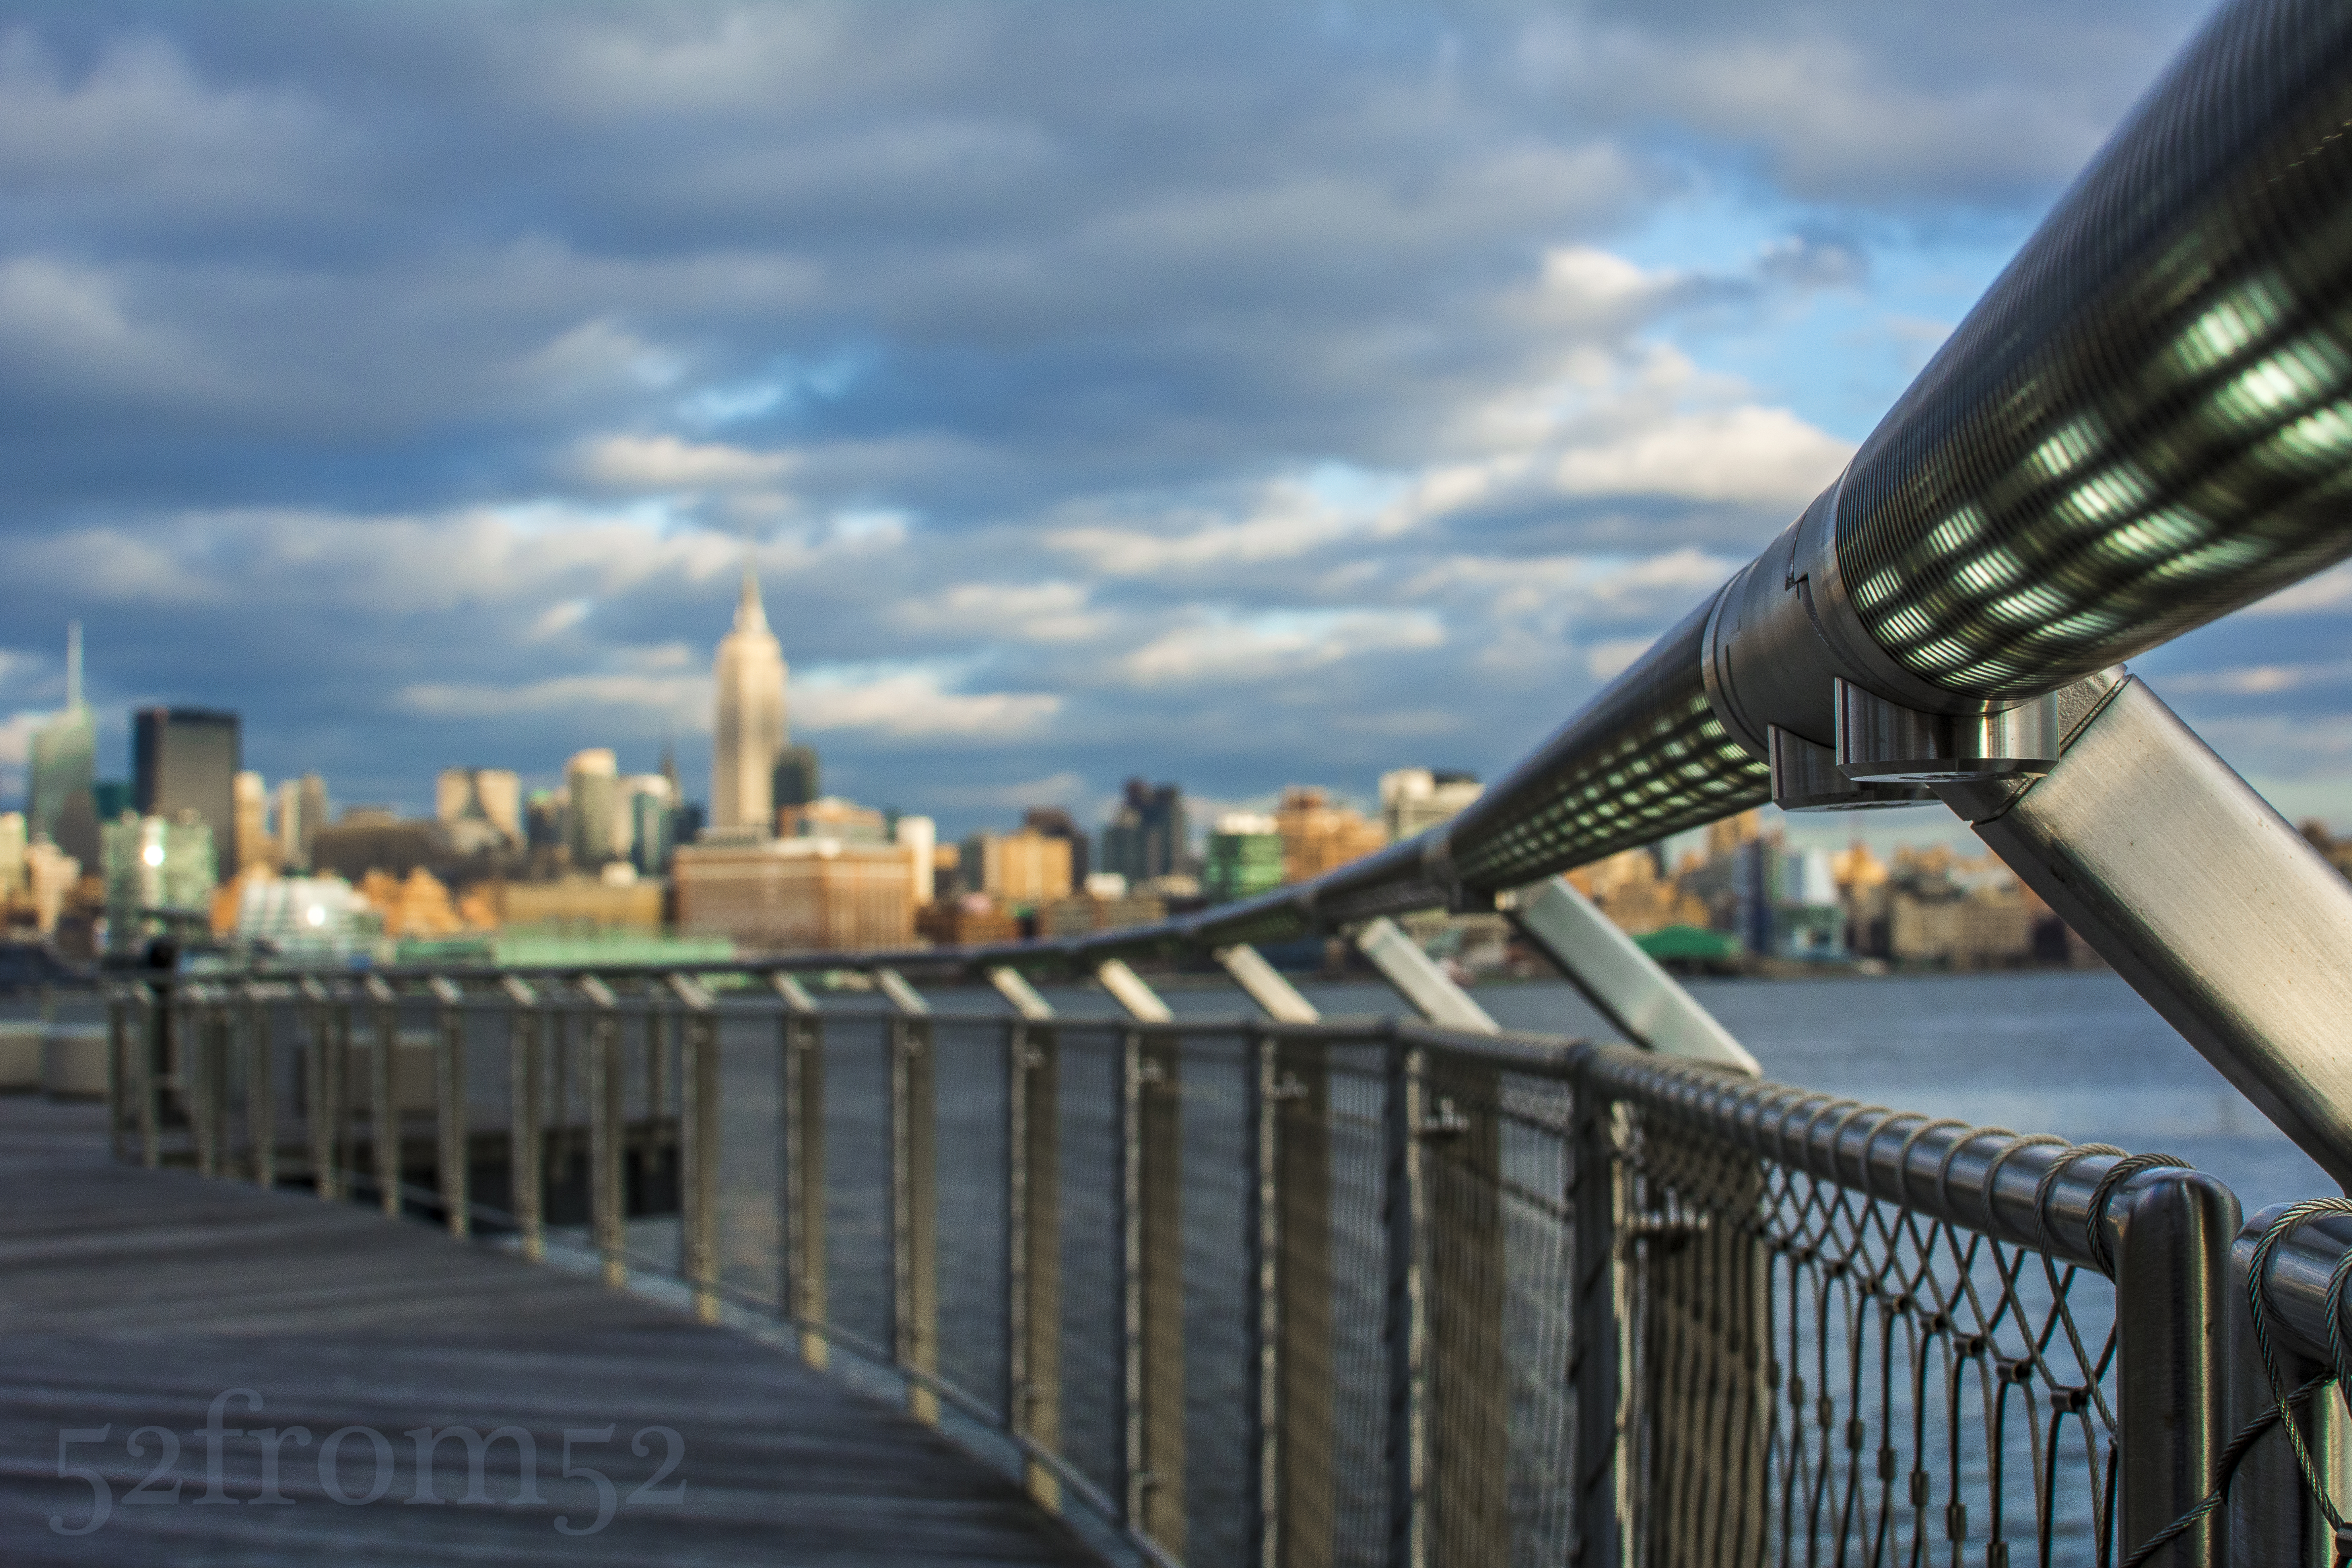
One of the reasons this view always draws me in is because of the natural “Leading Lines” composition. The lights and trees that line the path converge and take your eyes straight towards the Empire State Building. Year round this is a powerful view but the conditions never seemed right for me to get a good picture. Additionally the street lights always presented glare issues that took away from the picture. Recently I figured out the right camera settings and editing techniques to eliminate the glare issues so I finally decided to give this picture a shot.
The camera setting that has helped the most with photographing strong light sources (e.g. the sun, street lights, ect.) has been a small aperture. The smaller the aperture the less bleeding light and the cleaner it looks. For night photography f/18 and above is a great aperture to use. If you’re using this small of an aperture at night it’s more than likely that you’ll be hitting some slow shutter speeds so don’t forget your tripod.
When it came time to edit this picture there were two adjustments that were key. First, to bring out the detail in the Empire State Building I dropped the highlights of the area surrounding the building. I’ve found that dropping the highlights of buildings at night makes them look very crisp. The second adjustment was to lower the saturation all colors in the image except green. What this did was eliminate any of the lens glare that showed up as random colors, and it made the leading lines composition of the trees even more of a focal point. As a result the not only does the composition of the image take you down the path but the isolation of the green color also acts as a guide for your eyes too.
The last aspect of this picture that helped enhance the composition was the size of the Empire State Building. If you’re a Hoboken local and you’ve taken this picture before chances are the Empire State Building was much smaller than in this picture. Why is that? It’s because of my focal length 36mm x 1.5 = 54mm. Most phones shoot at around 30mm and since focal length essentially equates to zoom so when I use ~54mm the building is larger. The thing that’s interesting about zoom is if you stand further back your foreground will be scaled regular, but whatever is in the background (e.g. the Empire State Building) will appear larger than usual. You see this technique a lot when people photograph the moon and get that insanely large moon backdrop. Although I shot with a greater zoom then people do with phones, my image resembles how this path looks like to the naked eye. Had I stood further back and zoomed in with 80mm+ the Empire State Building would have looked massive. I’m limited to the 35mm range for this blog but I encourage you to try zoomed focal lengths to scale up your backdrop subjects. Experiment with your camera’s settings and new focal lengths, it’s the only way you’ll learn!