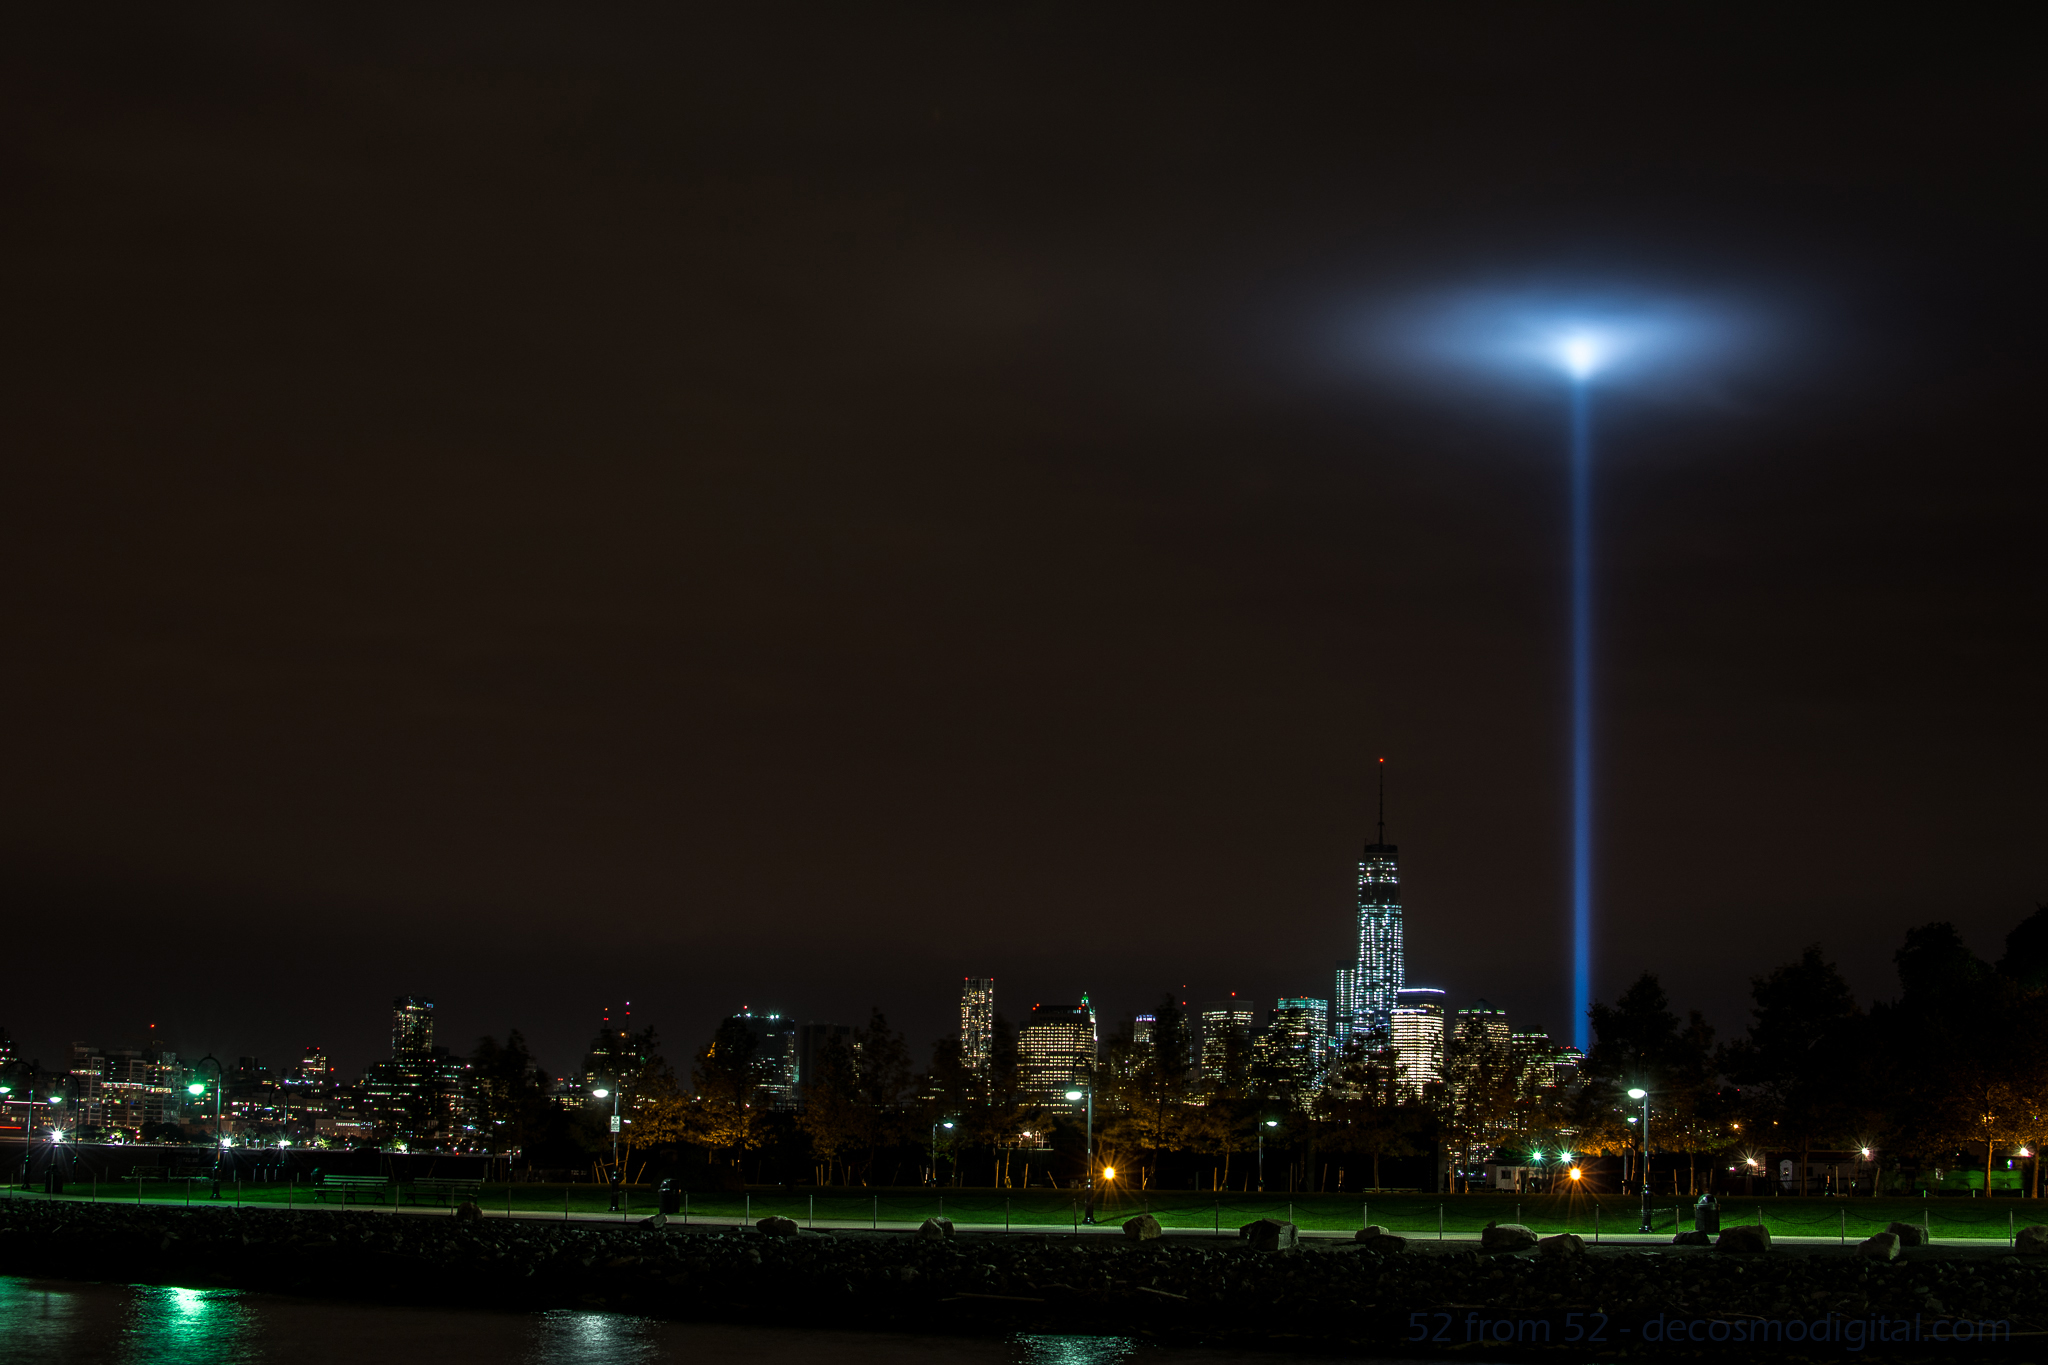
ISO 100, 35mm, f/8.0, 4 sec
Week 6 (9/8/2013 – 9/14/2013): Shipyard Marina, Hoboken NJ
Picture Taken on 9/9/2013 9:11PM
Picture Description
Going into this week my goal was to create a multiple exposure photograph or light trail night picture. As a possible secondary option I bookmarked the possibility of photographing the freedom tower. On Monday night I went out around 6ish to mess around with my new Nikon ML-L3 remote. I was aiming for either a double/triple exposure of the Hoboken ferry or some kind of sunset shot. After messing around for about an hour I went back to my apartment to eat some dinner, review my pictures, and wait until the sun was totally down so I could try for a night picture. Unfortunately after reviewing the pictures on my computer none of them worked out as I planned so I was going to have to go back out for the night shot.
After dinner as I stepped outside of my apartment my eyes were instantly drawn to the distant southeastern skyline. What I was looking at was simply amazing, the 9/11 memorial lights were getting trapped in some low thick clouds and forming this surreal spherical glow. All of my other night picture plans went out the window at that point, I had to take a picture of this unique occurrence.
After taking the picture I thought it was good (not great) but didn’t want to use it as my picture for this week. As I do with most unused pictures I posted it up on Facebook to share with my friends. To my surprise this picture got more activity than any other one I’ve posted. Coming up with a picture to top this one, at least this week would have been hard so in the end I decided to use this picture.
Photography Concepts
To get this picture I had to apply many of the tricks I’ve learned over the past couple of months. In some of my previous long exposure pictures I noticed a slight camera shake. To prevent getting shaky images I’ve moved towards using either a 2 second delayed shutter release or in this case a remote. Next I regularly use a UV filter on all my camera lens to prevent any wear and tear. Over time I noticed that at night using a filter increases the amount of light distortion and bleed, so prior to this picture I removed the UV filter. The last two keys to this photo, which I’ll talk about in a little more detail, are the exposure settings I used and editing in Lightroom.
The exposure I used was -2 (stops) which for anyone that doesn’t know, it’s an underexposure. The reason I underexposed was because after taking other nighttime city shot I’ve noticed that with so many lights from all the buildings my pictures tend to get overexposed. There are lots of negatives with overexposing, in terms of my city pictures the most noticeable is the change in the sky color. After messing around with different exposures I’ve settled on -2 for my go to exposure setting.
Now it’s hard to describe all the different tweaking I did in Lightroom but one of the main fixes was the white balance setting. I forgot my white balance cards when I went out to shoot this picture so I had to do it after the fact. I also made some moderate adjustments to the Highlights, shadows, whites, blacks and clarity to get the picture to look like what I saw in person. If you want to learn about Lightroom I highly recommend going on youtube and watching some tutorial videos. There is so much information out there to support learning photography (and most other hobbies) it’s just about finding it.

Before and After Editing in Lightroom
Since I originally did not want to use this picture let me quickly explain why and what I could have done better. For starters if I remembered my white balance cards I would not of had to do so much editing in Lightroom. I rather get a good picture in camera rather than edit it especially for this photoblog. I also wasn’t happy about my composition, the green in the picture is really nice but I was made I cut off some of the left side of the peninsula that is shipyard park. I wish that I would have stepped back another 30-50 ft to get more into the picture. Last I wish I found something interesting to put into the foreground of the picture, it just makes for a more interesting picture.
Article about Exposure
http://bit.ly/1eOEzt8
Lightroom Video’s
http://bit.ly/140WqbT
http://bit.ly/1ddxPTS