Picture Info: ISO 200, 35mm, f/8, 1/320sec
Week 16 (11/18/2013 – 11/24/2013): Wagner Park, New York City
Picture taken on 11/23/2013 at 5:04 PM
Picture description:
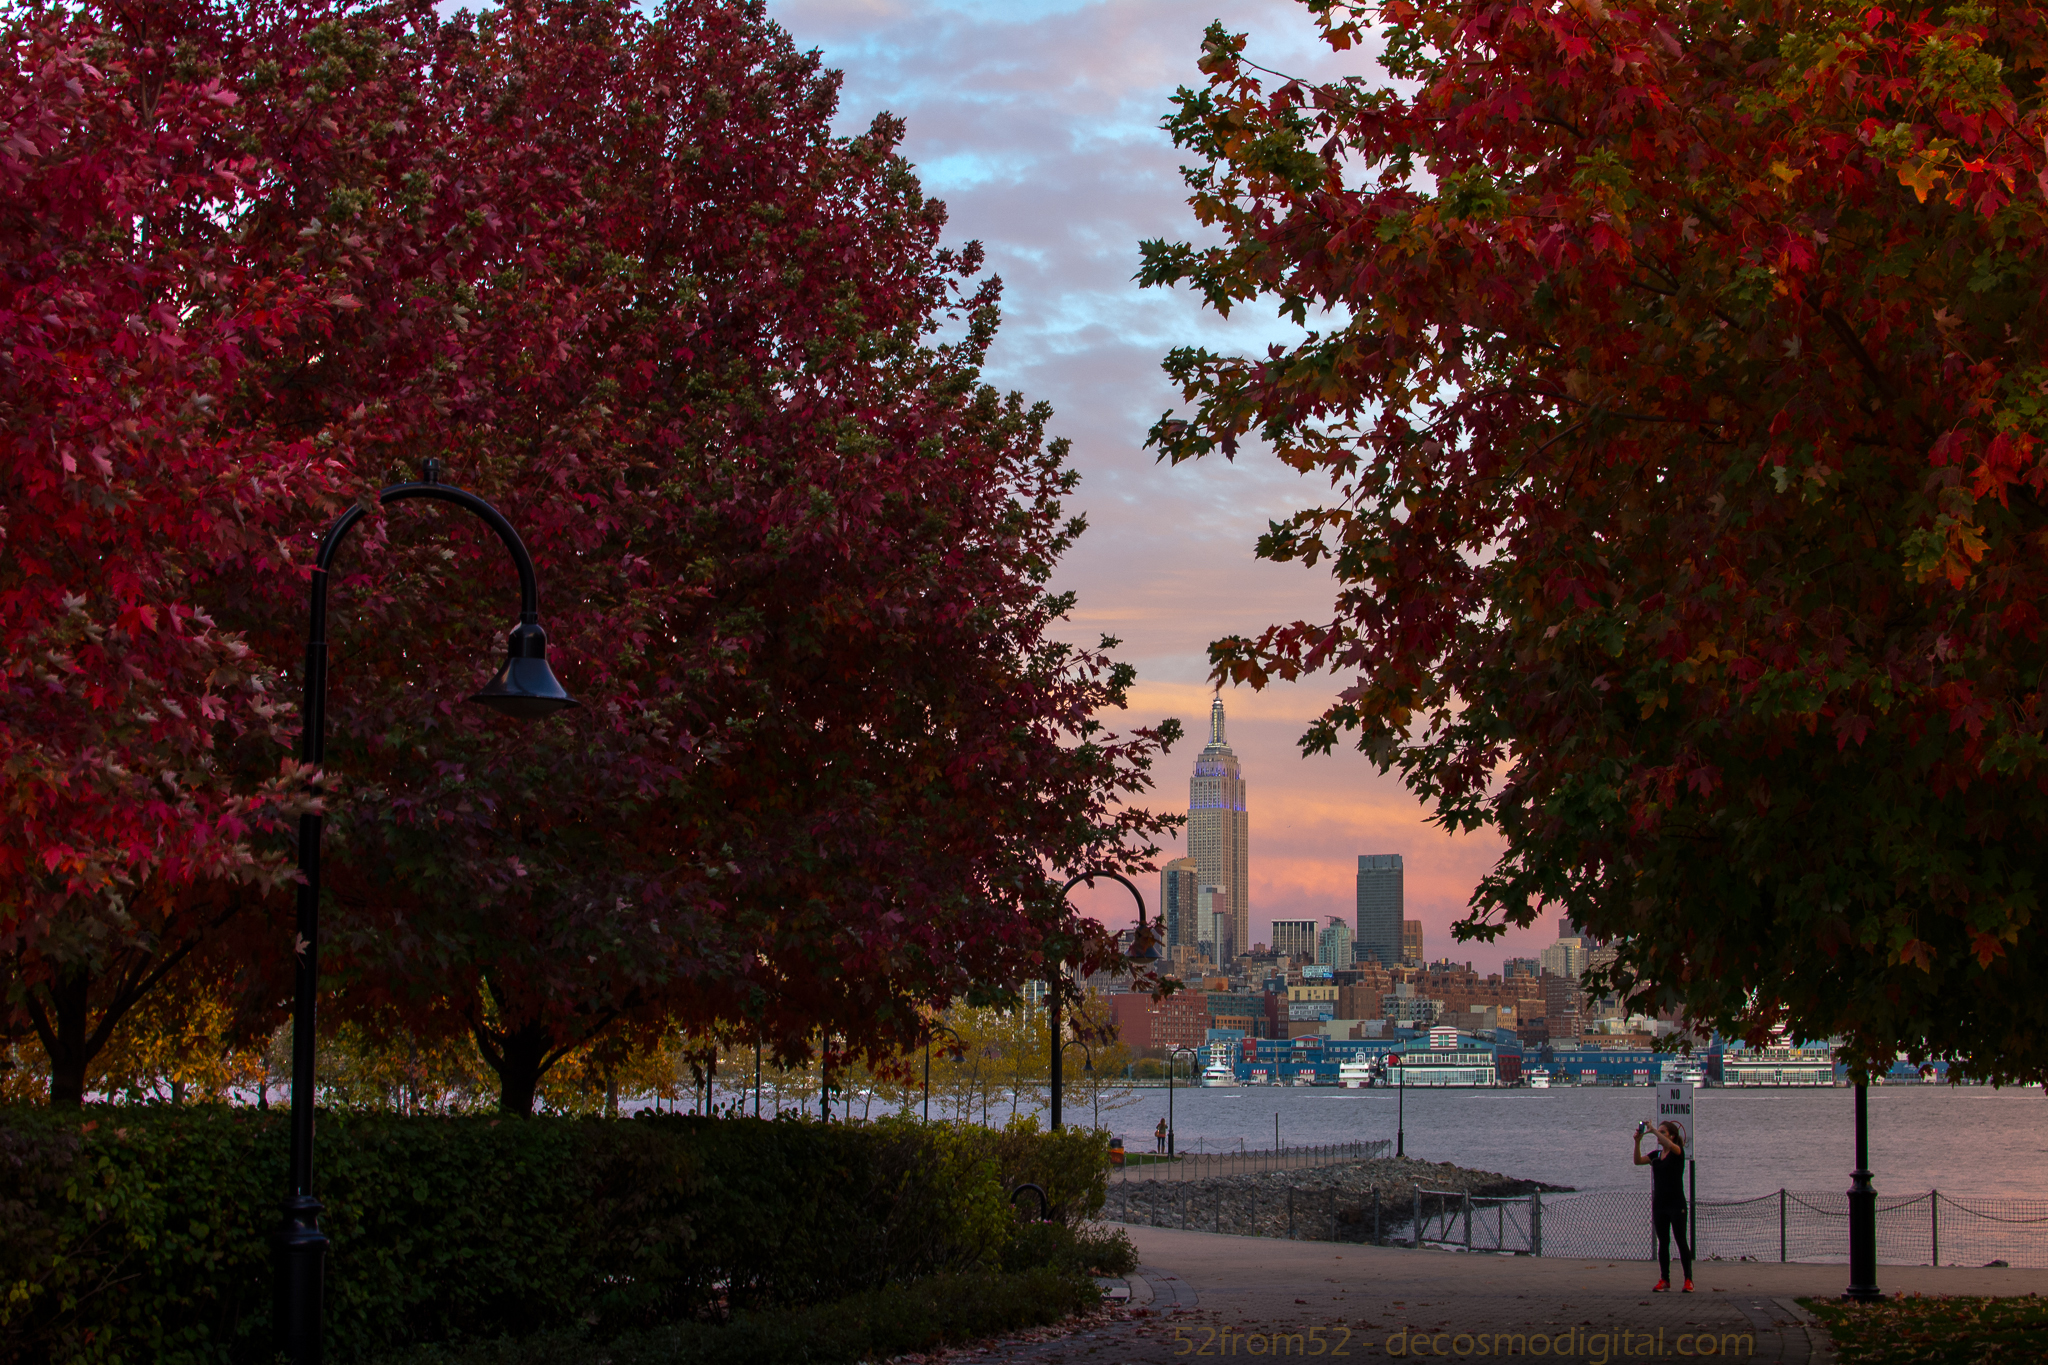
Back in September I discovered the beautiful location that is Wagner Park. After getting the picture for my week 5 post, Never Forget, at the Freedom Tower, I had dinner with my wonderful mother for her birthday at a place that had long been on my “To Try” Yelp list. The restaurant I’m talking about is Gigino at Wagner Park and let me tell you put it on your to do list. Gigino has outdoor seating (weather permitting) which provided us with one of the best sunsets I’ve ever seen while we ate a delicious dinner. After dinner I knew that I’d have to make a return trip in the near future, if not for a date, I’d absolutely have to take my camera to capture the scenic views at Wagner Park.
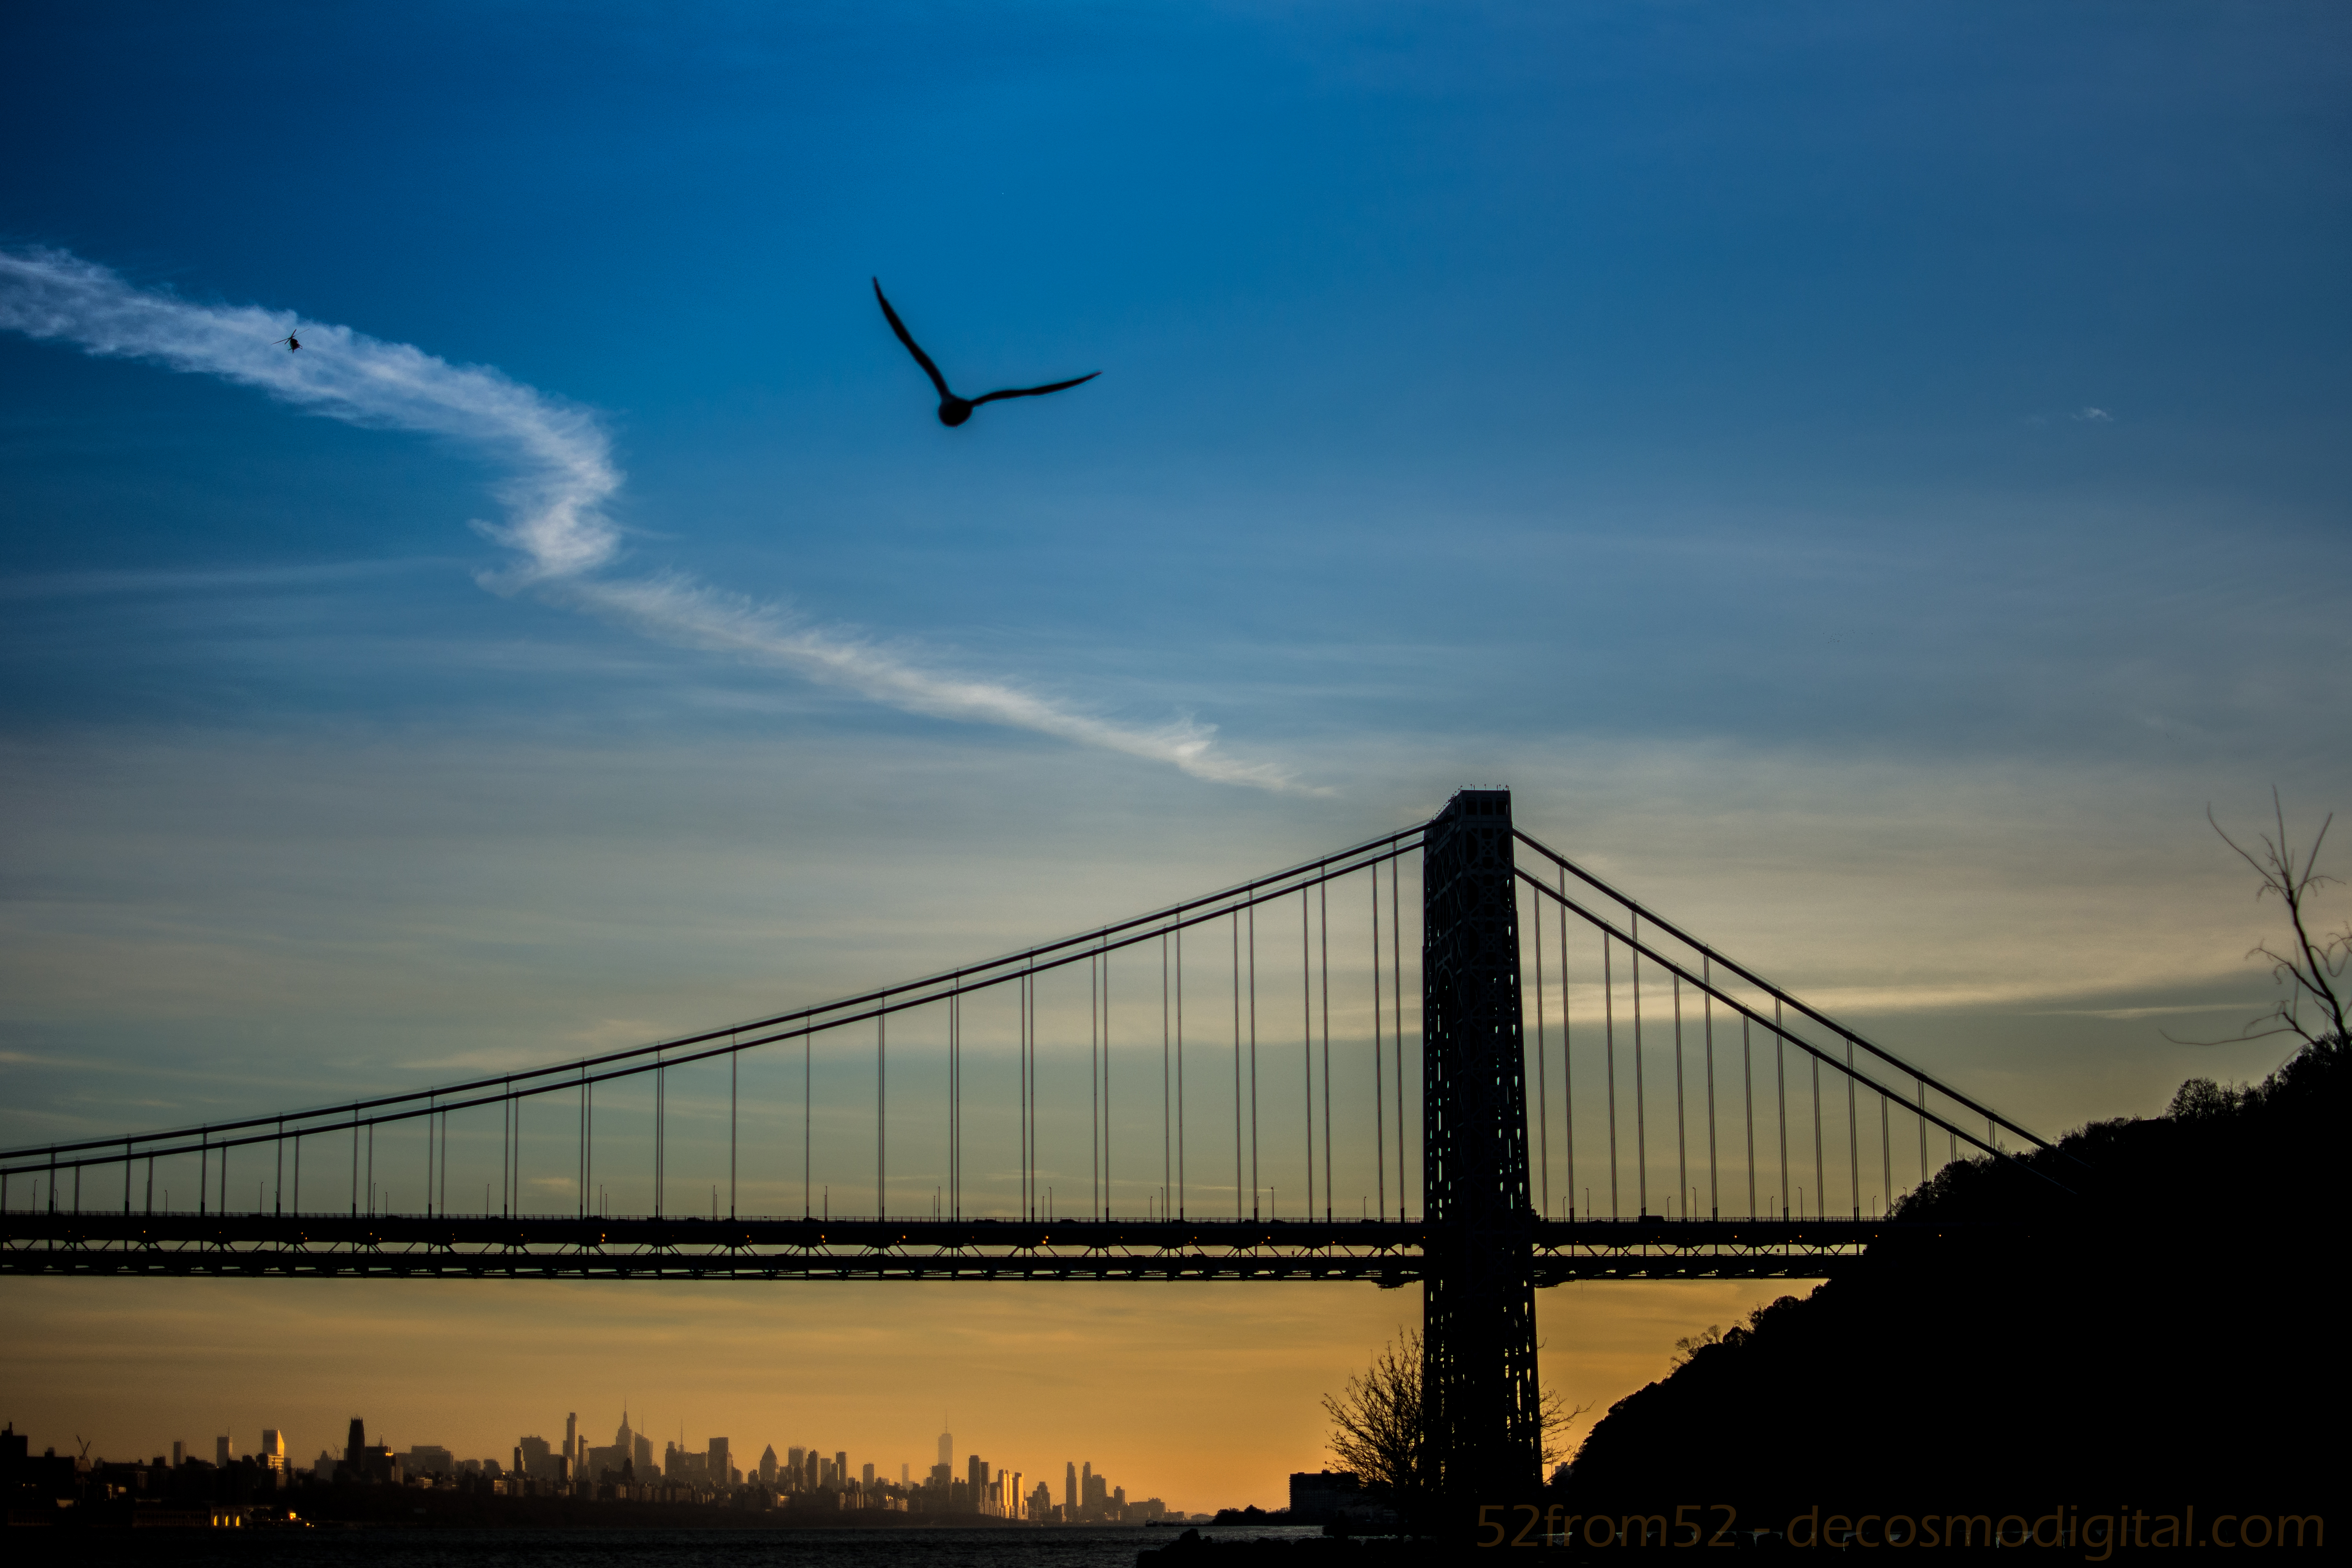
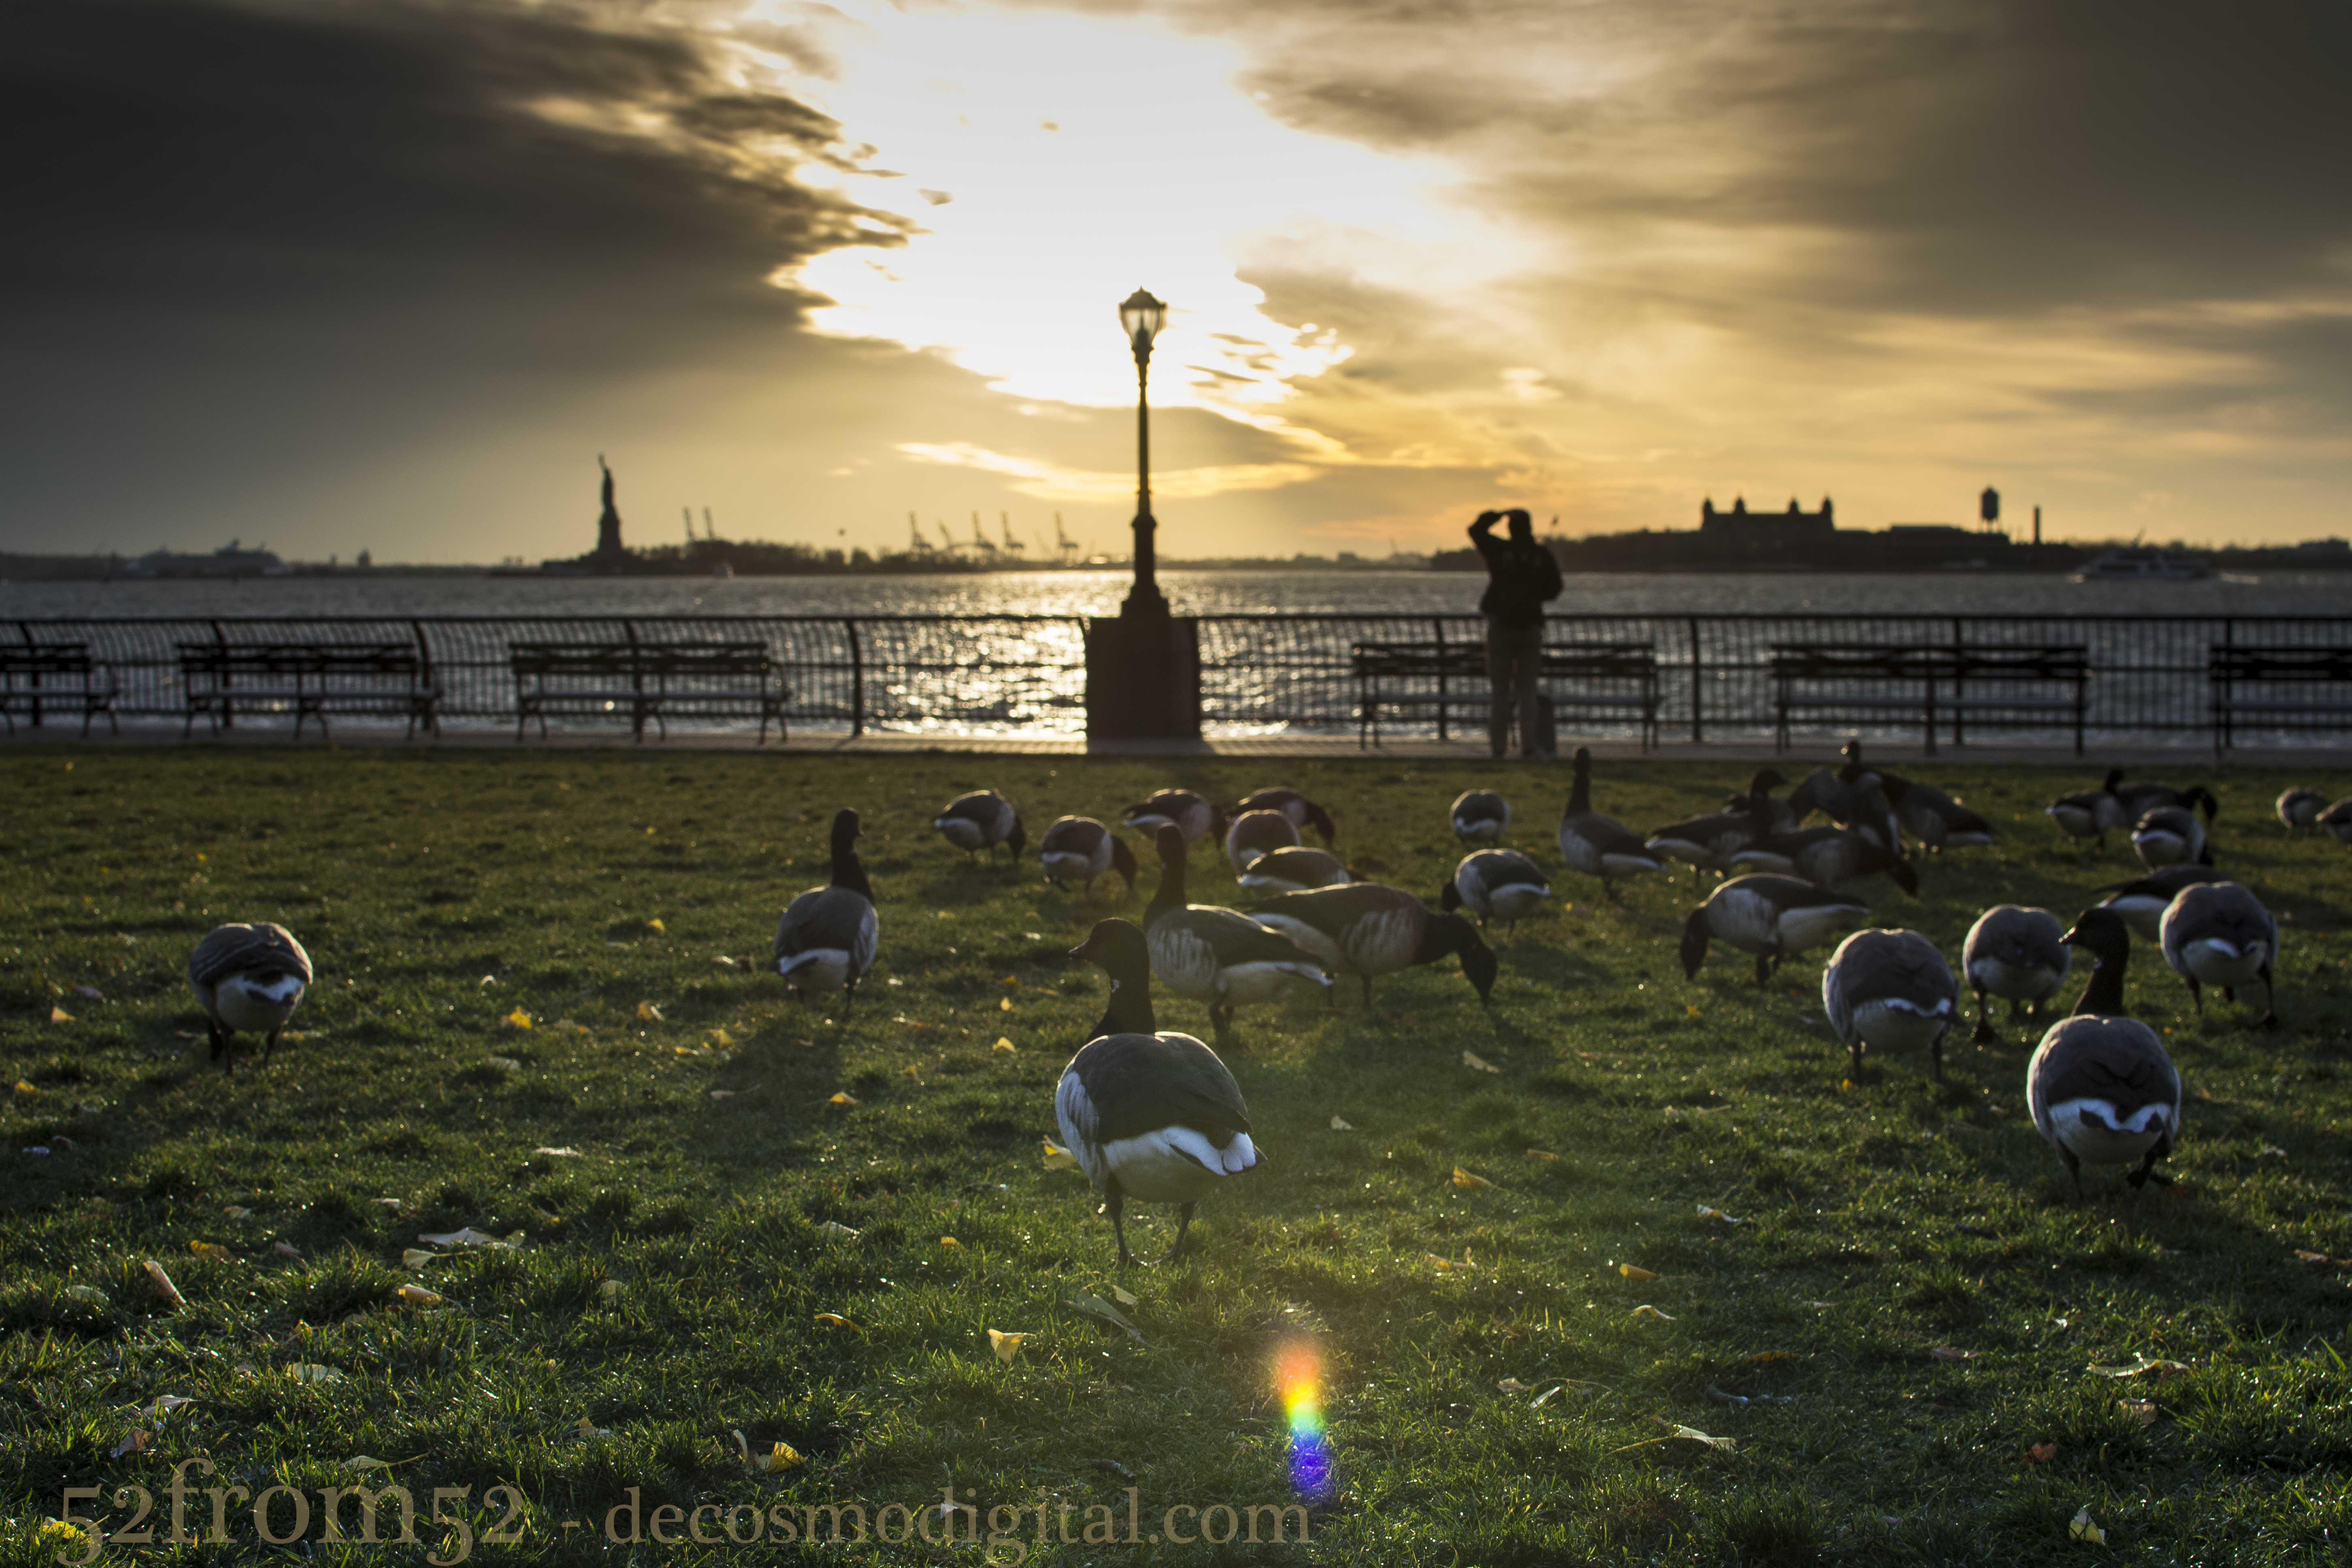
Since September I haven’t made it back to Gigino, mainly because it’s gotten far too cold to take anyone on a date there. That being said I can handle the cold on my own so this past Saturday I decided to take a trip to Wagner Park around sunset to see what kind of pictures I could get. Luckily as it turned out I chose a great night that provided a really interesting and vivid sunset. Out of all the sunset pictures there was one picture that really caught my attention during editing. It’s pretty obvious which picture I’m talking about, look up, but let me give you the quick story behind it.
After arriving at Wagner Park I noticed that I wasn’t the only one that decided today was a good day to hang out in the park. No I’m not talking about a person, although they were there too, I’m talking about a brace of ducks. Yes, a group of ducks is called a “brace” look it up, I did. As I walked around the park trying to figure out where would be the best place to get my sunset shot I kept glancing over to the ducks. Eventually I decided why not see if I can creep up on the group and snap a birds eye view? Since the sun was so strongly beaming down from the horizon I couldn’t use the viewfinder (I’ll explain this more later) I blindly lined up my shot and fired away. With each picture I adjusted my shot based off the last picture’s preview. After a couple shots I finally “walked in” my picture’s composition to something that I liked, and here you have it.
Photography concepts:
As I mentioned in the description section this picture was shot basically blind and through a series of picture to picture adjustments. The reason I did this is first because I could not use the viewfinder. It might seem obvious but when you’re taking a picture directly into the sun you can’t look through the viewfinder. Why? Well the sun is dangerous enough to look at with the naked eye, forget about through essentially a magnifying glass. Since I value my eyesight I won’t even risk getting flashed with the sun’s blinding light. For shot’s into the sun this leaves the live-view option which is the back screen. Although I could have used the live-view I don’t like how it focuses, it’s not fast enough for moving objects. With the ducks moving around I wanted to be able to fire quick shots and thus did not use the live view.
A concept I tend to mention in almost every post is the rule of thirds. This time though I want to highlight how I didn’t exactly follow the rules. In this picture I had three things that I considered the focus of my shot, or my main subjects. One was the sun, two was the light post and the third the ducks, more specifically the one duck that was closest to me in the foreground. When it came time to align my shot rather than put the sun on one of the left or right third lines like I usually do I centered it. I also centered the main duck and the light poll, which only further highlighted the sun. Aligning the sun with the light post gave off the effect that the light post is the reason the sky is so illuminated. The reason I said I did’t exactly follow the rule was because I did follow it for some other parts of the picture. For example, I did not put the horizon in the absolute center of my picture. I gave more weight to the ducks/grass rather than the sky to further emphasize them in the picture. Another way I loosely followed the rule of thirds was putting some of my secondary subjects close to the cross points of the upper thirds line on the left and right. I’m talking about the Statue of Liberty and Ellis Island. Although this falls under the rule, it was more of an accident but I’m glad everything lined up with such great symmetry.
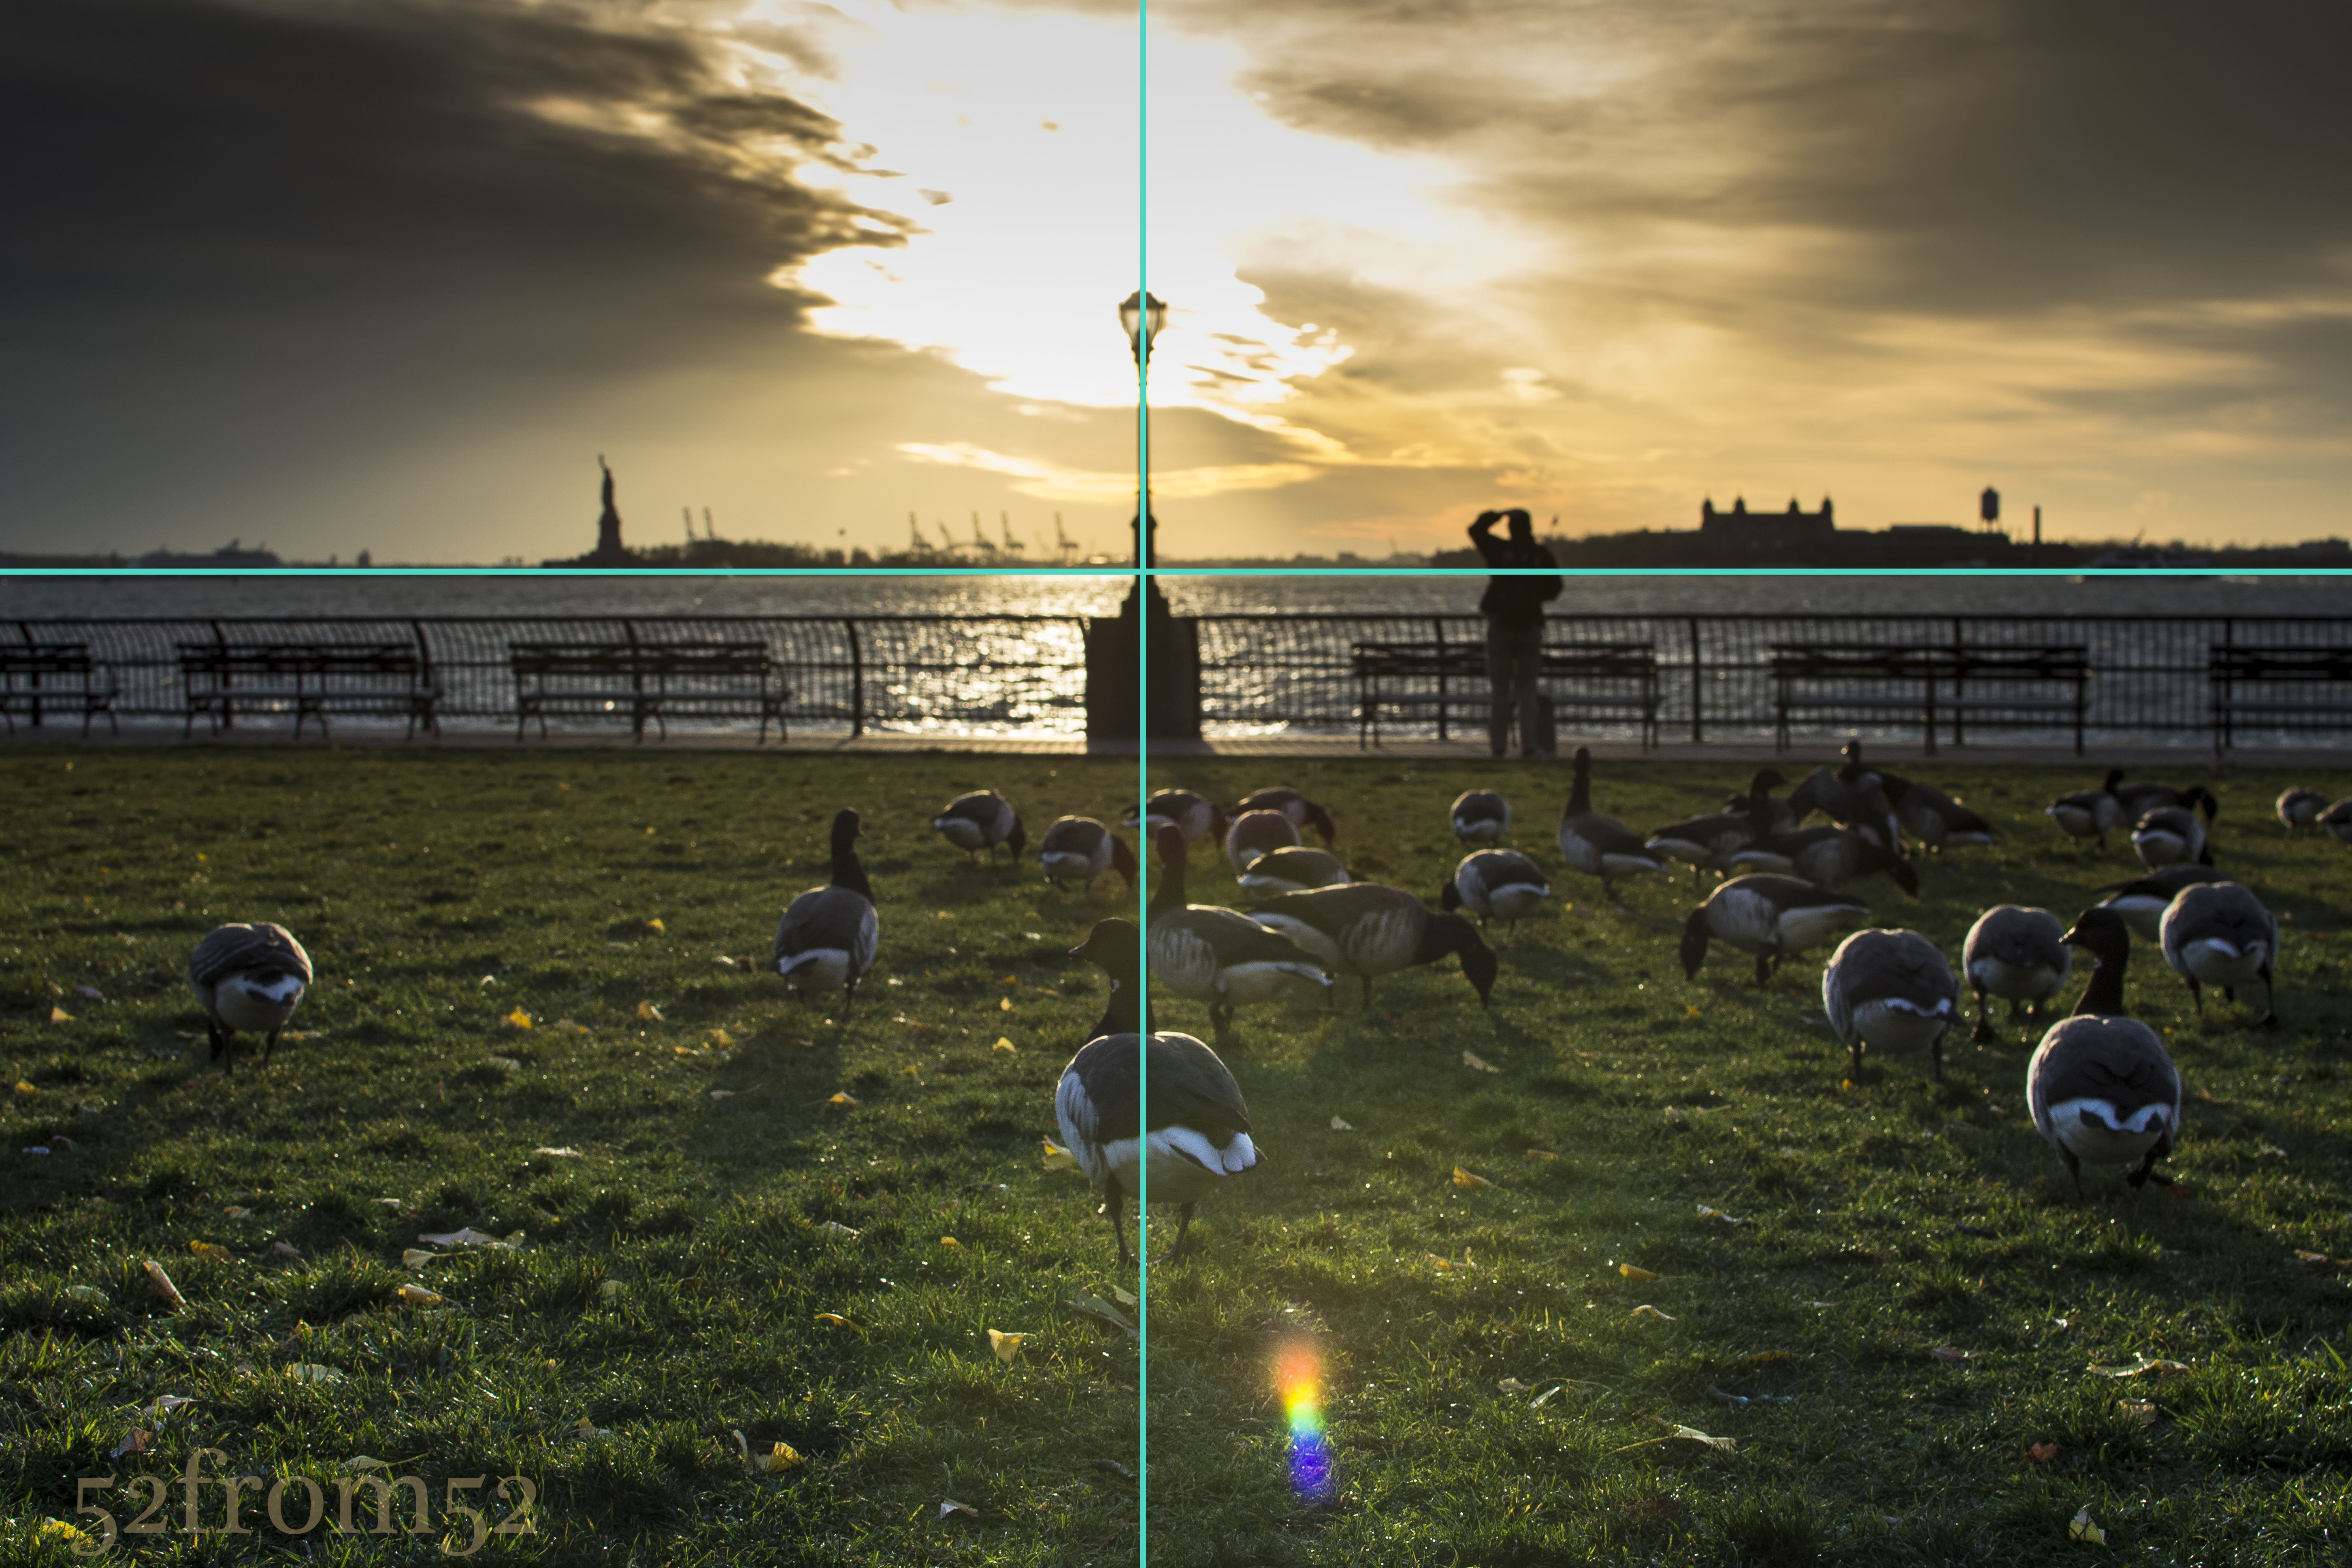
Center Vs. Rule of Thirds
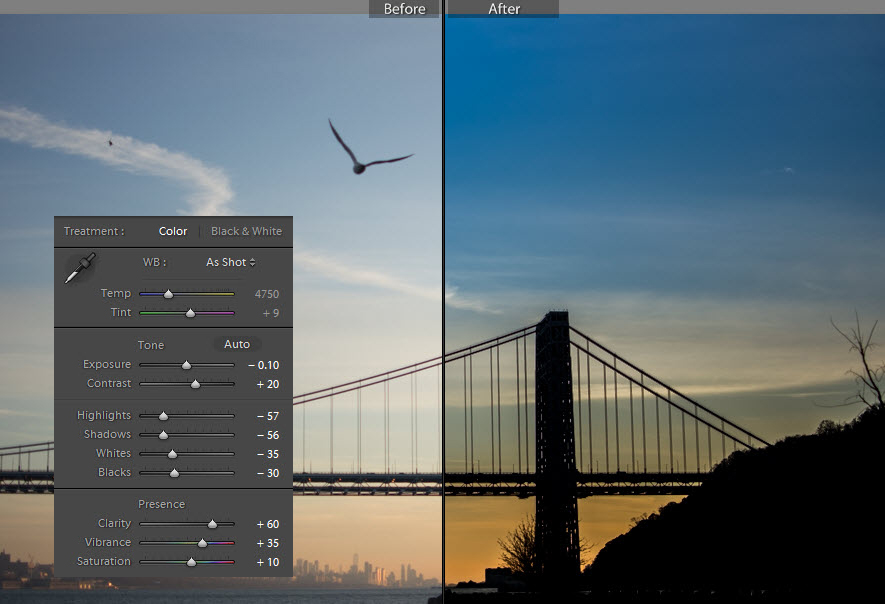
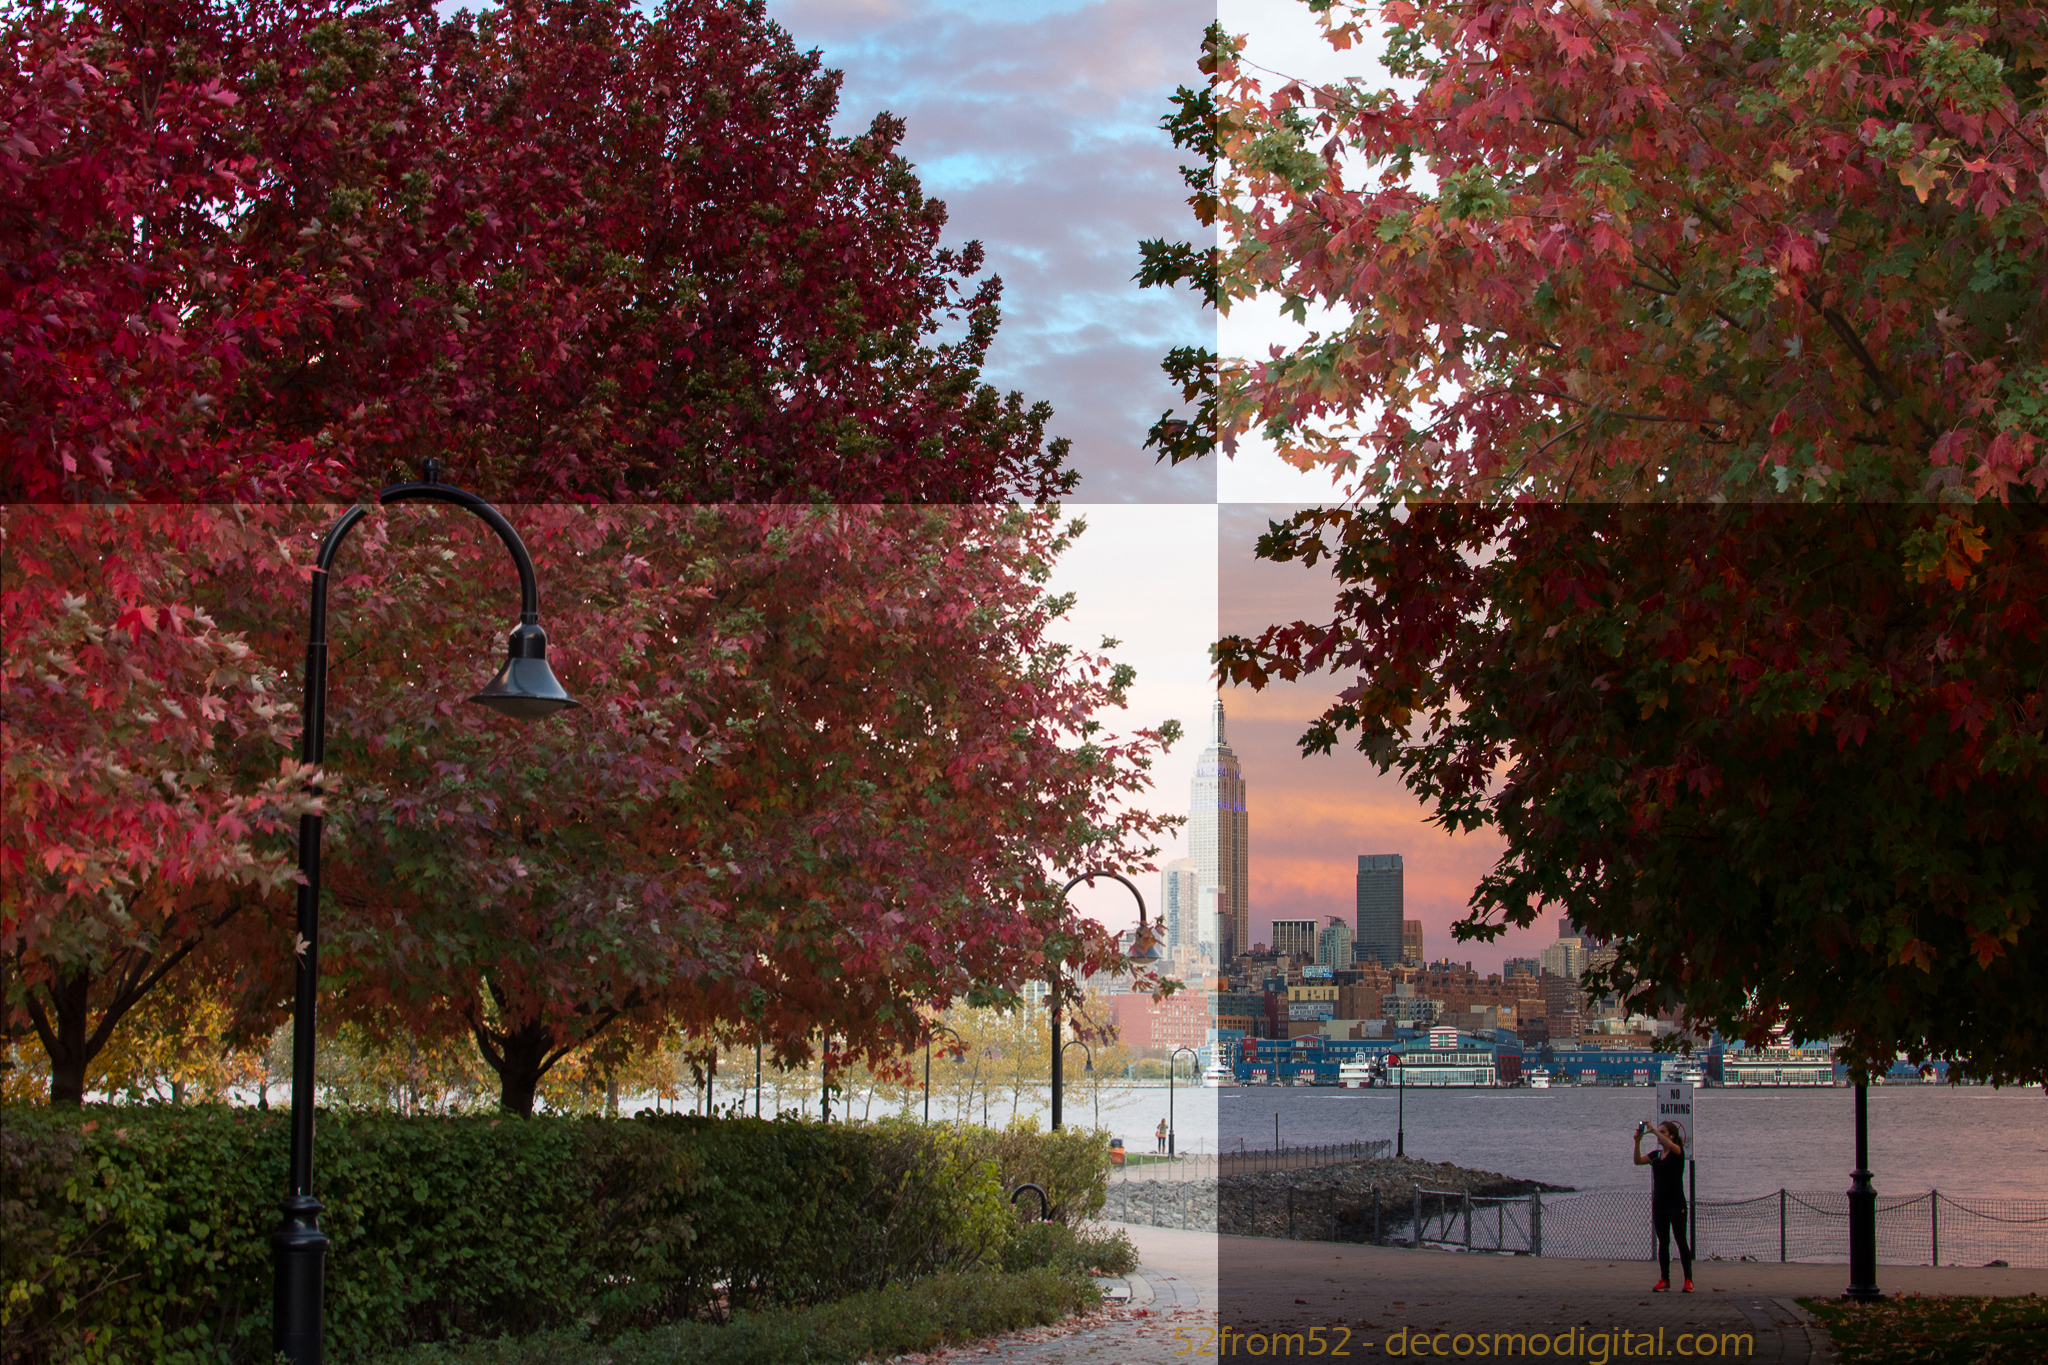
The last thing I want to mention real quick is how I edited the sky. In the unedited photo the sky was really blown out from the sun. As I’ve mentioned before since I shoot in a RAW format I’m able to recover some of the detail even when images get over or under exposed. Below is a comparison of how the image originally looked and how it did after I dropped the exposure for just the sky by about 2 steps. One way I might have been able to avoid doing this is shooting in HDR mode or creating one via bracketing and photo merging. I haven’t talked a lot (if at all) about HDR but it’s something I plan to in some future posts. Right now I’m still in the experimental stages with my Nikon as far as HDR but it’s one of my favorite effects with my iPhone 5s. More to come on this subject soon!
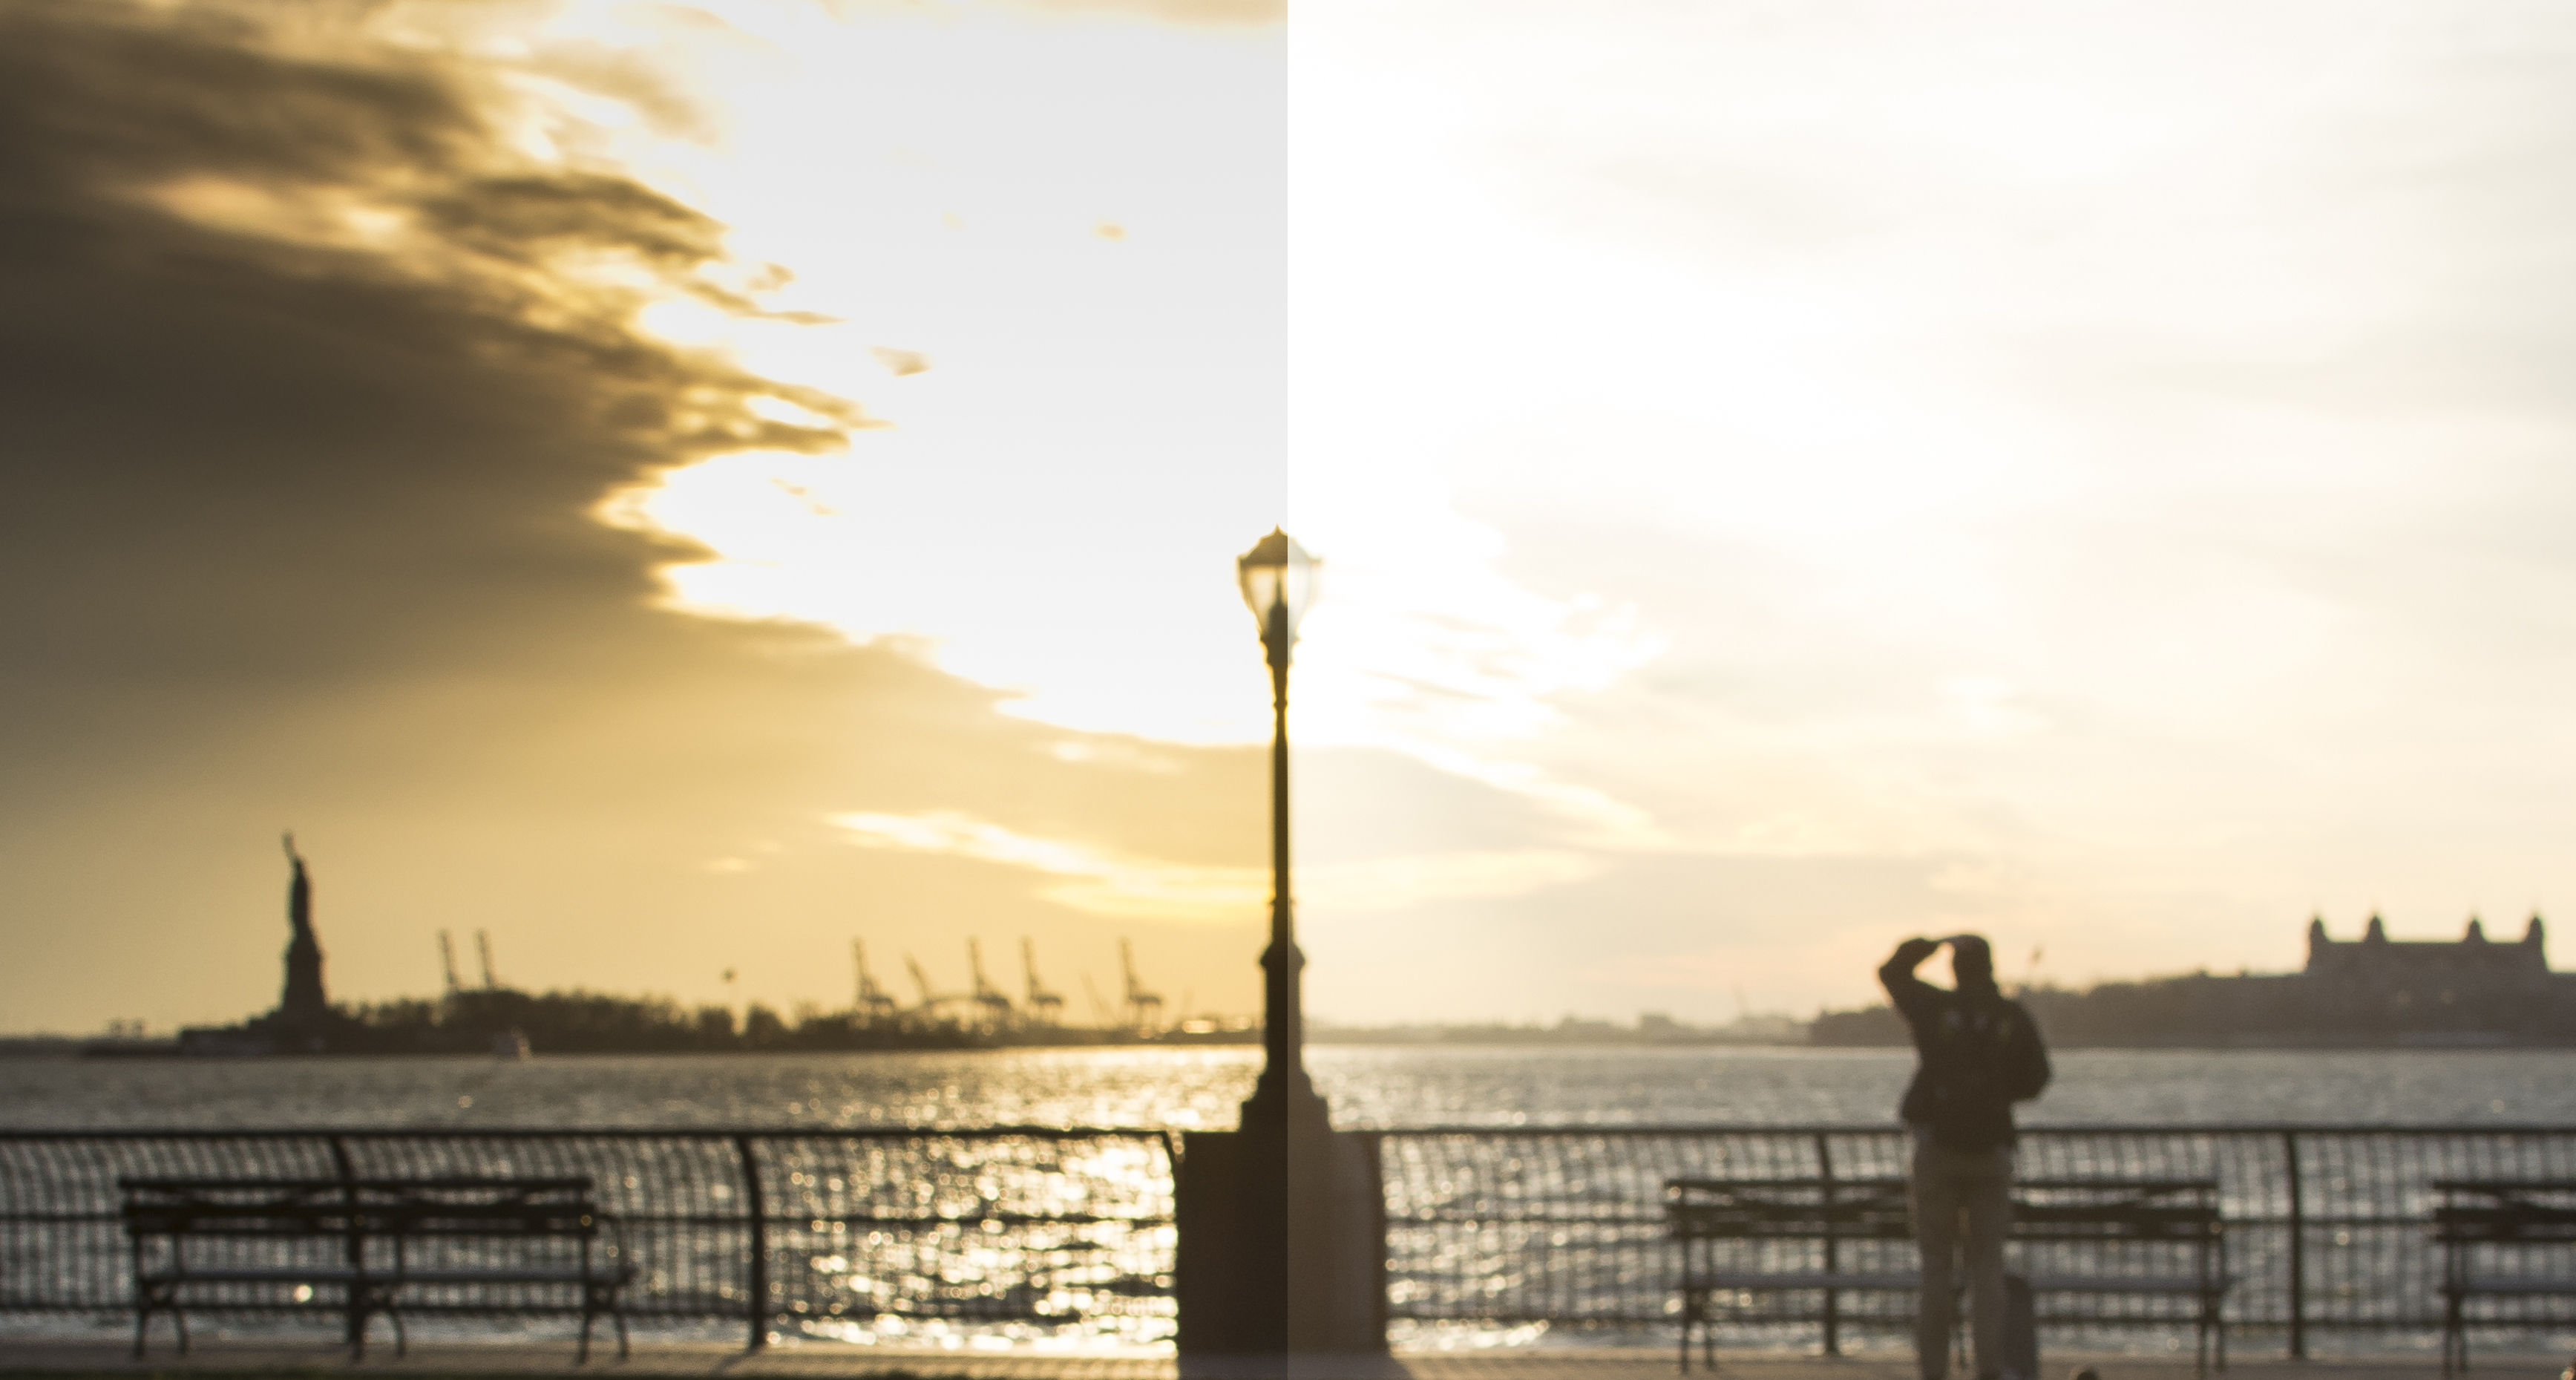
Edited (via Lightroom) vs Unedited