Picture Info: ISO 640, 38mm, f/22, 1/400sec
Week 33 (3/17/2014-3/23/2014): Hoboken NJ
Picture taken on 3/22/2014 at 6:08 PM
Photography description:
Late again, but just with the post. I got this picture over the weekend which was within my self imposed weekly deadline. Usually missing my deadline (or any deadline) would drive me absolutely nuts, but I decided that I wouldn’t beat myself up about it this time. Lately I’m trying to be more relaxed and not stress myself out over little things. Although my stress free mentality was partially why I missed my posting deadline, the main reason for the latent post was because last week was one hell of a week. It was my turn again to provide support coverage for work, and let’s just say the luck of the Irish was not on my side. Every time I tried to venture out to get a picture my phone buzzed. The constant interruption, or threat of one, didn’t allow me to get more than a few blocks from my apartment. Although my localized limitation still would have permitted me to visit the Hoboken waterfront, I didn’t want to feature another skyline picture this week. There are a lot of techniques that I’m still exploring and to do so I need to find something beyond the skyline to experiment on.
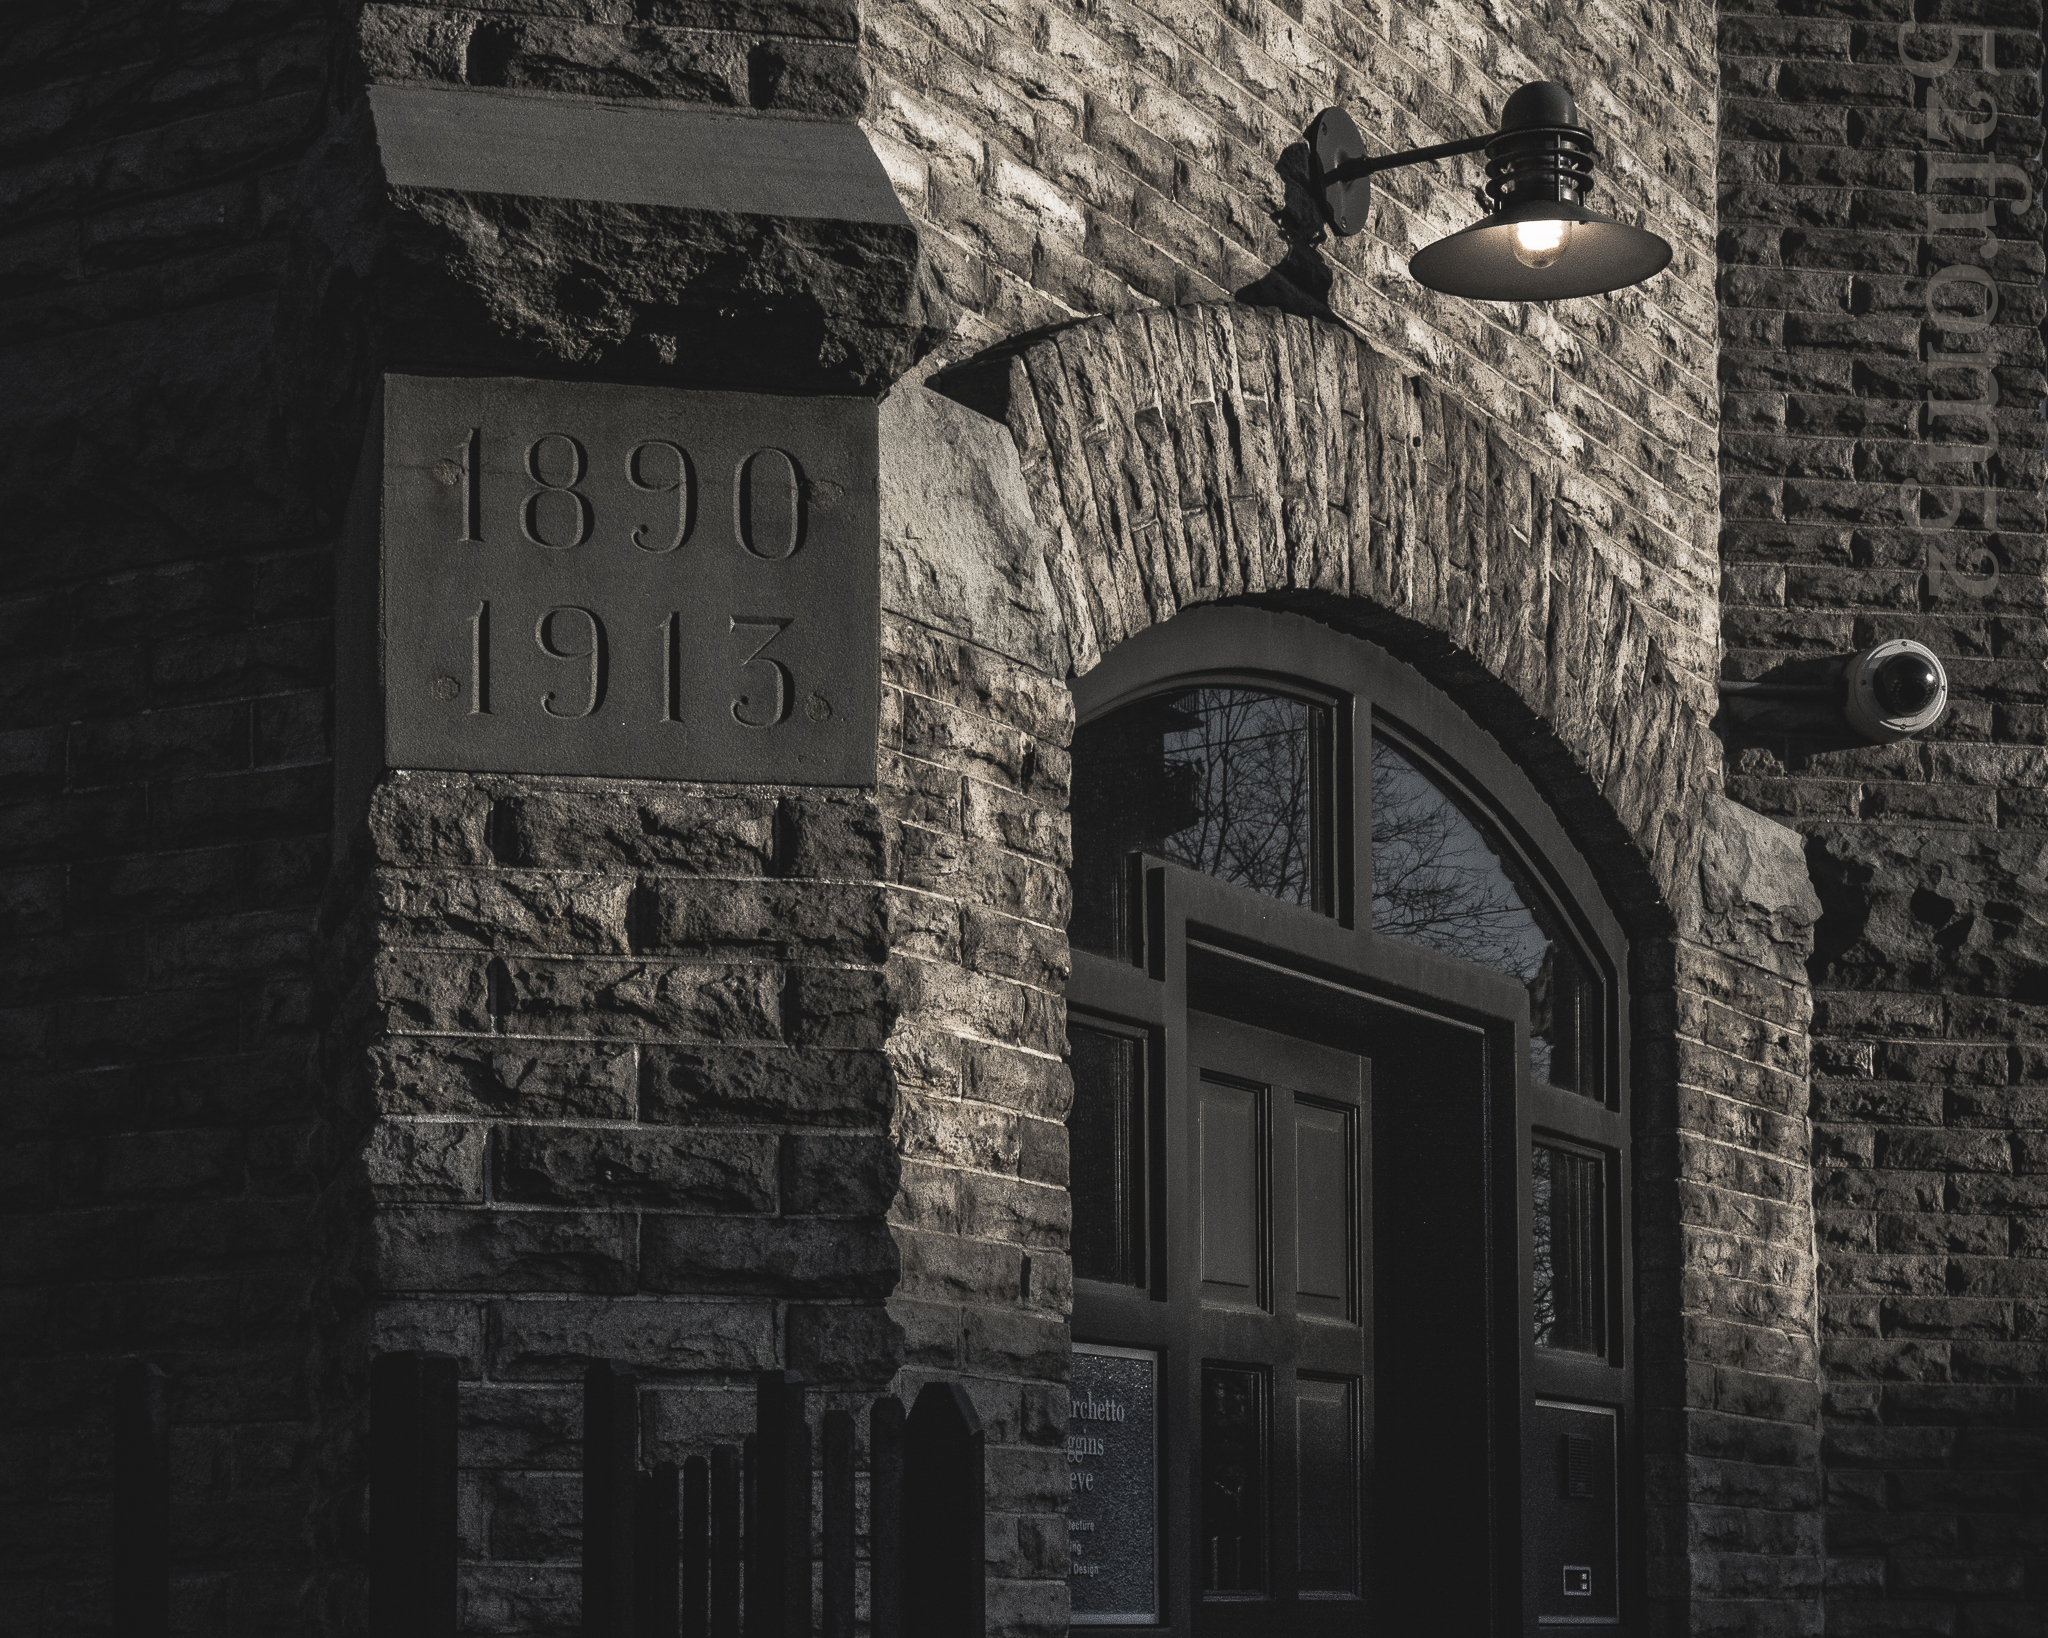
After walking around for about an hour I got a couple good pictures which I thought would potentially work as a featured photo but nothing made me too excited. On my way back to my apartment I stumbled upon a church with this beautiful stone front exterior. The masonry was looking exceptionally nice because of the way it was catching the fading light of twilight. I reached back into my bag pulled out my camera and began the result is what you see here.
Photography concepts:
Last week I threw out a challenge to try and shoot more pictures in “manual” mode. Unfortunately this week’s photograph was not shot in manual, but it was a step in the right direction. After spotting how the light was getting captured along the church’s jagged stone edges, I knew that I couldn’t let my camera make the exposure decision. As good as my camera is, the human eye is better at judging exposure.
When I pulled out my camera it was in aperture priority with spot metering turned on, so I stuck with that setting. In case you didn’t know, spot metering mode allows you to set (or “meter”) the exposure of your image from a specific point. Usually if you leave your camera on the default mode, which for my Nikon is “matrix metering” (the name varies by camera brand), the camera will inspect what’s in frame and choose what it thinks is the best overall exposure. The important part of that statement is the word “overall.” What I’ve noticed is that when a picture has lots of variance in shading sometimes the camera will try to compensate for the darker areas such as shadows and overexpose the image. The image won’t be overexposed to the level that there is damage done, but it doesn’t look like what you see with the naked eye. One way to prevent your camera’s miscalculation is to shoot in manual, which as I said I did not do this time. The other is to use a more manual metering method, which is what I did with spot metering. For this picture I metered my exposure off of the top of the image. The top had the most amount of light so I wanted to make sure that stayed exposed just right, with the rest of the image fading into shadow. The difference in lighting a little more obvious in a zoomed out version of my picture.
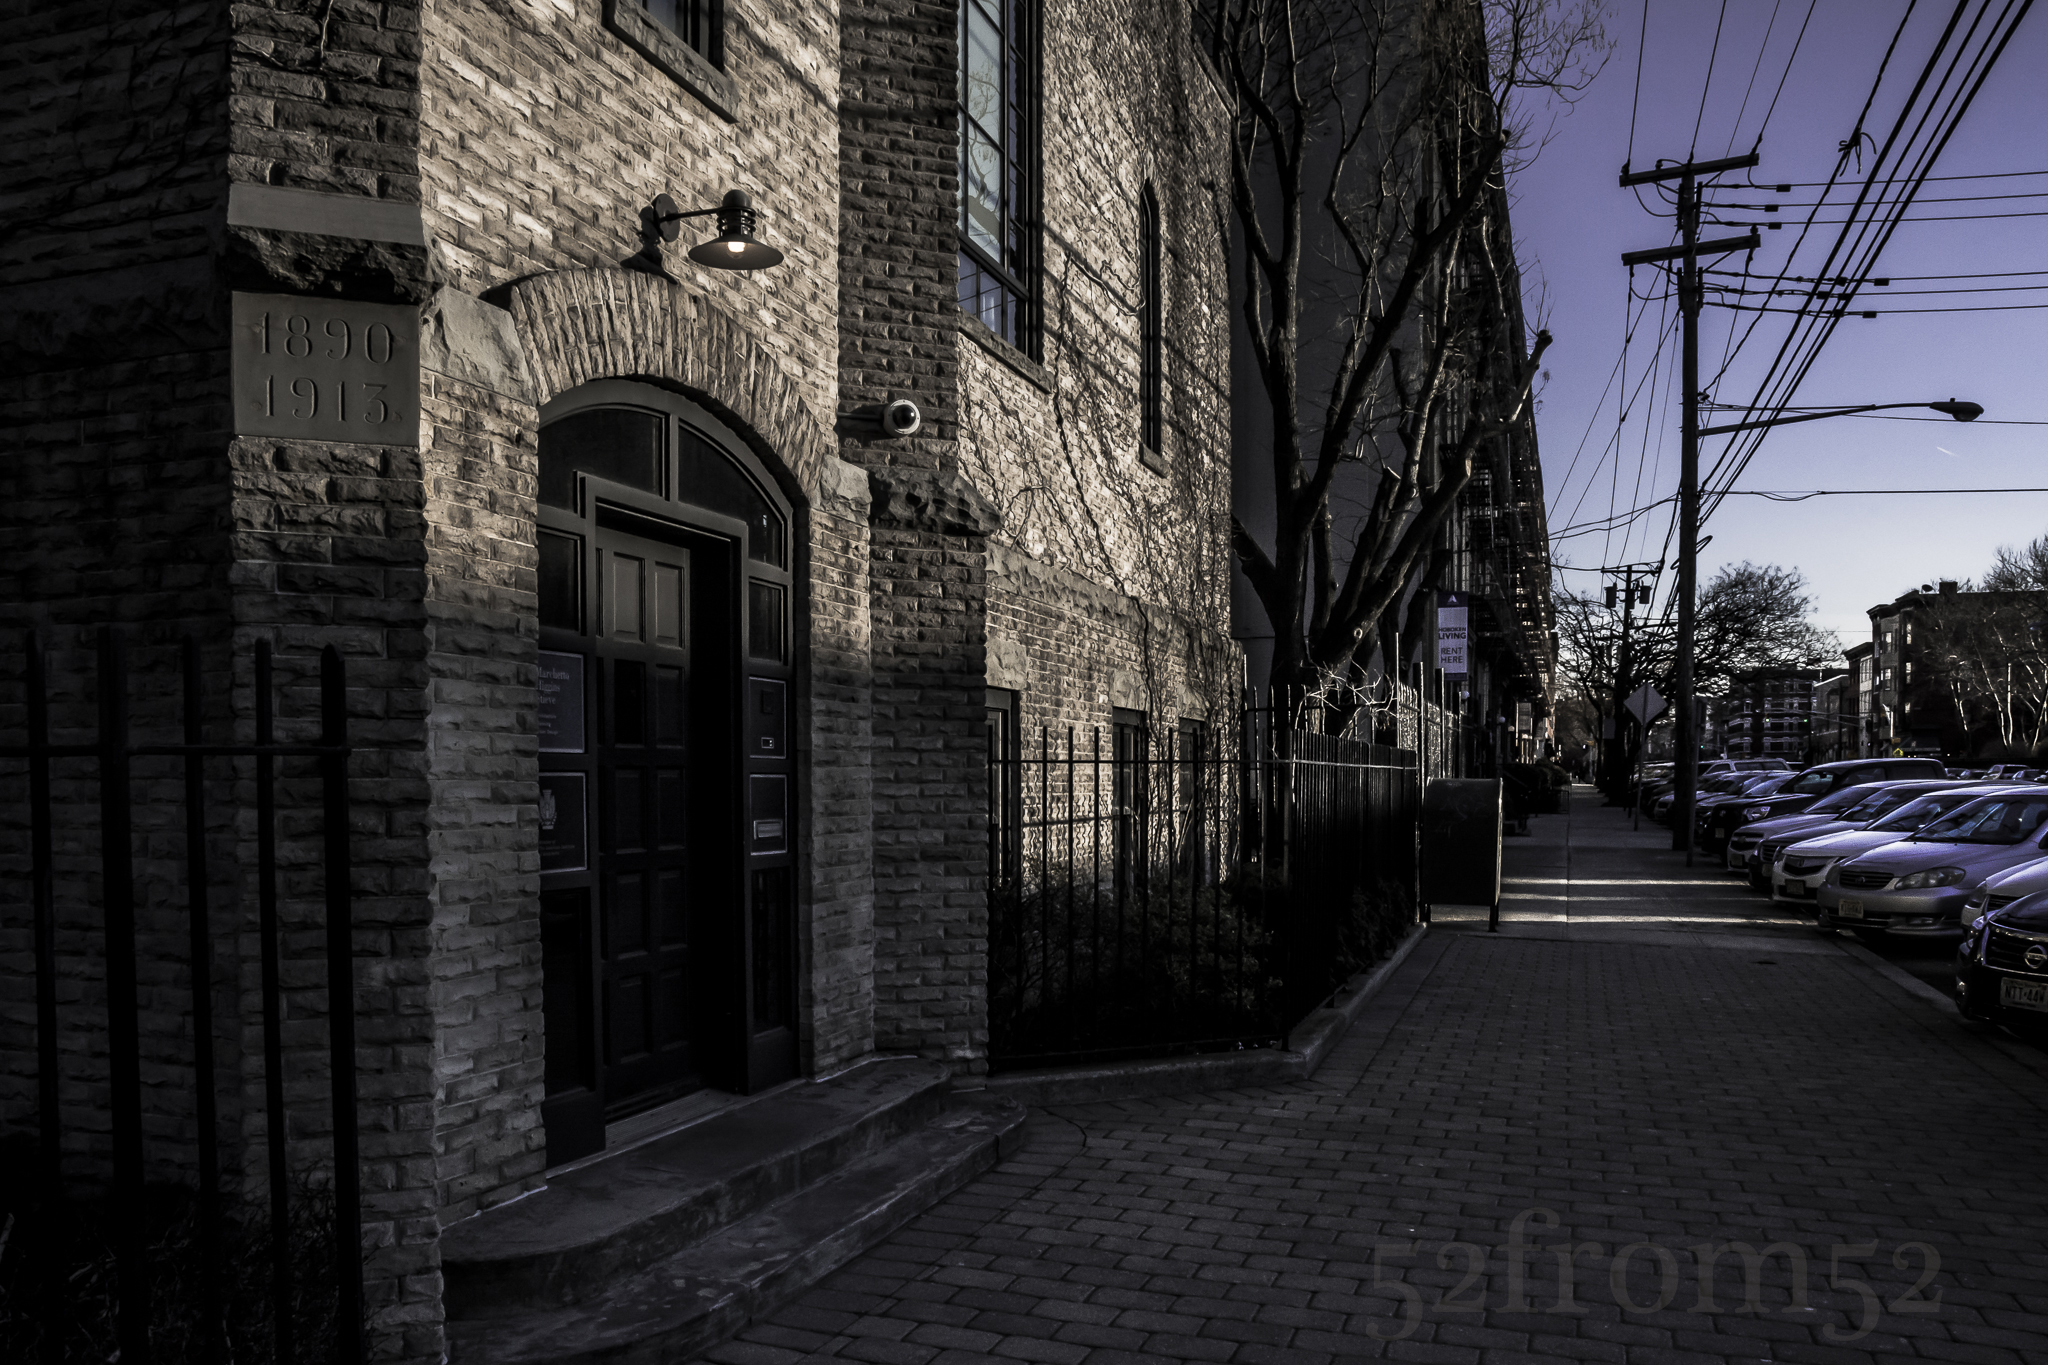
Picture Info: ISO 640, 17mm, f/22, 1/400sec
As you can see spot metering allows you to get a very natural look with the shadows. This is a mode that I’ve been experimenting a lot with lately, the hardest part is having the time to select the exposure point and recompose. In the coming weeks I’ll continue to work spot metering into my photography and try to point it out whenever I do.