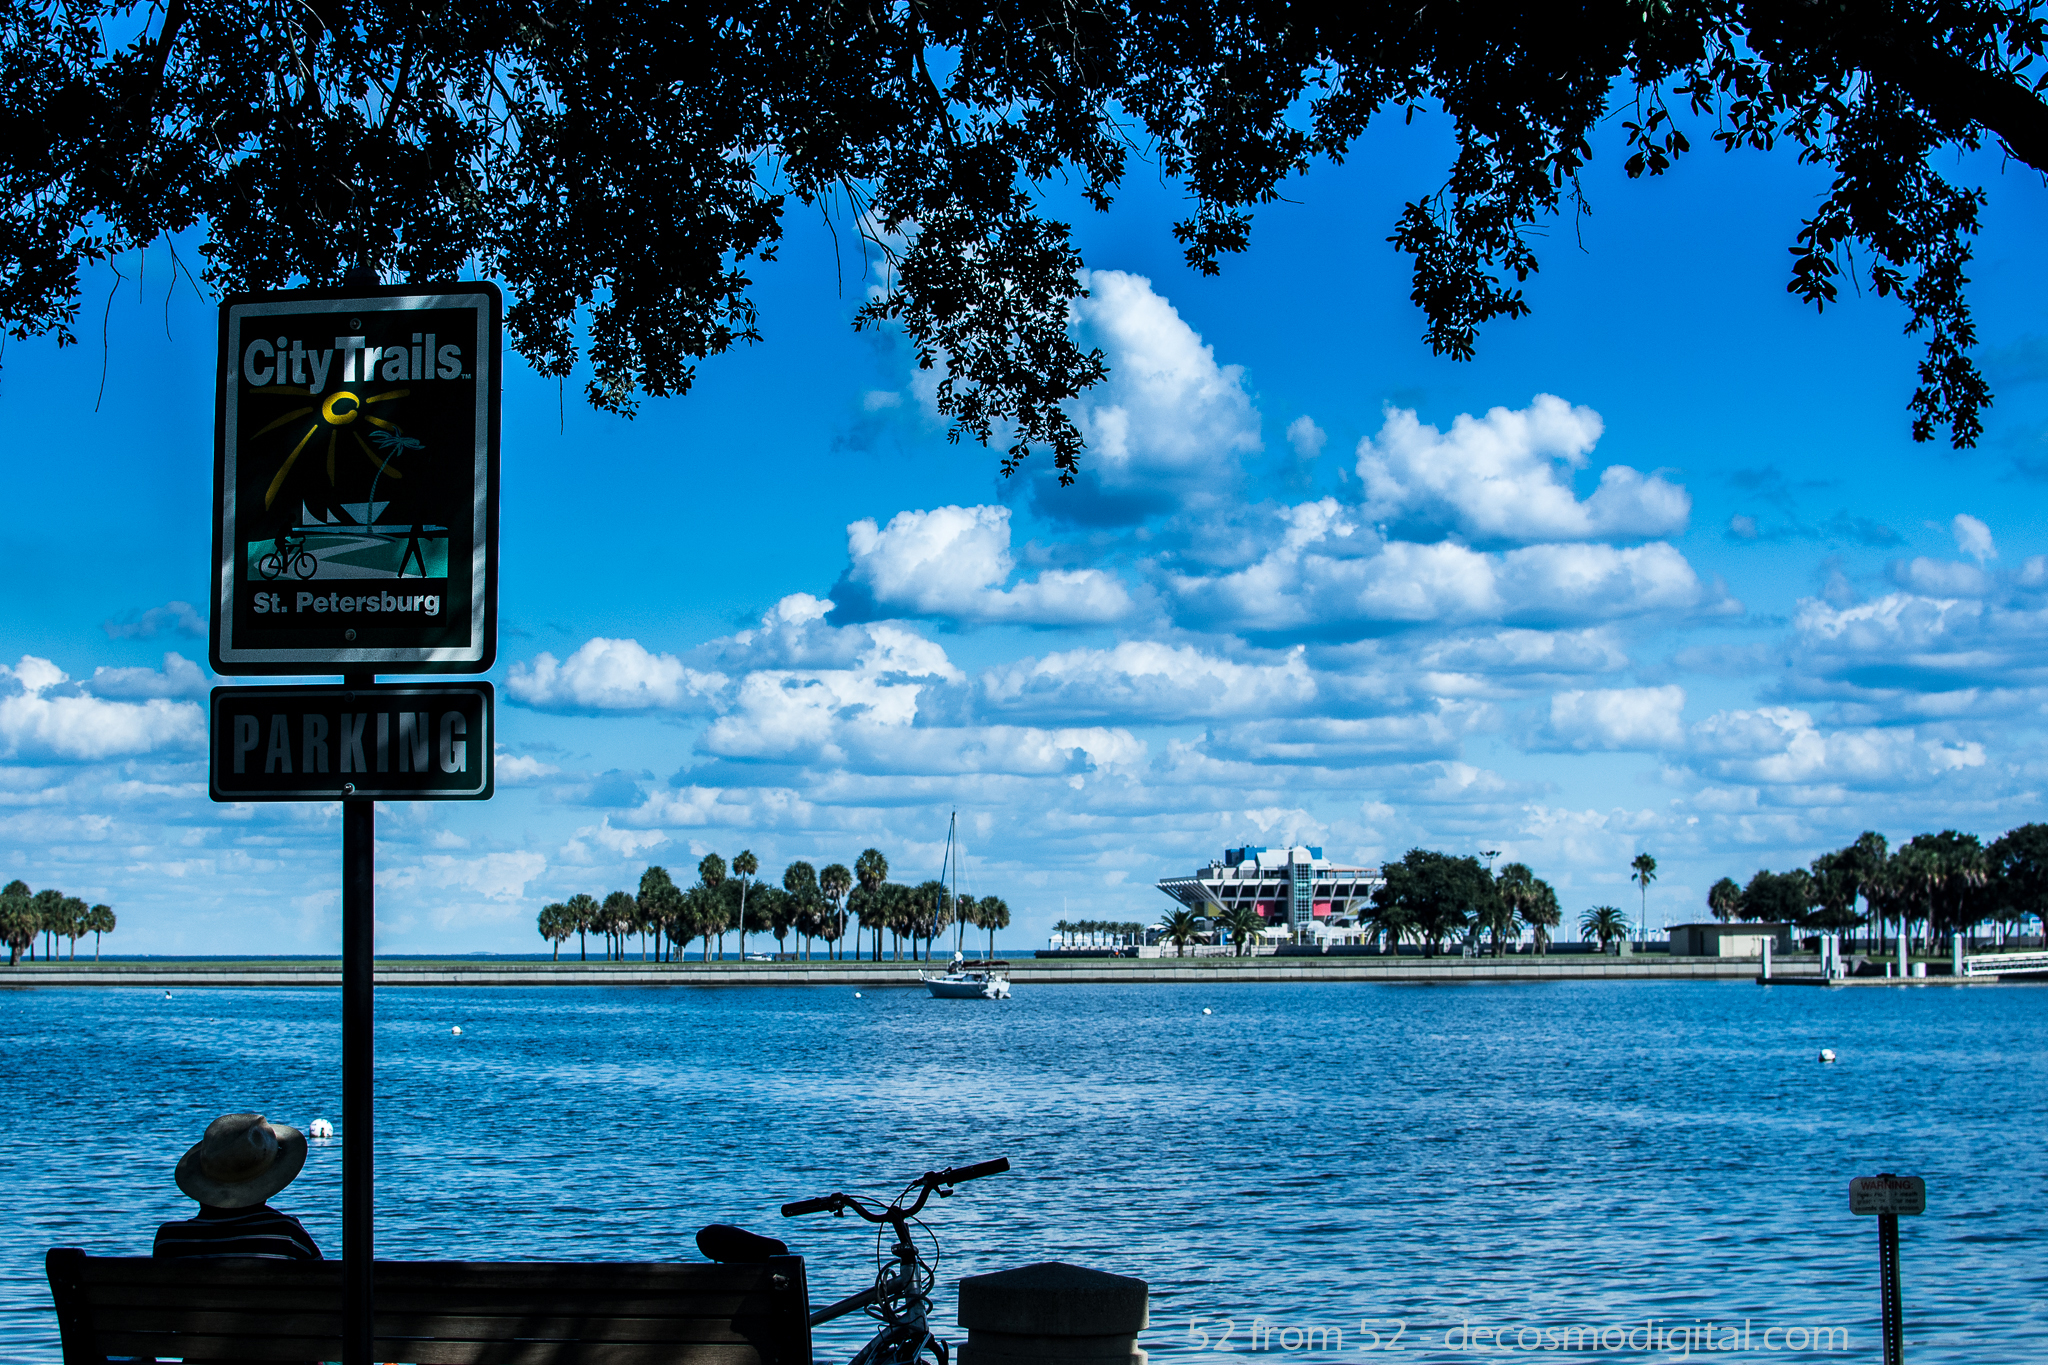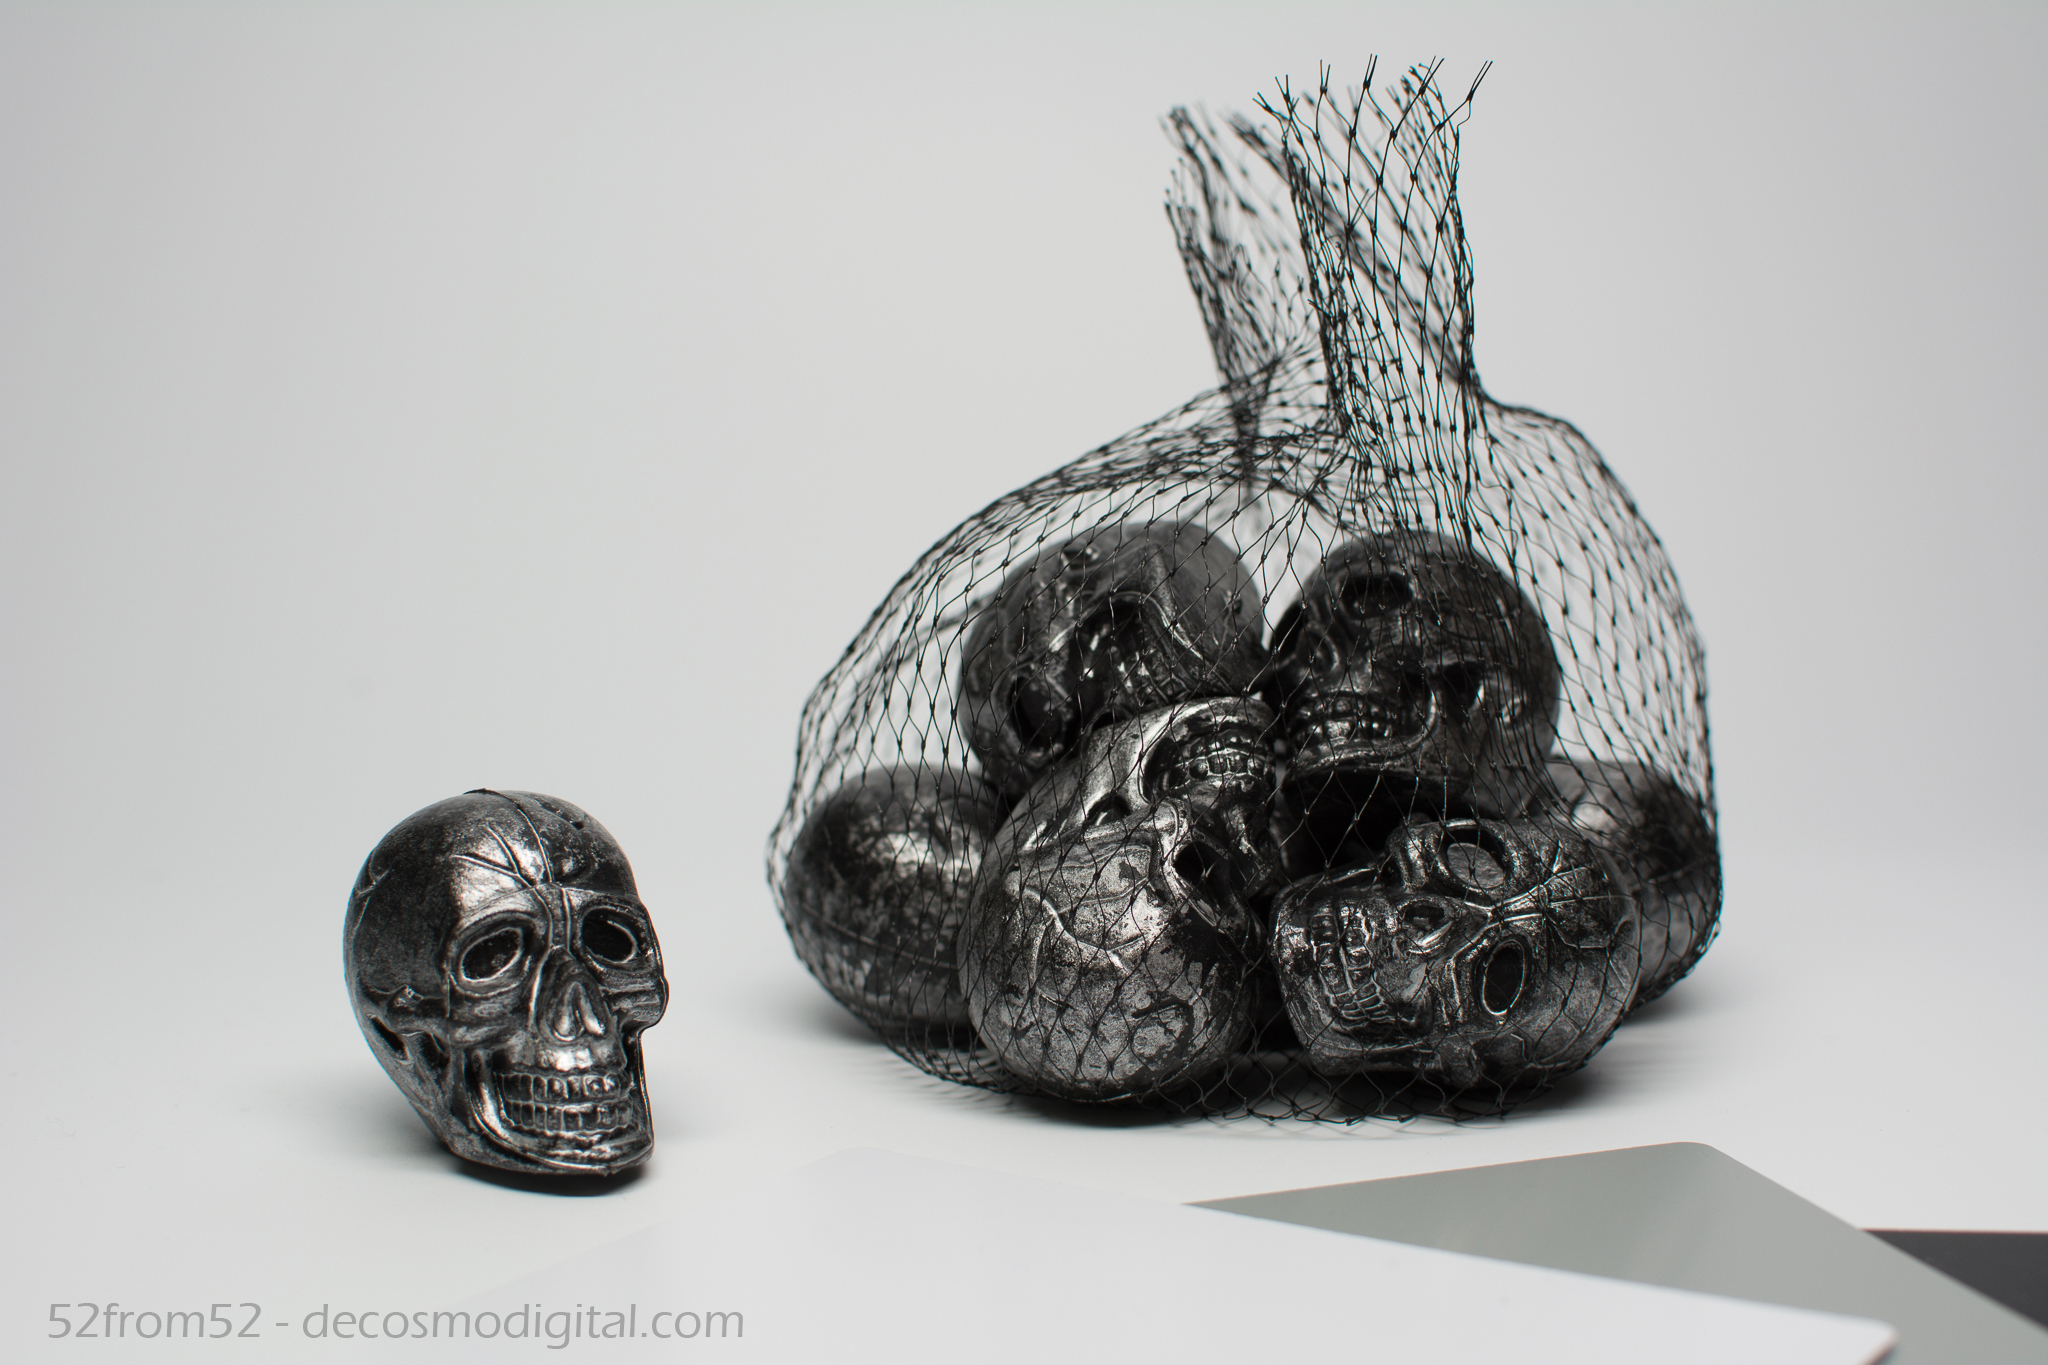
Picture Specs: ISO 200, 35mm, f/5, 1/30 sec
Week 10 (10/6/2013 – 10/12/2013): My Apartment, Hoboken NJ
Picture taken on 10/10/2013 at 4:53 PM
Picture description:
In life it’s always better to get ahead. Getting ahead was the catalyst for this week’s picture/concept. As I’m gaining more experience and exposure in the photography world, more opportunities are presenting themselves. One upcoming project is going to require me to take a lot of indoor pictures and possibly product/macro types of shots. In an effort to prepare (get ahead) for this future project, and to explore more areas of photography I decided to experiment with “studio” photography. Now I don’t have a studio or access to one so the best I could do is purchase an at home alternative to allow me to take some small scale pictures. Luckily one of the best companies to buy photography gear from has a storefront in New York City and not too far from my office. I’m of course talking about B & H. After doing some research online about what I should get I took a trip to B & H to check everything out in person. I spoke to one of the employees who recommended a duel light set up which would have been both bulky and expensive. I decided his suggestion wasn’t the route I wanted to take and ended up settling on the “MyStudio” portable photo studio with built in lighting. It came at a reasonable price and it seemed to be the perfect size to be functional in my apartment.
Setting up “MyStudio” was pretty quick and easy. Of course it helps that I’m a handy man (not by trade) but I feel like most people would be able to put everything together in under 10-15 minutes. Once everything was set up it was time for the fun to begin. Per my brother “anything is cool if you’re a good photographer” at least in terms of macro photography so I took that as a challenge. I began going through my room and photographing almost anything that would fit in “MyStudio.” Although my brother was right, not everything that I took a picture of could easily tie into a post. I decided to find something a little more relevant. My “getting ahead” philosophy (along with Halloween being around the corner) is what drew me to skulls (heads) that are featured in this week’s picture.
Photography concepts:
One big difference between this picture and those of past week’s was I needed a decent amount of equipment to make this happen. For starters I needed the “MyStudio” which I would recommend to anyone looking for a small at home studio option (link/picture below). Next I needed a tripod since with macro/studio photography sometimes you have to take longer exposures to capture more light and you really need to line everything up with precision. I probably could have gotten away with not using a tripod but I already had a good one so there was no reason to not. Another key tool you need while doing studio photography and any other indoor shots are white balance cards. I’ve mentioned white balancing before but this week it was really key. When you’re using a white balance card you usually take a reference shot and either tune your camera into that setting or use the reference shot as a guide for setting all your white balance in editing. This week I decided to leave my white balance cards in the picture so you could get an idea about how I used them. The last and most obvious (other than my camera) thing that I needed was a subject. In the past I found real life subjects to photography, while this week I had to find and place my subject. Having the freedom to get creative was nice but also very challenging.
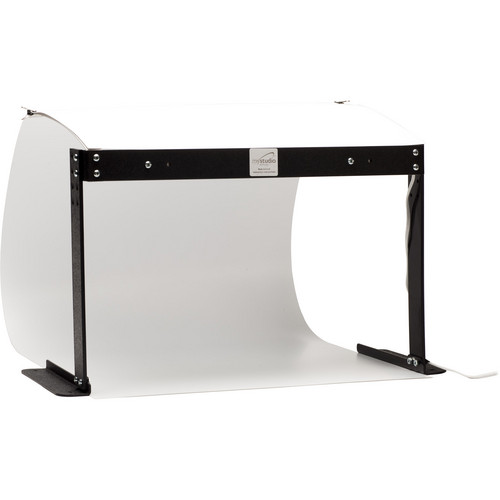
MyStudio; Taken from BH’s site (link to product below)
The main challenge about having “creative freedom” was positioning my subjects and relationally lining up my camera. When you’re working on such a small scale the slightest adjustments to your camera’s angle or the location of your subject changes the entire dynamic of the picture. Using this week’s picture as an example. You’ll notice that the single skull and the bag of skulls are a little offset with the single skull being further up in the picture. I positioned the single skull forward so it was larger in the picture but I had to push the bag back to get it in the full frame. Once I put the two subjects on different planes, in relation to my camera’s lens, it forced me to use a smaller aperture. If I had shot this picture with a f/1.8 instead of f/5 the single skull would have been in focus and the bag blurry. Even with f/5 you can already start to see some of the blur in the back portion of the bag. Based on what I’ve read, along with my own experience with wider apertures (smaller f numbers) the plane of focus becomes very thin. What this means is only the things that are on the same plane as your subject will be in focus. The smaller the aperture the deeper the in focus plane gets. I haven’t done enough reading to explain the mathematics behind this focal plane concept but I feel like this picture was an easy way to demonstrate the concept and it’s challenges.
There is still a lot more to learn about indoor shooting so this topic might get featured again in the coming weeks. Let’s just say for now this is to be continued…
BH Link for “MyStudio”
http://www.bhphotovideo.com/c/product/727653-REG/MyStudio_PS5_PS5_PortaStudio_Portable_Photo.html