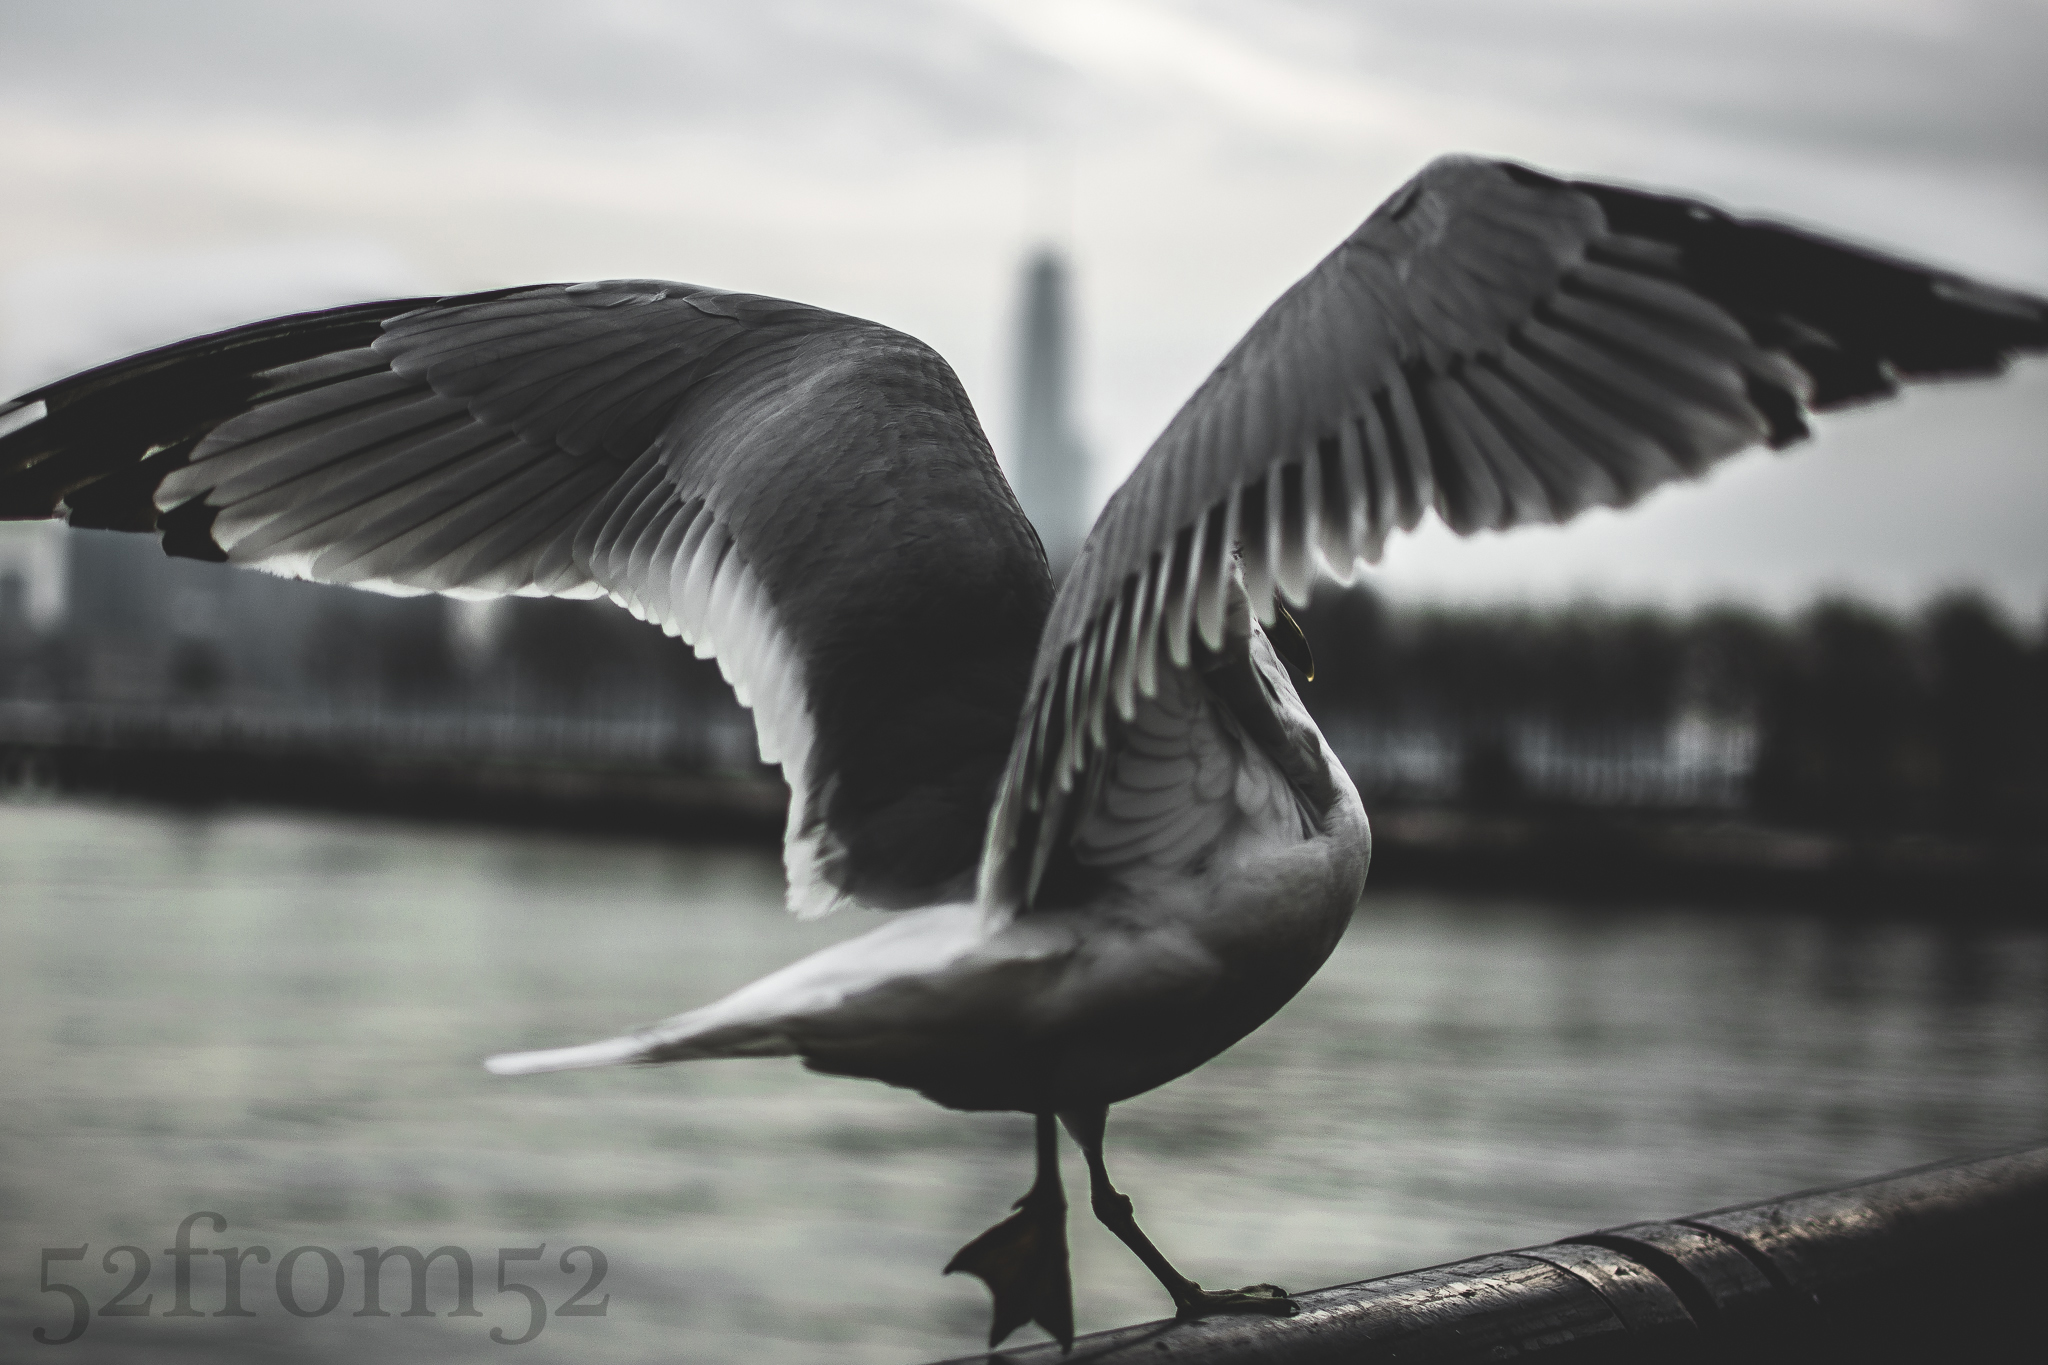
Picture Info: ISO 100, 35mm, f/1.8, 1/4000 sec
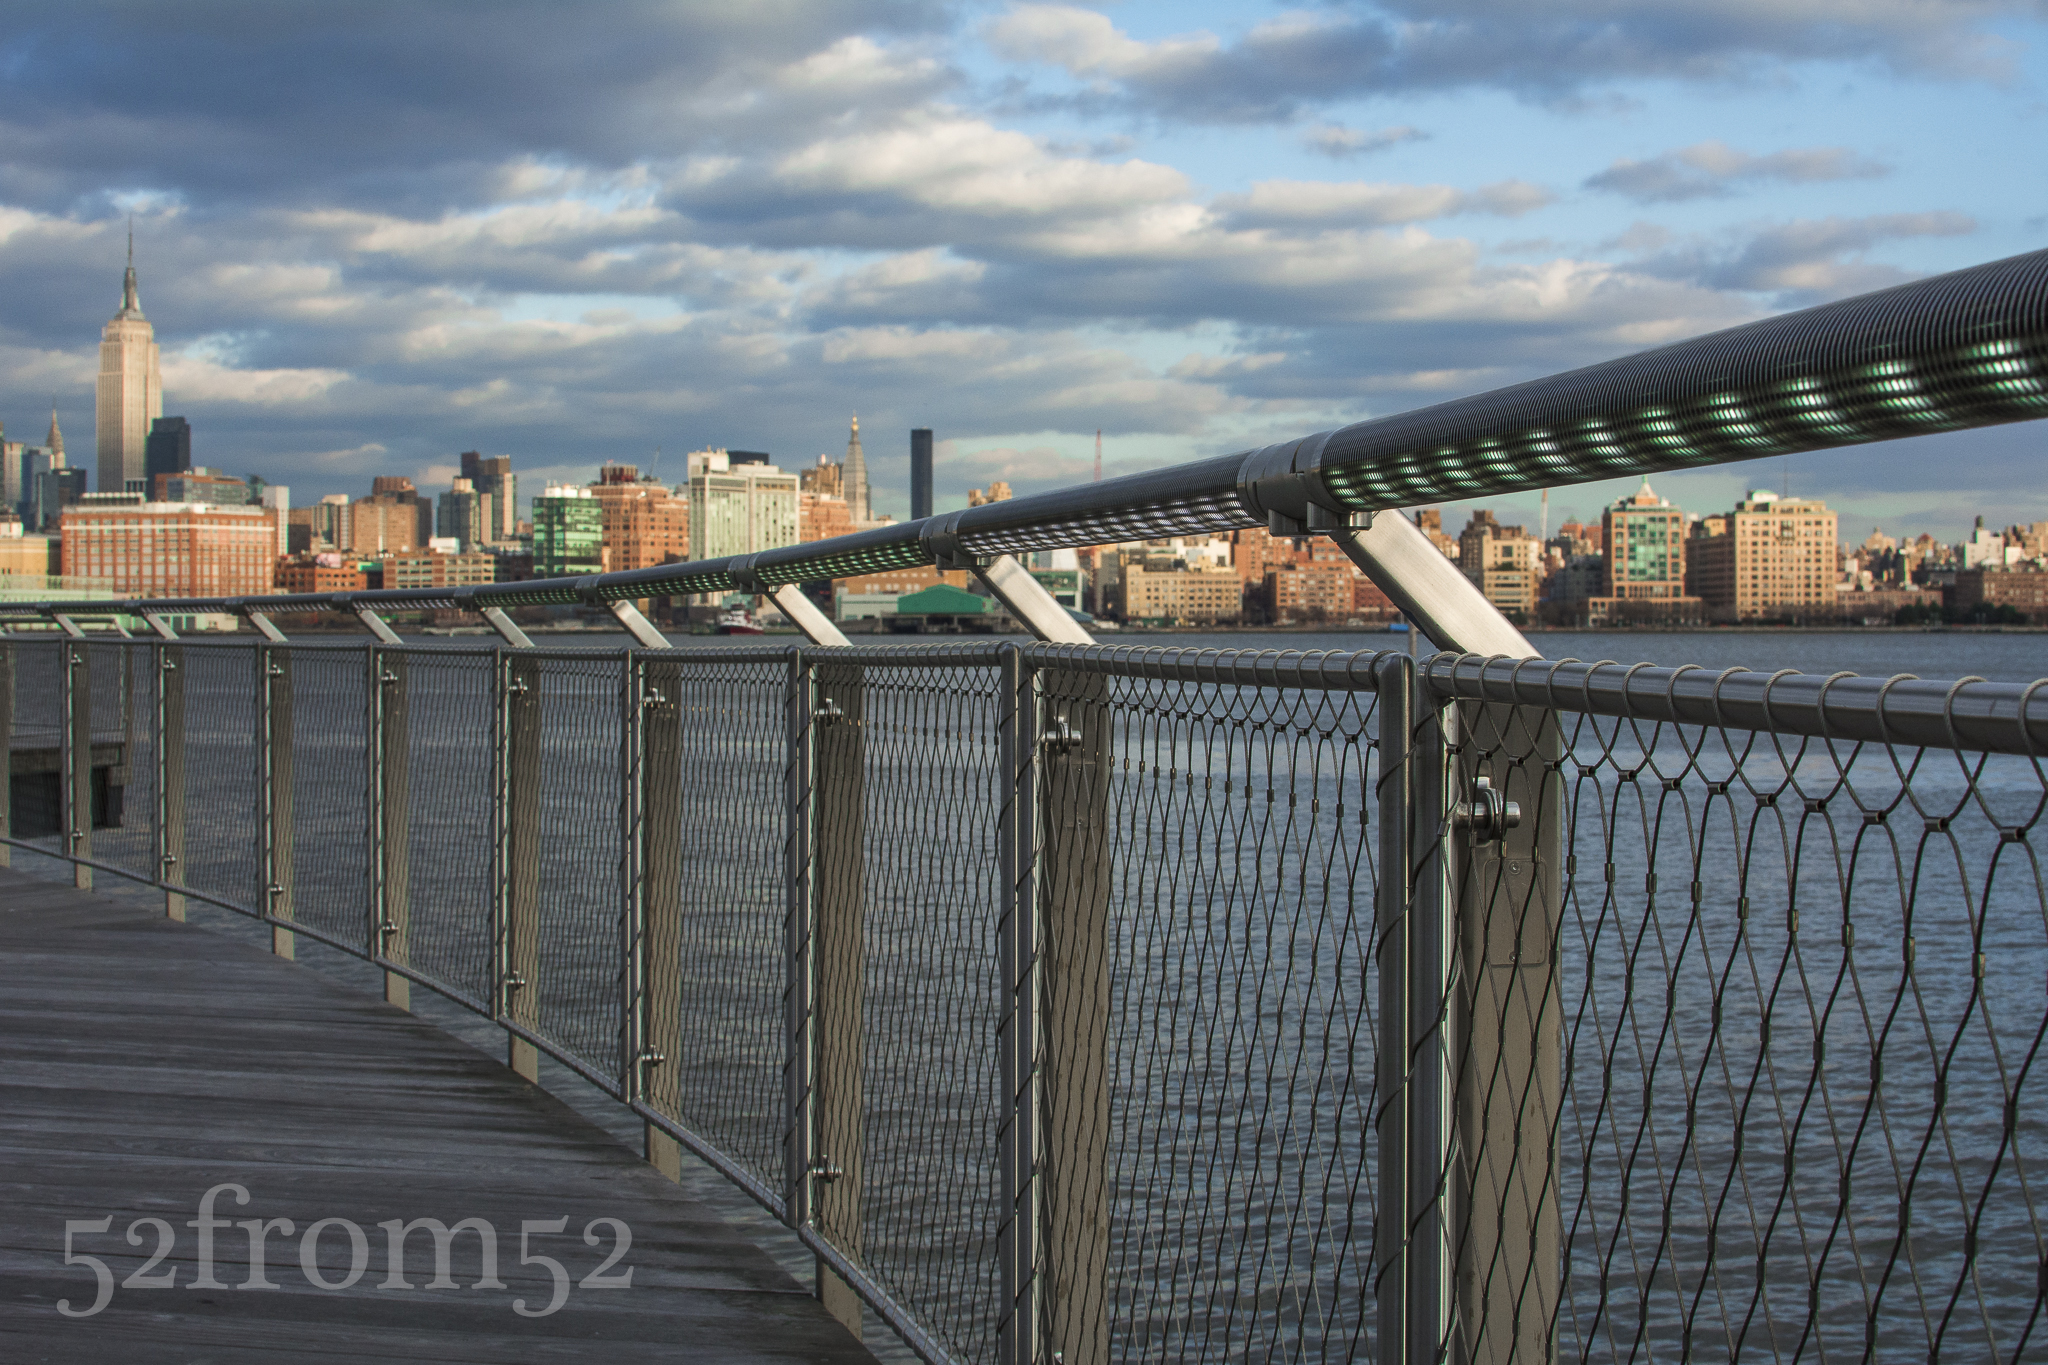
Week 30 (2/24/2014 -3/2/2014): Hoboken Waterfront
Picture taken on 3/2/2014 at 12:14 PM
Photograph description
Wow week 30 and I can’t believe how fast time has flown since I started this project. Doing this photoblog is one of the best decisions I’ve ever made. I have learned so much, made some new friends and have become even more hooked on photography. That being said, I’m excited to see what the next 22 weeks will bring!
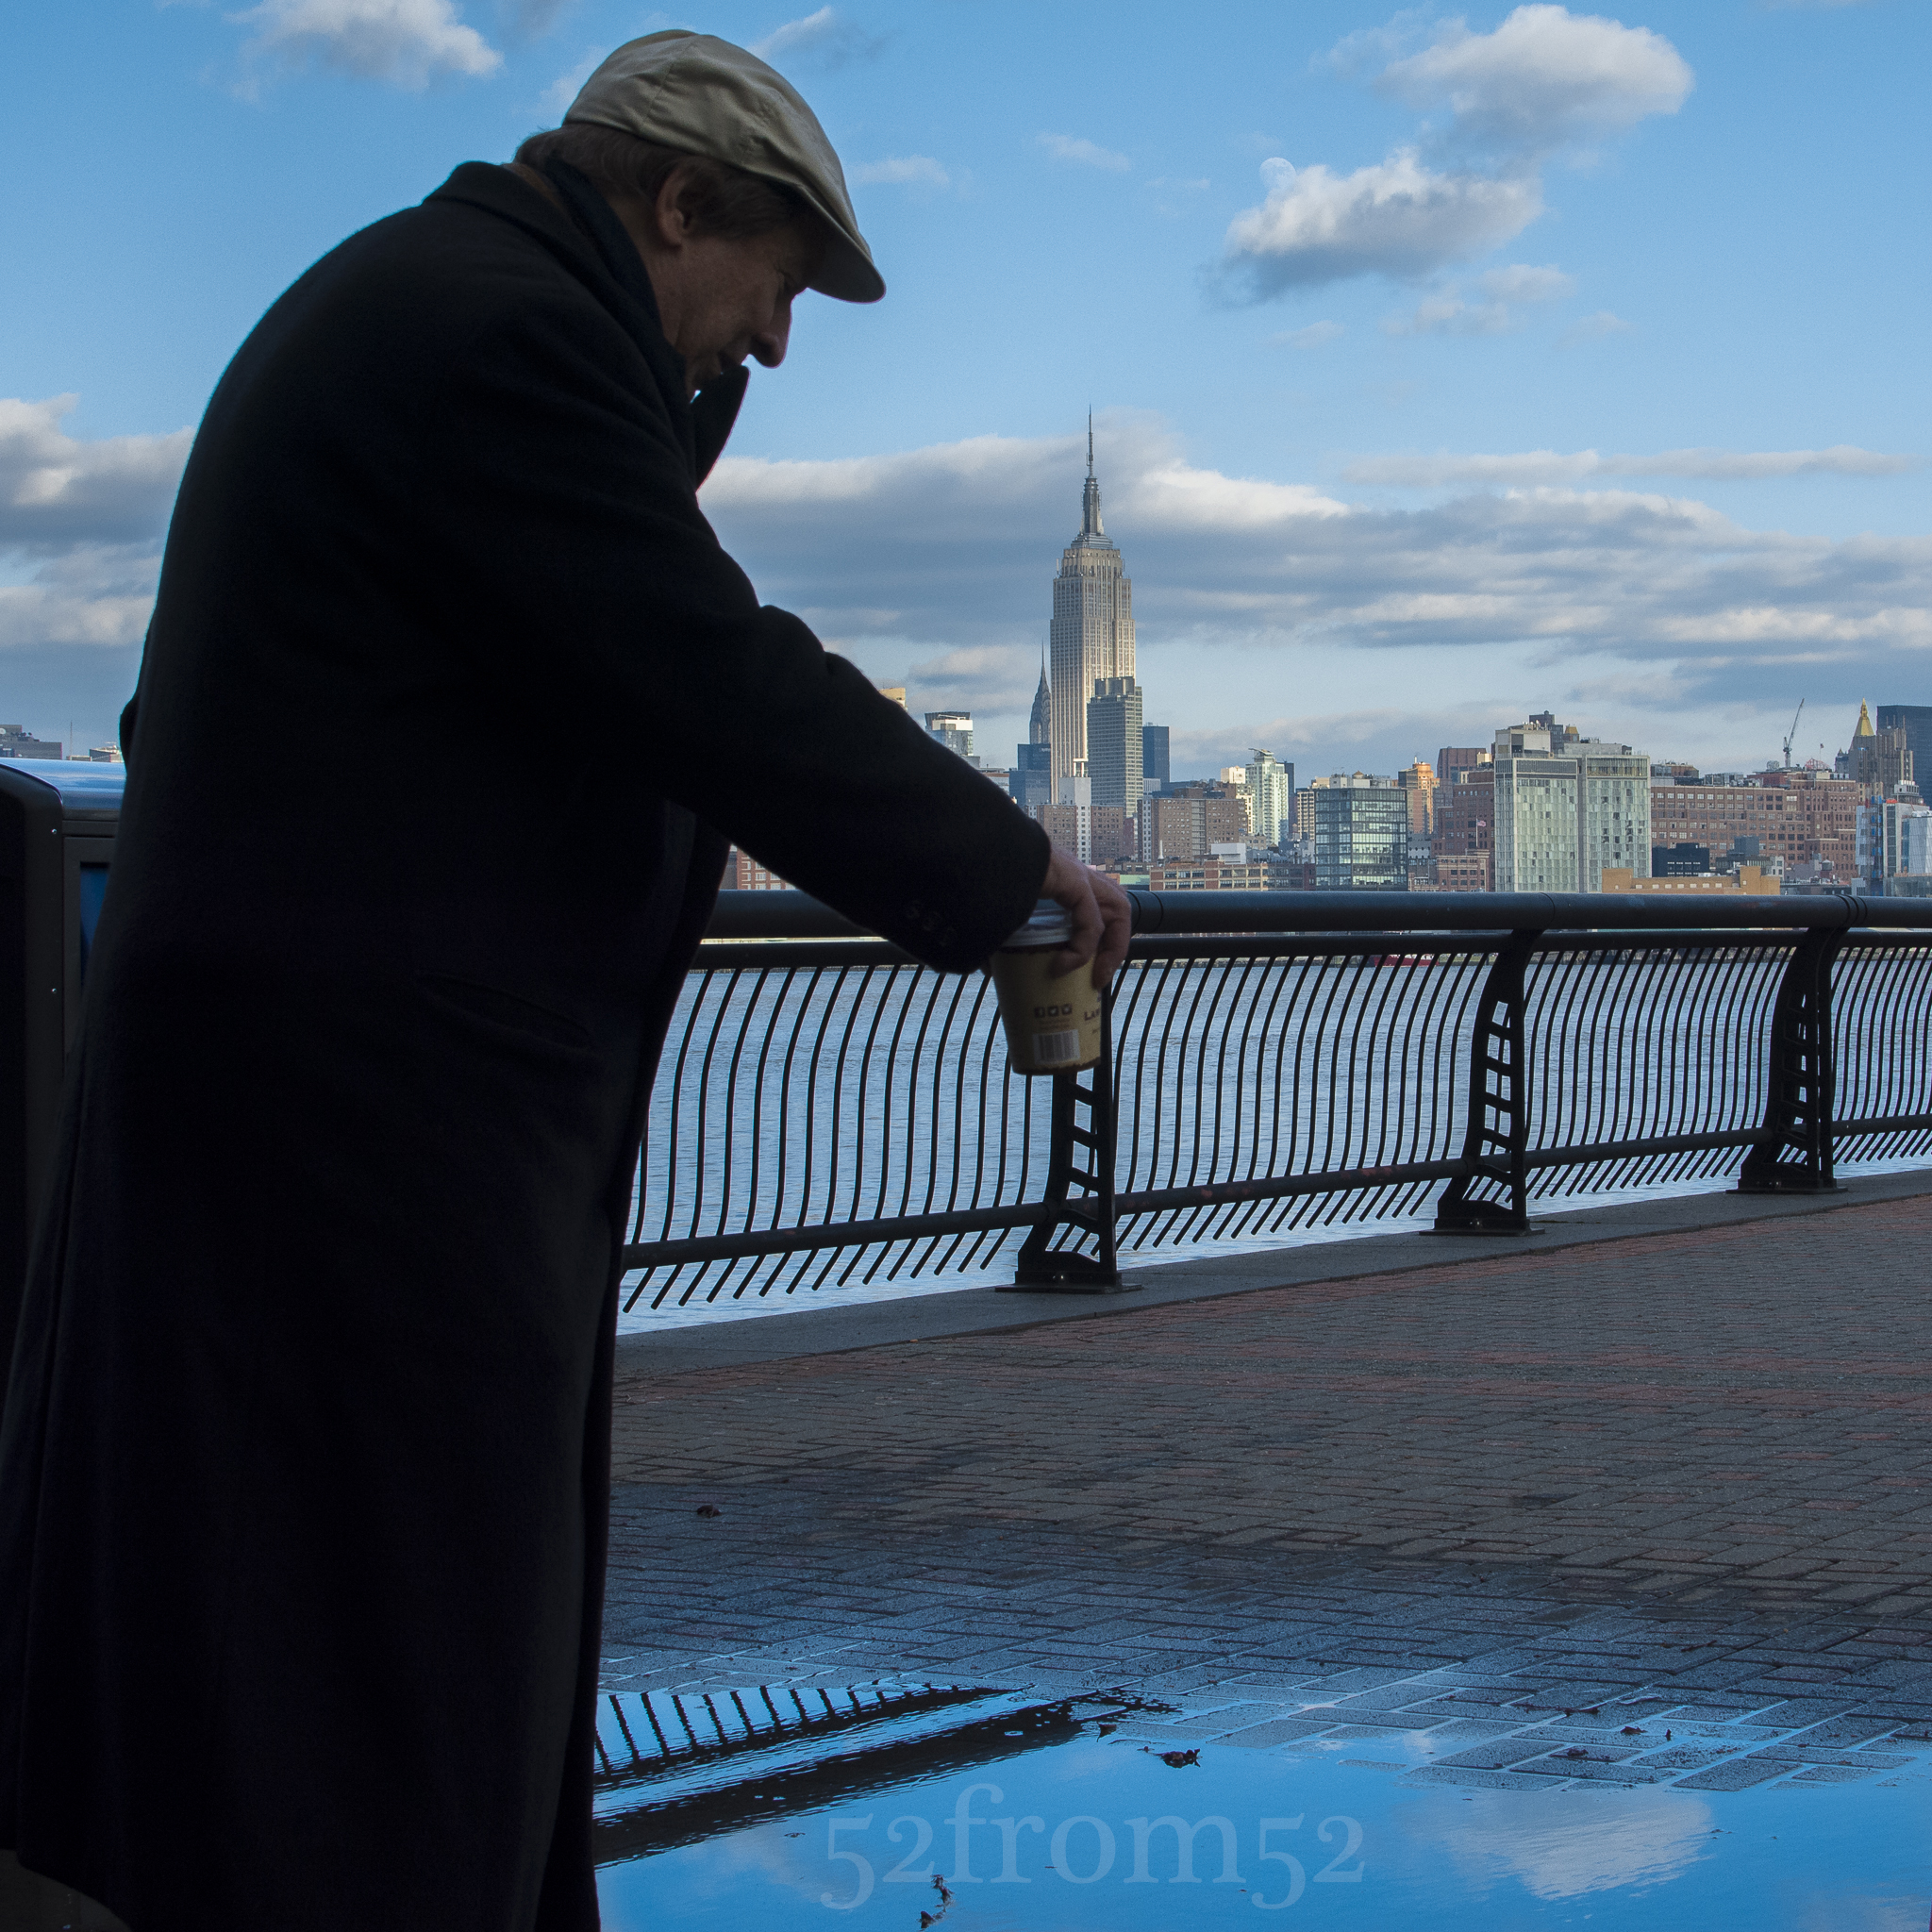
I was a little off my game this week when it came to taking pictures. Usually I get out about 1-2 times per week, this way once Sunday hits I have some options for my post. I’d like to say my lack of photo time was because it was hard to find time, but it was mainly hard to find the motivation to get out and fight the cold. Waking up Sunday I felt the pressure to find a good picture to feature and lucky for me it wasn’t too cold. As I have so often this winter, I went out along the Hoboken waterfront to see what I could find.
To get in the mood I threw on some headphones and lost myself in the hypnotic beats of Armin Vann Burren on SiriusXM’s electronic area. Oddly enough electronic music has the ability to both get me amped and sooth me, sometimes simultaneously. This time around Armin’s mix had more of a relaxing effect as I strolled around in the cloudy day. After looping around the newly opened walkway that encircles the 4th street field, I came upon a surprisingly brave seagull. No matter how quickly I moved towards him the seagull would only fly out a few feet then perch right back on the railing. This seagull’s challenging attitude provided me with a unique opportunity to adjust my camera settings to find the ideal exposure and composition.
Photography concepts:
Shooting fast, shooting often and anticipating movement are the keys to photographing birds and most animals. Shooting fast and often seems pretty obvious but the trick is knowing how to set up your camera to do so. Ideally you want to use your camera’s fastest shutter speed. The easiest way to get a fast shutter speed is to shoot with a large aperture. The aperture will vary based on available light, but in most cases your safest bet is to shoot wide open at your lenses largest aperture. My lenses widest aperture is f/1.8. Shooting at my lenses maximum aperture allowed me to achieve a super fast shutter of 1/4000 of a second. You may have noticed that even with shooting as fast as I did, the seagulls wings are still a just a little blurry. It’s possible the blur is due to a little lag in focus but I’m pretty happy with my camera’s ability to focus quickly so it’s more likely due to a small plane of focus.
Now how to shoot often? My camera and most other DSLR’s have different shooting modes which allow for faster frames per second. The fastest my camera will shoot is 5 frames per second. This allowed me to hold down my shutter release button and let my camera fire off lots of consecutive bursts to capture all the action.
Now even with a fast shutter and my camera firing off almost continuous bursts, all would have been lost had I not positioned myself correctly. Birds and other animals usually give away their next move by the way they orient their body or with their body language. In the case of this seagull when he was about to fly he usually dipped his head and obviously started ruffling his wings. I took his flight cues and body orientation as my cue for where to lead my camera and when to start shooting.
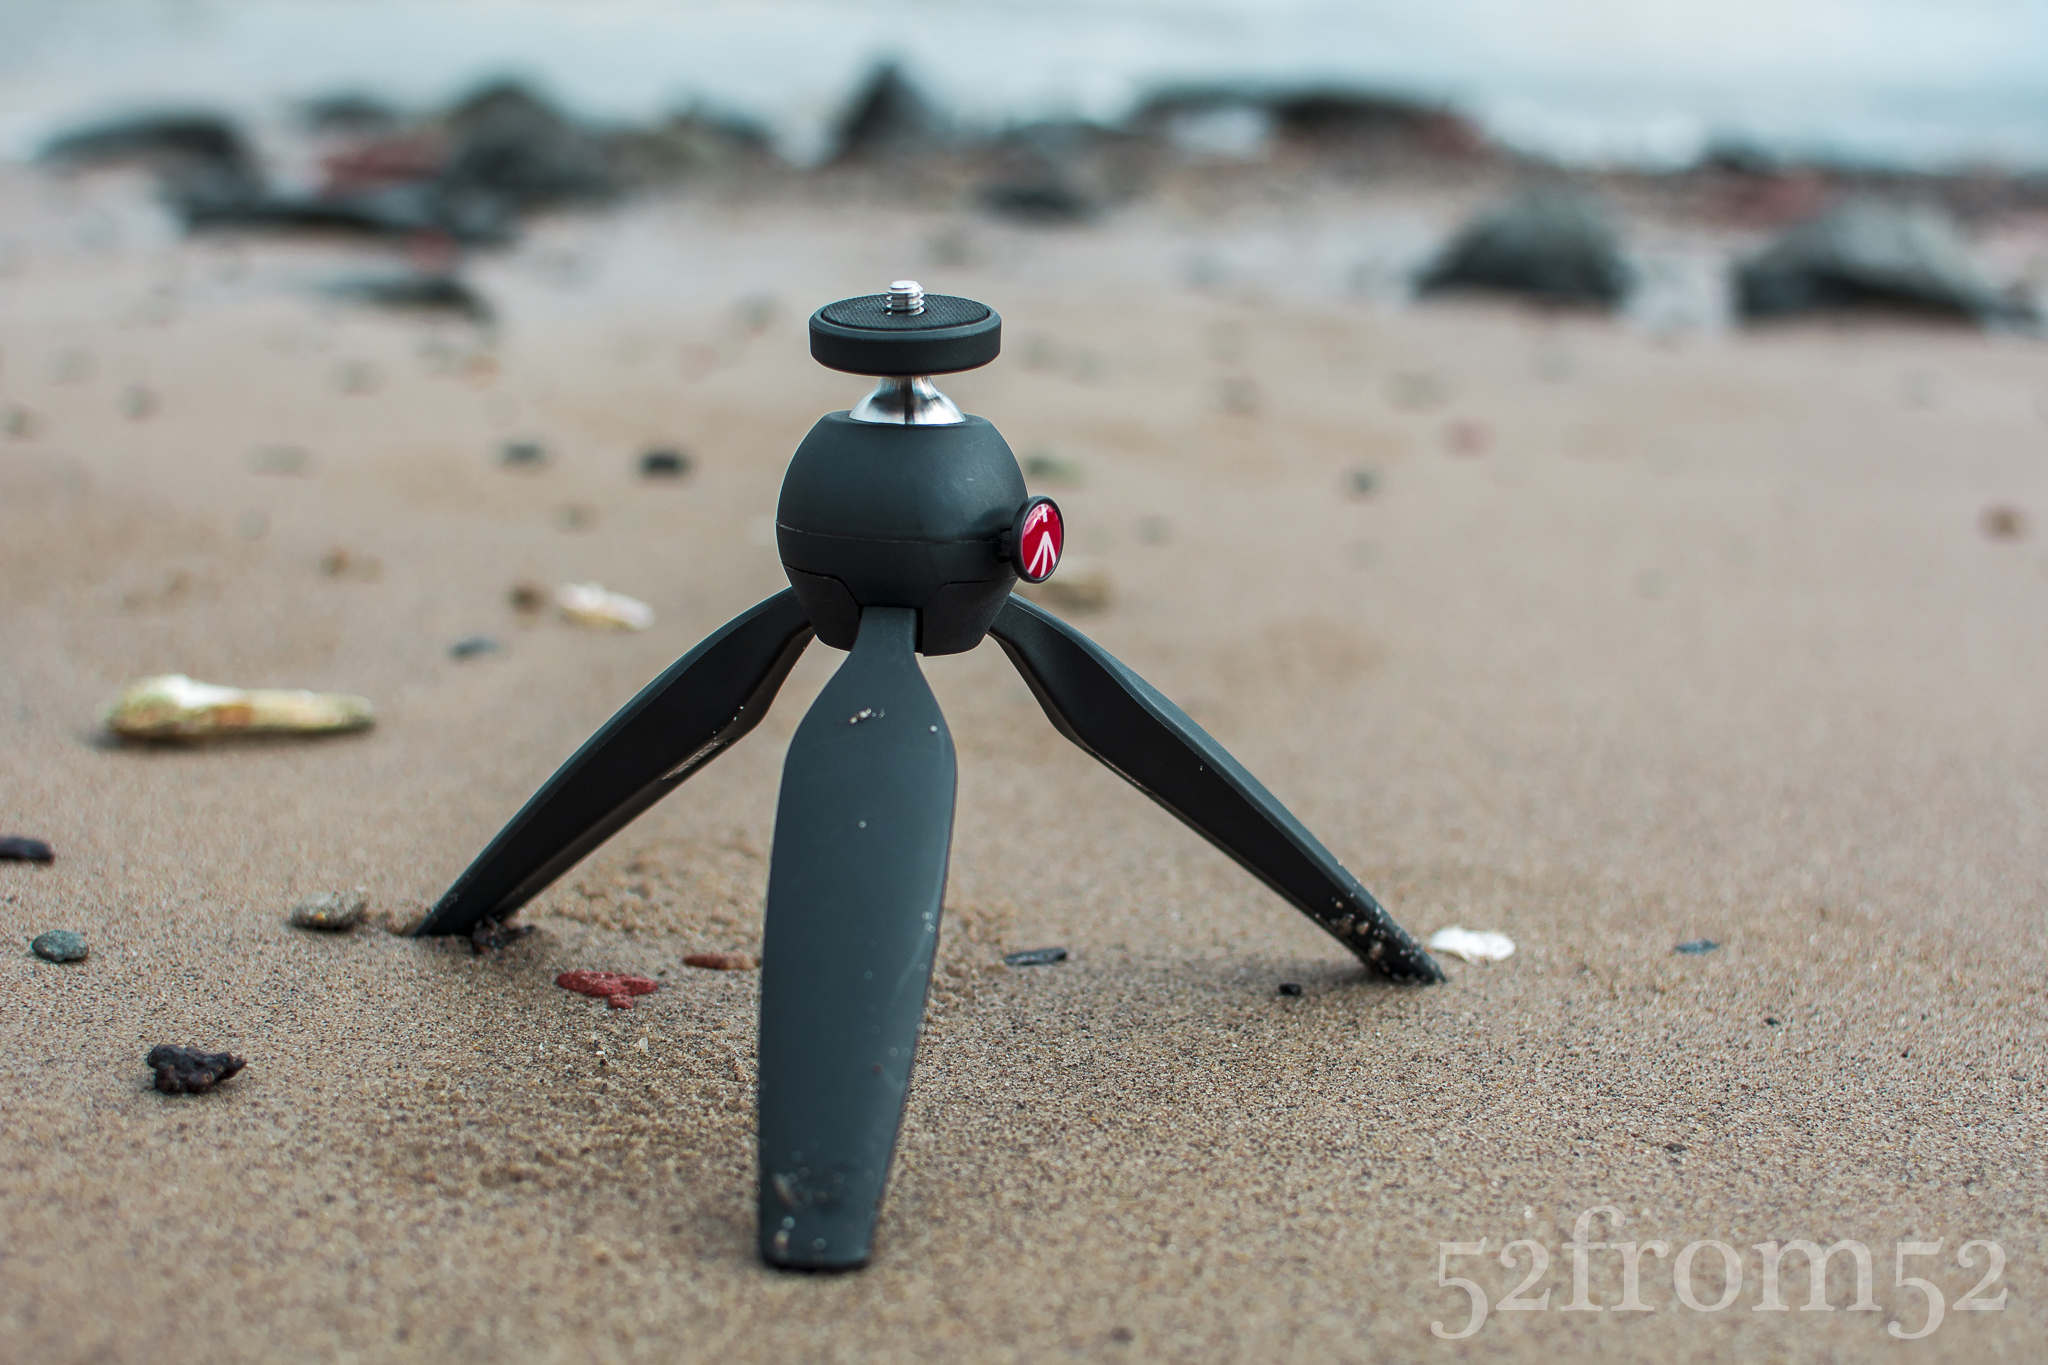
One last point worth noting, although I shot at f/1.8 I could have shot with a smaller aperture by increasing my ISO. The reason that I shot at f/1.8 was to get the background totally blurred. If you don’t want the background blurred raise your ISO and shoot with a smaller aperture. Shooting with a smaller aperture will also give you a bigger margin of error in terms your plane of focus. Don’t take my word for it, play around with your settings to find the look that you like. Just remember you might only get one shot at the picture so practice and know what your settings are before you approach your subject.