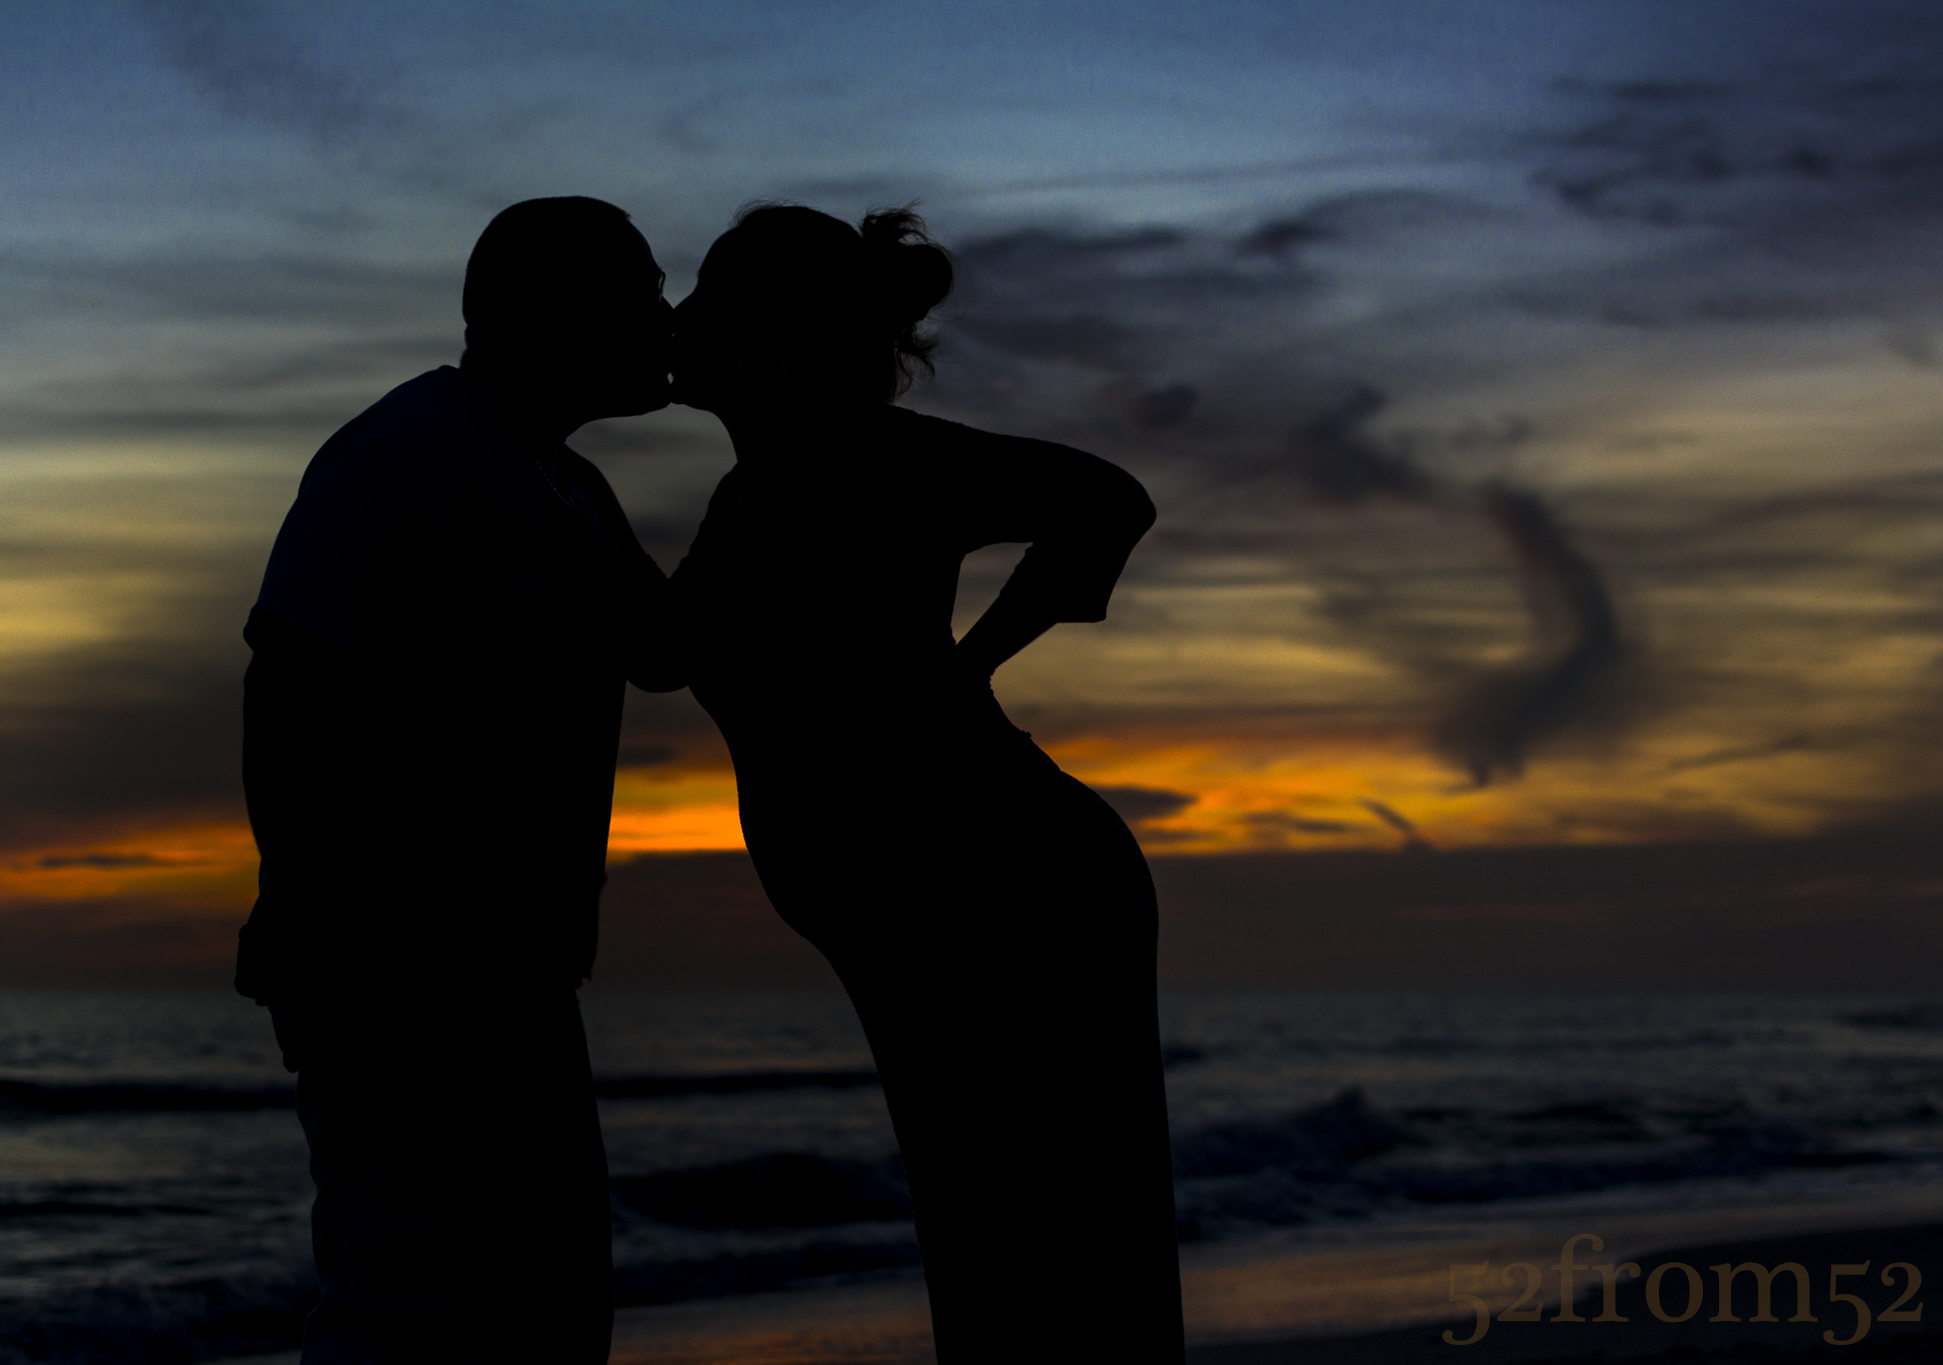
Picture Info: ISO 100, 35mm, f/3.2, 1/250 second
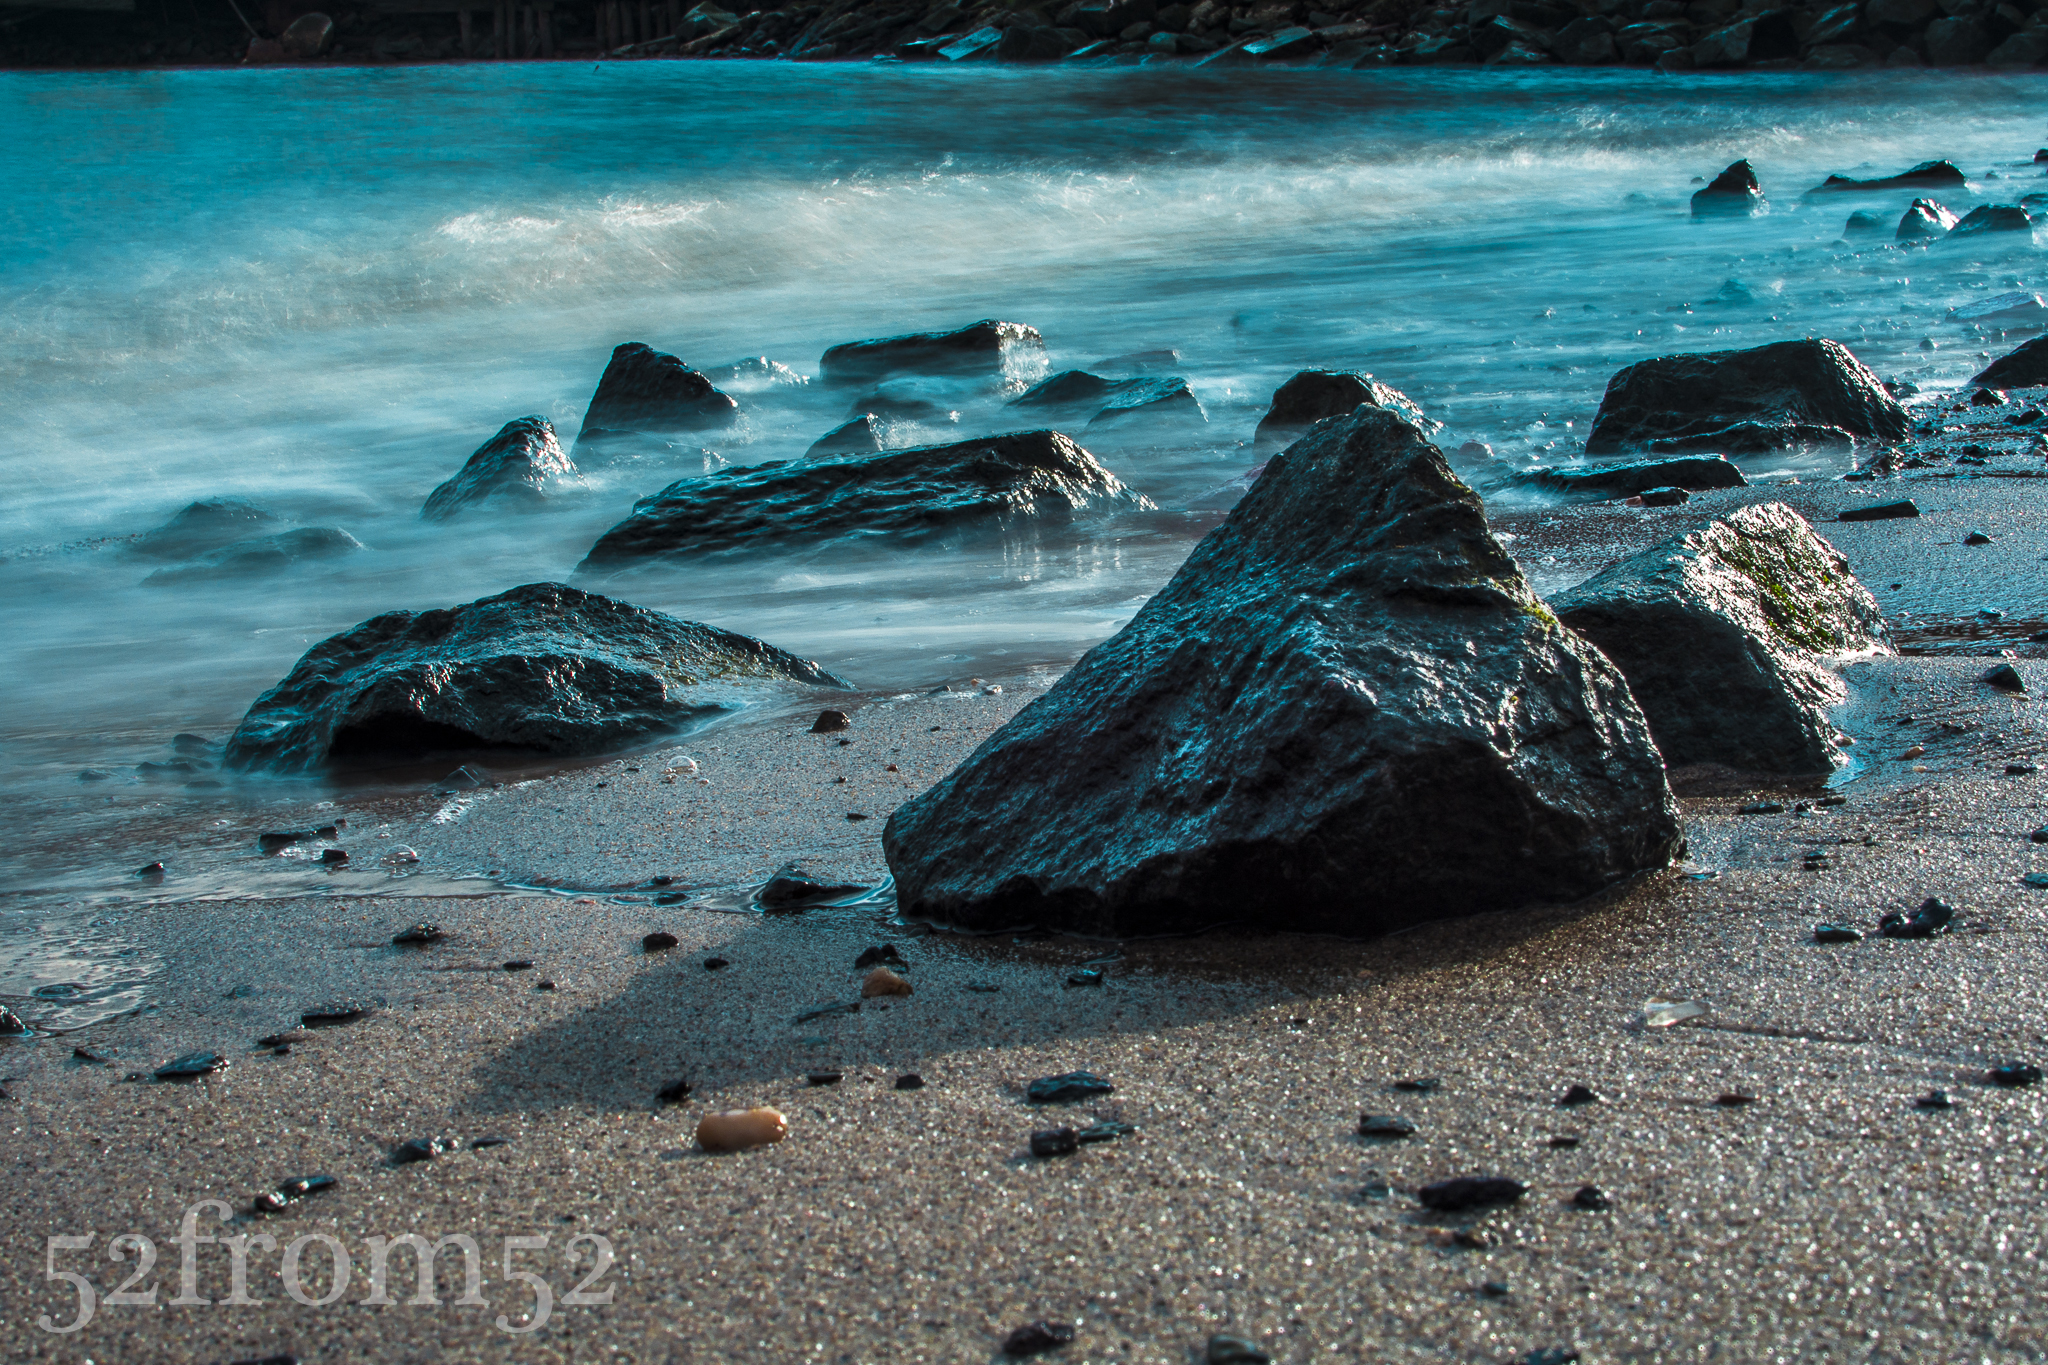
Week 35 (3/31/2014 -4/6/2014): Treasure Island Beach, FL
Picture taken on 4/6/2014 at 8:03 PM
Picture description
This past weekend brought me to Florida to celebrate my cousin Danielle’s wedding. It was a beautiful venue filled with my beautiful family. Originally I planned to use a picture from the wedding for this post, but due to mobile limitations I decided to hold off on posting any wedding pictures until I returned and had time to properly sort through them all. My back-up plan was to hit the beach at sunset sometime during my trip, preferably in the area of a pier. My goal was to shoot either a long exposure and or some kind of sunset picture. Since getting my DSLR I’ve taken two other trips to Florida, but neither visit brought me to the beach during sunset with my Nikon. This time around I was determined to get to the beach for magic hour.
When I pitched the beach sunset idea to my family, they were all on board and even helped research locations. After picking a location, we quickly ate dinner and set out for “The Long Pier” at Redington Beach. Redington Beach was a little far which had us worried about arriving late and missing the sunset. As we drove up the coast we decided to call an audible and stop at the location of our last family reunion, Treasure Island Beach.
After arriving my cousin Courtney and I moved ahead of everyone else and headed towards the beach. We moved as quickly as possible, taking into account my cousin is pregnant, but that didn’t seem to slow her down at all. Once we reached the shoreline, Courtney and I both started assessing the sunset for the best shot. Like me, Courtney is a photography enthusiast, and recently purchased a DSLR of her own. We both shuffled around taking pictures until the rest of the family arrived. When Courtney’s husband Ray arrived and stood next to her my eyes were immediately drawn to how their silhouettes contrasted against the sunsetting sky. Their silhouettes were particularly meaningful because of Courtney’s little baby bump. I took a couple steps back, told them to pose and three shots later had my picture. Although I got plenty of great pictures that night, none seemed as meaningful as the one of Courtney and Ray. To me this picture perfectly captured the essence of my trip, Florida, beaches, love and our growing family, both through marriage and pregnancy.
Photography concepts:
While in Florida I made it a point to shoot almost completely in manual. The more I shoot in manual, the more I’m seeing how much it trumps my old technique of exposure compensation. Yes I can fix my exposure in post (editing), but getting it right in camera feels more authentic and is definitely more gratifying. Had I not shot this week’s picture in manual, my best option would have been to spot meter off the sunset background. Spot metering should have done the trick for underexposing and therefore silhouetting my cousins, but I didn’t have time to test in order to prove my theory.
What made this picture was a combination of decisions involving, aperture, focus points, and composition. First, I decided to shoot with a somewhat wide aperture (f/3.2). The reason behind using a wide aperture was to isolate my subjects from the background. A bonus was that I didn’t have to slow my shutter down too much, resulting in crisp edges in details such as strands of hair that were blowing in the wind. Second, in order for me to get my cousins in focus and separate them from the background as I planned, I had to set my focus point on them. Focusing on dark figures is difficult because your camera looks for contrasting colors to focus on. Therefore I didn’t line my focus point up with either of their center masses, instead I hit the edges around their mouths. The tricky part about using edges is knowing if you actually hit them or the background, it’s a very fine line. I recommend zooming into your image after shooting and looking for some kind of detail such as hair to determine if you were successful. The third and last point I want to mention is my composition. I used the rule of thirds to determine both where I lined up my cousins, and the horizon. I split my cousins between the left and middle thirds of the picture putting their kissing heads on the border line. The reason I put them off center was because the background wasn’t symmetrical. Had the the background been symmetrical, I think it would have looked better if they were symmetrically lined up too. As for the horizon, the sky was more interesting than the water, so I gave the sky two thirds of the background space.
All of the decisions I just outlined are becoming very quick, almost instinctive decisions for me now. I’m learning that the more you shoot, the more you fall back on the habits you developed in the early stages of learning your DSLR. If you’re new to shooting with a DSLR, or you’re just applying these concepts to taking pictures with a point and shoot or camera phone, I encourage you to spend time thinking about what makes a good picture. Before you shoot think about what you want to emphasize in the picture, then using the triangle of photography decide what settings are best. Then determine your composition and start shooting. The more time you spend on these decisions now, the less you’ll have to spend as you get more experience. If you’re not new to taking pictures but never applied these concepts just slow yourself down and think. The thing I always remind myself to do is take a picture less to “document” what’s going on and more to pass along the way I see things. How do you see something? Putting your creative spin on things is what makes it an art, that’s photography and that’s what people like to see.